
As I rummaged through my pantry on a sunny afternoon, I stumbled upon the perfect components for a flavor fiesta: rotini pasta, crispy bacon, and an arsenal of vibrant veggies. What emerged from my impulse creativity was this Bacon Ranch Pasta Salad—a celebratory dish that embraces the spirit of summer and is ready in under 20 minutes! Ideal for BBQs, picnics, or simply enjoying with family, this quick-prep side dish marries rich, creamy ranch dressing with the crunch of fresh ingredients. Not to mention, it’s a guaranteed hit at the table, pleasing both kids and adults alike. Curious about how to whip up this delightful blend of textures? Let’s dive in!
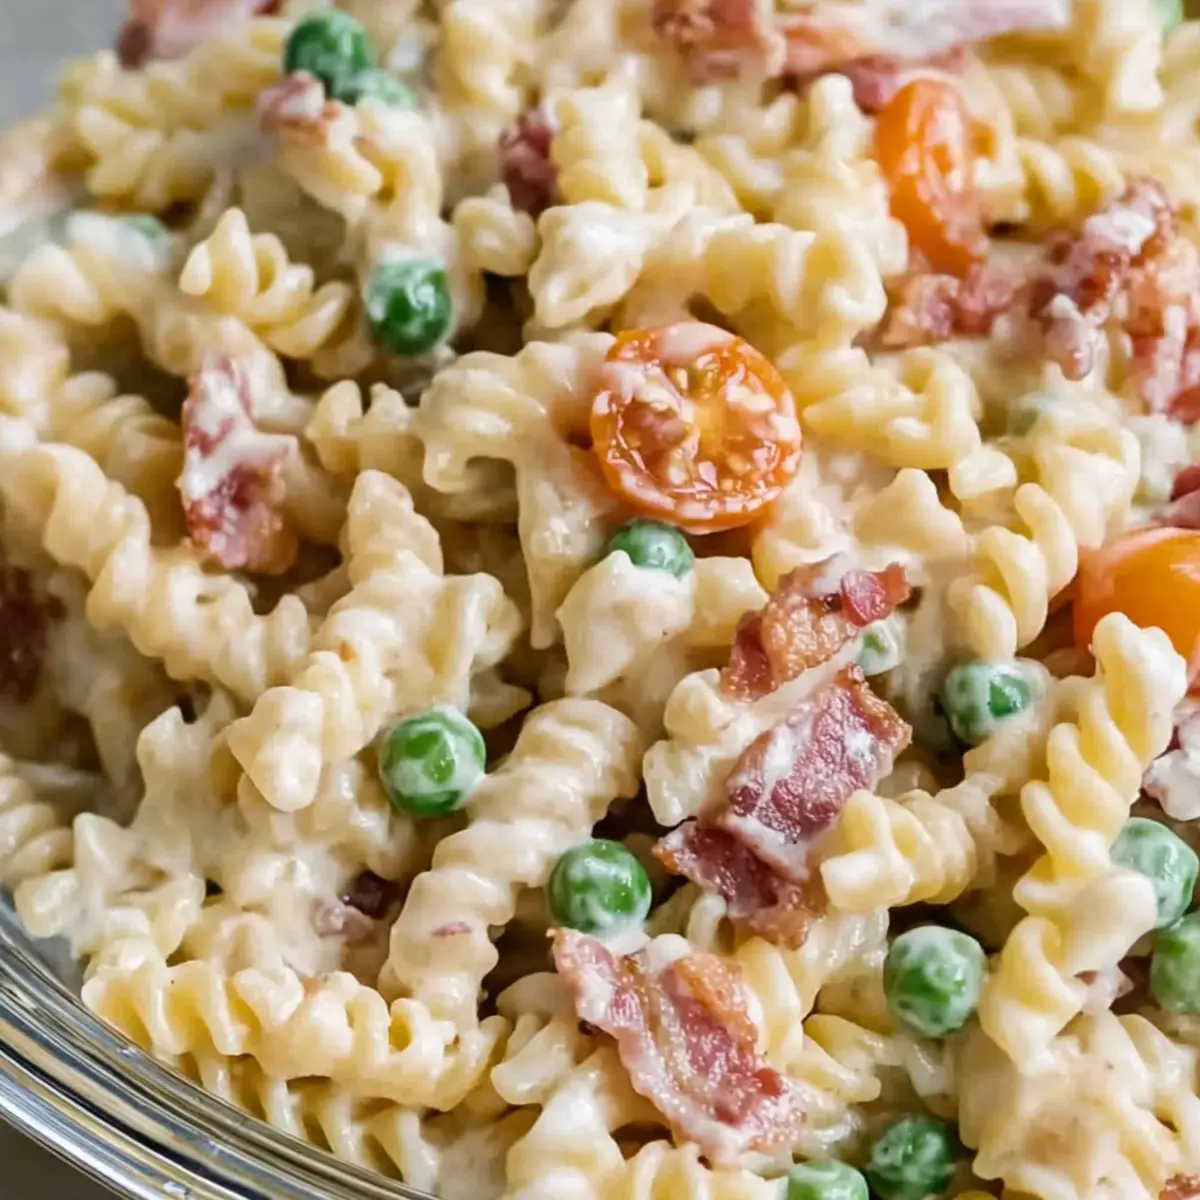
Why is Bacon Ranch Pasta Salad a Must-Try?
Quick and Easy: This recipe can be made in under 20 minutes, making it a perfect solution for busy weekdays or last-minute gatherings.
Flavor Explosion: The combination of crispy bacon, creamy ranch dressing, and fresh veggies creates an irresistible flavor that’ll have everyone coming back for seconds.
Versatility: Whether serving it alongside grilled meats or as a standalone dish, this salad adapts effortlessly to any occasion, just like my One Pot Creamy Cajun Sausage Pasta.
Crowd-Pleaser: Both kids and adults adore this dish, ensuring it’s a hit at summer BBQs, potlucks, or family dinners.
Unique Twist: Feel free to customize with your favorite add-ins like avocado or different cheeses; it’s all about making this recipe your own!
Bacon Ranch Pasta Salad Ingredients
For the Pasta
- Rotini Pasta – Provides the perfect structure; you can substitute with any small pasta shape like penne or fusilli.
For the Dressing
- Mayonnaise – The creamy base; use Greek yogurt for a lighter alternative.
- Dry Ranch Seasoning Mix – Essential for that ranch taste; consider homemade ranch seasoning for a fresh twist.
- Garlic Powder – Enhances depth of flavor; fresh minced garlic can give a more robust kick.
- Black Pepper – Adds a hint of heat; adjust to your preference for perfect balance.
- Milk – Thins the dressing to the right consistency; buttermilk works great for an extra tang.
For the Salad
- Bacon – Introduces savory, crispy bites; swap for turkey bacon for a lighter option.
- Cherry or Grape Tomatoes – Provide freshness and color; diced bell peppers can add an extra crunch.
- Frozen Peas – Contributes sweetness and vibrant color; don’t forget to thaw before adding.
- Shredded Cheddar Cheese – Adds creaminess and flavor; try crumbled feta or mozzarella for a different taste.
Step‑by‑Step Instructions for Bacon Ranch Pasta Salad
Step 1: Cook the Pasta
Begin by boiling a large pot of salted water over high heat. Once boiling, add the rotini pasta and cook according to package instructions, usually about 8–10 minutes until al dente. Drain the pasta in a colander and rinse it briefly under cold water to halt the cooking process, allowing it to cool. Set the pasta aside in a mixing bowl.
Step 2: Prepare the Bacon
In a large skillet over medium-high heat, add the diced bacon. Cook for 6–8 minutes, stirring occasionally, until the bacon is crispy and golden brown. Once done, transfer the bacon to a paper towel-lined plate to drain excess grease. Allow it to cool slightly, then crumble the bacon into bite-sized pieces for your Bacon Ranch Pasta Salad.
Step 3: Whisk the Dressing
In a medium mixing bowl, combine mayonnaise, dry ranch seasoning mix, garlic powder, black pepper, and milk. Using a whisk, blend these together until the mixture is smooth and creamy, with no lumps. This will be the flavorful base for your salad, so make sure it’s well combined before moving on to the next step.
Step 4: Combine Ingredients
In the mixing bowl with the cooled rotini pasta, gently fold in the crumbled bacon, halved cherry tomatoes, thawed frozen peas, and shredded cheddar cheese. Gradually pour the ranch dressing over the pasta mixture, ensuring everything is evenly coated. The vibrant colors and textures should create an inviting mixture that’s ready to chill.
Step 5: Chill the Salad
Cover the mixing bowl with plastic wrap or transfer the pasta salad to an airtight container. Place it in the refrigerator and let it chill for at least 1 hour before serving. This resting time allows the flavors of the Bacon Ranch Pasta Salad to meld together beautifully, enhancing the overall taste.
Step 6: Serve and Enjoy
Once chilled, remove the bowl from the refrigerator and give the salad a gentle toss to redistribute the ingredients. Taste and adjust the seasoning if necessary. Serve your Bacon Ranch Pasta Salad chilled alongside your favorite grilled meats or as a standout dish at your next picnic or BBQ gathering.
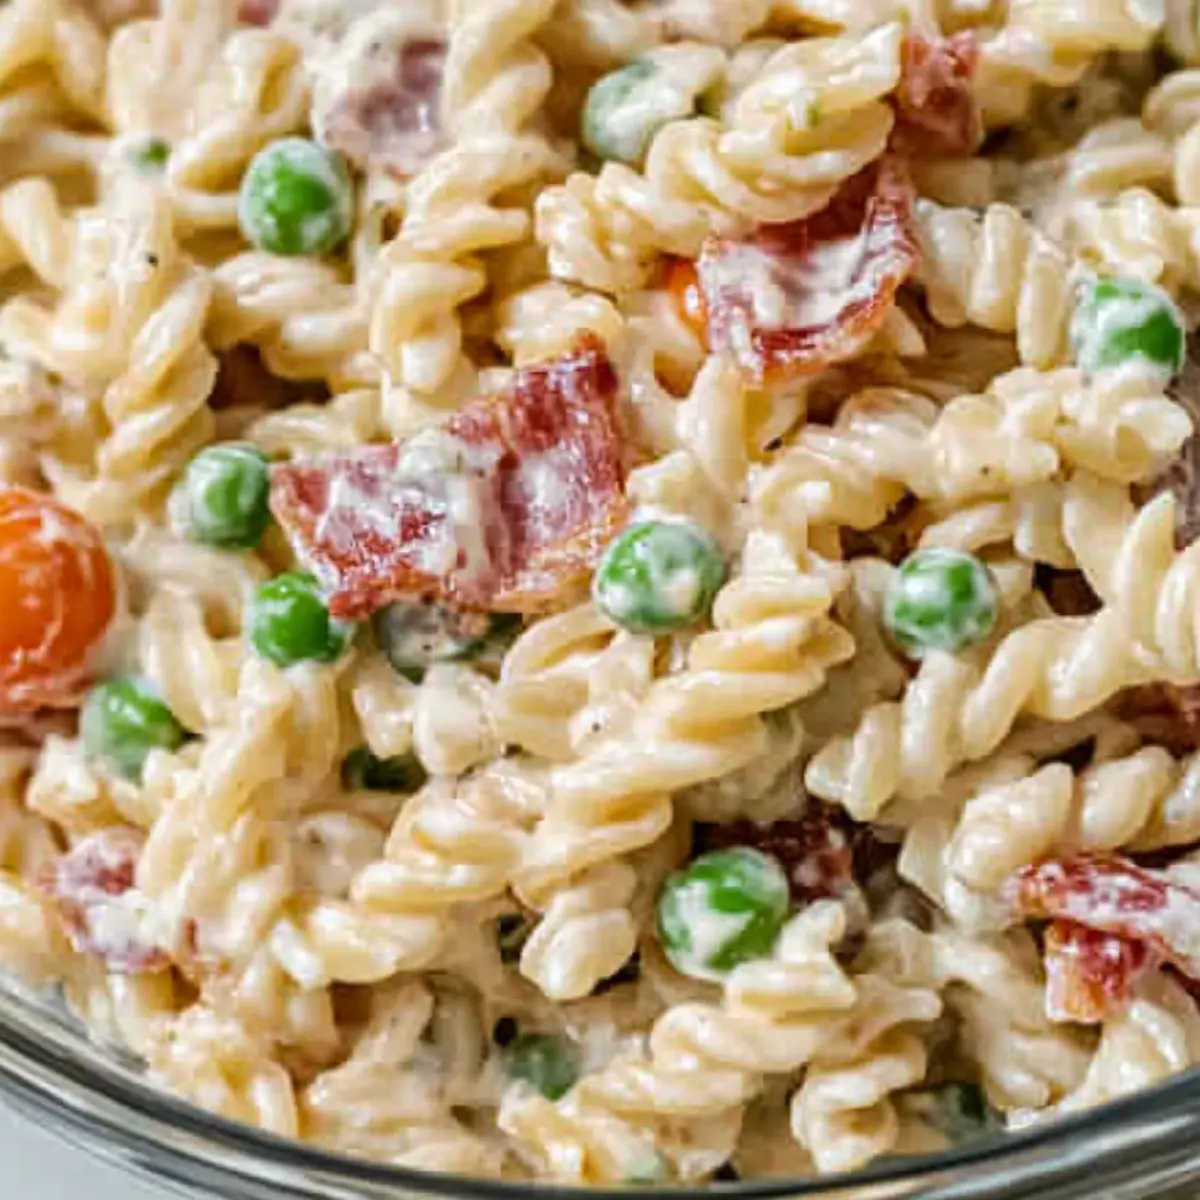
What to Serve with Bacon Ranch Pasta Salad?
Elevate your dining experience by pairing this creamy delight with complementary dishes that enhance its vibrant flavors.
-
Grilled Chicken: Marinated grilled chicken offers a smoky flavor that beautifully contrasts with the creamy pasta, making every bite more interesting.
-
Corn on the Cob: Sweet, buttery corn enhances the summer vibe and adds a tasty crunch, making it a delightful accompaniment.
-
Caesar Salad: Fresh romaine, croutons, and zesty dressing create a refreshing balance, complementing the rich flavor of the pasta salad.
-
Caprese Skewers: Juicy tomatoes, mozzarella, and basil on skewers provide a fresh, vibrant flavor—not to mention they are visually appealing!
-
Watermelon Salad: Sweet, juicy chunks of watermelon with mint and feta create a refreshing harmony that perfectly contrasts the creamy ranch dressing.
-
Iced Tea or Lemonade: A cold glass of iced tea or freshly squeezed lemonade can cleanse the palate, adding a refreshing twist to your meal.
A diverse array of textures and flavors can turn your pasta salad into a full-fledged feast.
Bacon Ranch Pasta Salad Variations
Feel free to put your own spin on this delightful Bacon Ranch Pasta Salad with these fun variations!
-
Add Avocado: Toss in diced avocado for a creamy and wholesome touch. It adds a lovely richness that pairs wonderfully with the bacon.
-
Turkey Bacon Swap: Use smoked turkey bacon instead of regular bacon for a lighter, yet equally flavorful option. It keeps all the smoky goodness while reducing the fat.
-
Extra Veggies: Incorporate diced cucumbers or bell peppers for an additional crunch. These vibrant veggies enhance not only the texture but also the color of your salad.
-
Spicy Cheese Twist: Try using pepper jack cheese for a spicy kick. It’ll elevate the flavor profile and make your salad stand out at any gathering.
-
Greek Yogurt Base: Replace mayonnaise with Greek yogurt for a tangy, healthier dressing option. This swap enhances creaminess while cutting down on calories.
-
Sriracha Drizzle: For those who crave a little heat, add a drizzle of Sriracha. This spicy twist can enliven the creamy ranch base and make each bite exciting.
-
Roasted Veggies: Use roasted corn or zucchini instead of peas for a sweet and smoky flavor. This variation transforms your salad into a hearty dish perfect for summer meals.
-
Chill Time: Remember to chill your salad longer for a more robust flavor when mixing in variations. The longer it chills, the more the flavors mingle beautifully together!
When you’re ready to experiment, try pairing this delightful side with your favorite mains—like my King Ranch Chicken or served alongside BBQ meats for a perfect summer meal!
Storage Tips for Bacon Ranch Pasta Salad
-
Fridge: Store leftover Bacon Ranch Pasta Salad in an airtight container for up to 3 days. This keeps it fresh and prevents flavor loss, allowing you to enjoy it again!
-
Make-Ahead: You can prepare this salad several hours in advance. Just be sure to cover it well in the refrigerator to prevent it from drying out or absorbing other odors.
-
Freezer: While it’s not ideal to freeze creamy pasta salads, if you must, freeze it without the bacon or cheese. This will help maintain texture; thaw in the fridge and add them fresh just before serving.
-
Reheating: If you prefer to enjoy this salad warm, gently reheat it in a microwave, but make sure to cover it to retain moisture. Enjoy it while still cool for best flavor.
Make Ahead Options
Preparing Bacon Ranch Pasta Salad ahead of time saves you valuable minutes on busy days! You can cook and cool the rotini pasta up to 24 hours in advance, keeping it in an airtight container refrigerated to maintain its texture. The bacon can also be crisped and crumbled ahead of time; just store it separately in the fridge to keep it crispy until you’re ready to combine the ingredients. When you’re ready to serve, simply mix the chilled pasta with the ranch dressing and other components, allowing the salad to rest for about an hour. This way, you’ll ensure a deliciously flavorful dish that’s just as delightful as when freshly made!
Expert Tips for Bacon Ranch Pasta Salad
-
Chill for Flavor: Allowing the Bacon Ranch Pasta Salad to chill for at least an hour helps the flavors meld together beautifully, enhancing the overall taste.
-
Cook Bacon Crisp: Fry bacon until crispy to maintain its texture in the salad. If it’s not cooked enough, it may become soggy when combined.
-
Fresh Veggies Matter: Use fresh, high-quality vegetables like ripe cherry tomatoes and sweet peas for a wonderful crunch and flavor in your pasta salad.
-
Dress It Right: Add the ranch dressing gradually to ensure even coverage of the ingredients; too much dressing at once can make the pasta soggy.
-
Mix-Ins for Variety: Customize your Bacon Ranch Pasta Salad with additions like diced avocado or different cheeses. This allows you to make the dish uniquely yours!
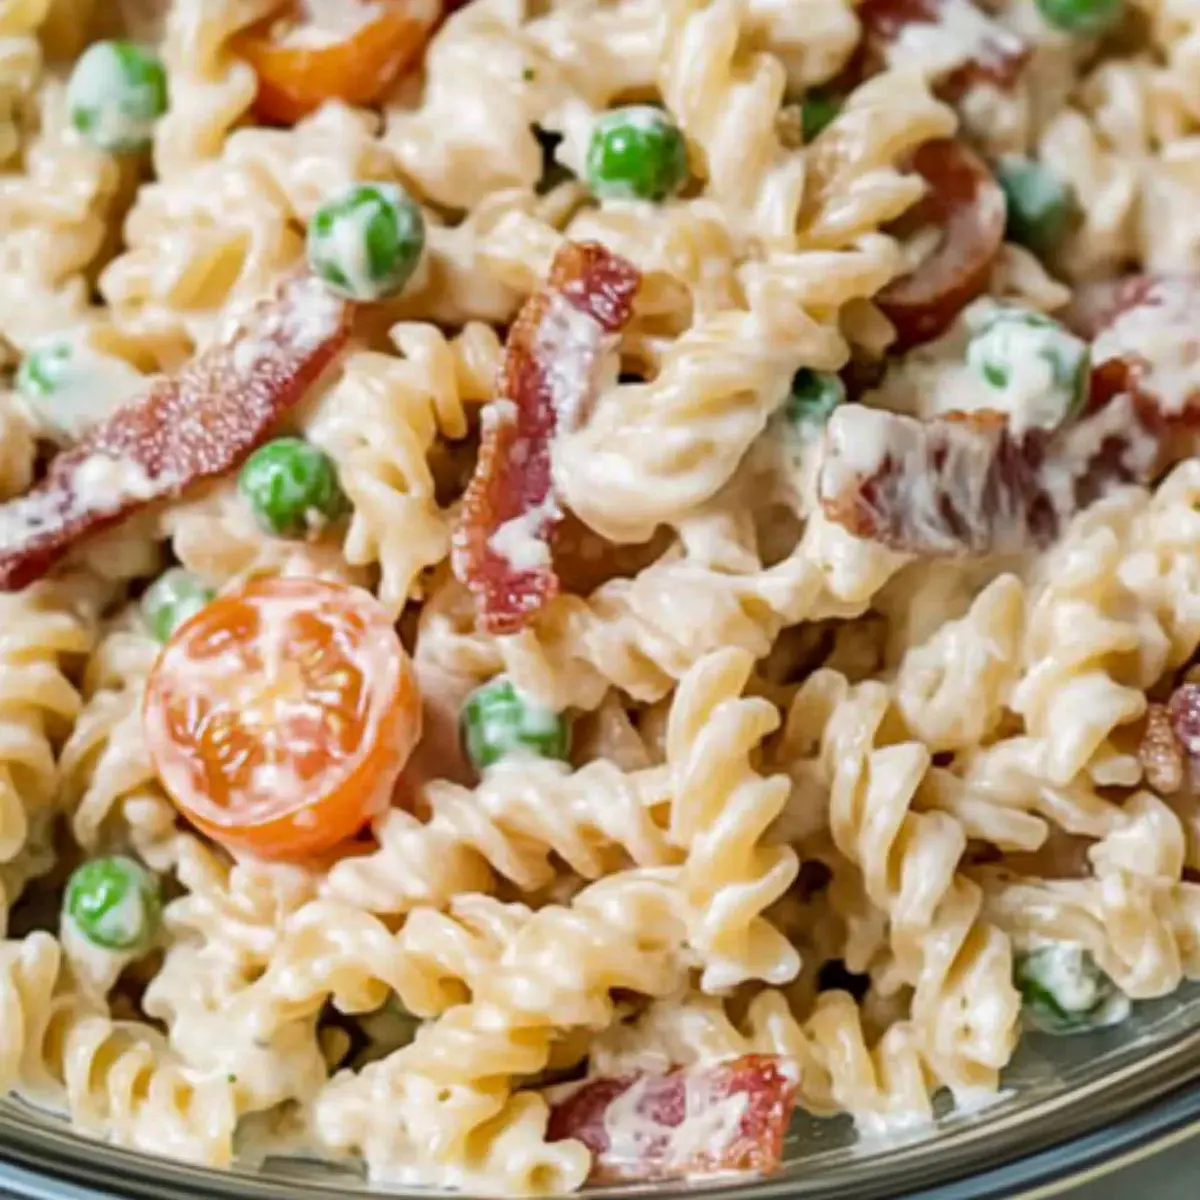
Bacon Ranch Pasta Salad Recipe FAQs
How do I choose ripe ingredients for my Bacon Ranch Pasta Salad?
Absolutely! When selecting cherry or grape tomatoes, look for smooth, shiny skin without any dark spots or blemishes. They should feel firm to the touch. For the best flavor and crunch, pick fresh peas that are bright green and plump. If using other veggies like bell peppers or cucumbers, choose those that are crisp and heavy for their size.
What are the best storage methods for Bacon Ranch Pasta Salad?
Very! Leftover Bacon Ranch Pasta Salad should be stored in an airtight container in the refrigerator. It’s best enjoyed within 3 days to maintain optimal freshness and flavor. Be sure to cover the dish tightly to prevent it from drying out or absorbing other smells from your fridge.
Can I freeze my Bacon Ranch Pasta Salad?
The more the merrier! While freezing creamy pasta salads isn’t recommended due to potential texture changes, you can freeze it without the bacon or cheese. Simply prepare the salad base and freeze it in a freezer-safe container for up to 3 months. When you’re ready to serve, thaw it overnight in the fridge and add fresh bacon and cheese just before enjoying.
What should I do if my pasta salad tastes bland?
No worries! If your salad is lacking flavor, a pinch of salt, a squeeze of fresh lemon juice, or an extra dash of ranch seasoning can work wonders. Start by adding a little at a time and tasting between adjustments. If the dressing seems too thick, whisk in a bit more milk or buttermilk to balance the flavors.
Are there any allergies I should be mindful of with this recipe?
Absolutely! This Bacon Ranch Pasta Salad contains common allergens such as dairy (in mayonnaise, cheese) and gluten (in pasta). If you’re preparing this dish for someone with dietary restrictions, consider using gluten-free pasta, dairy-free mayonnaise, and for a lighter version, subbing in Greek yogurt. Always check if any guests have other allergies before serving.
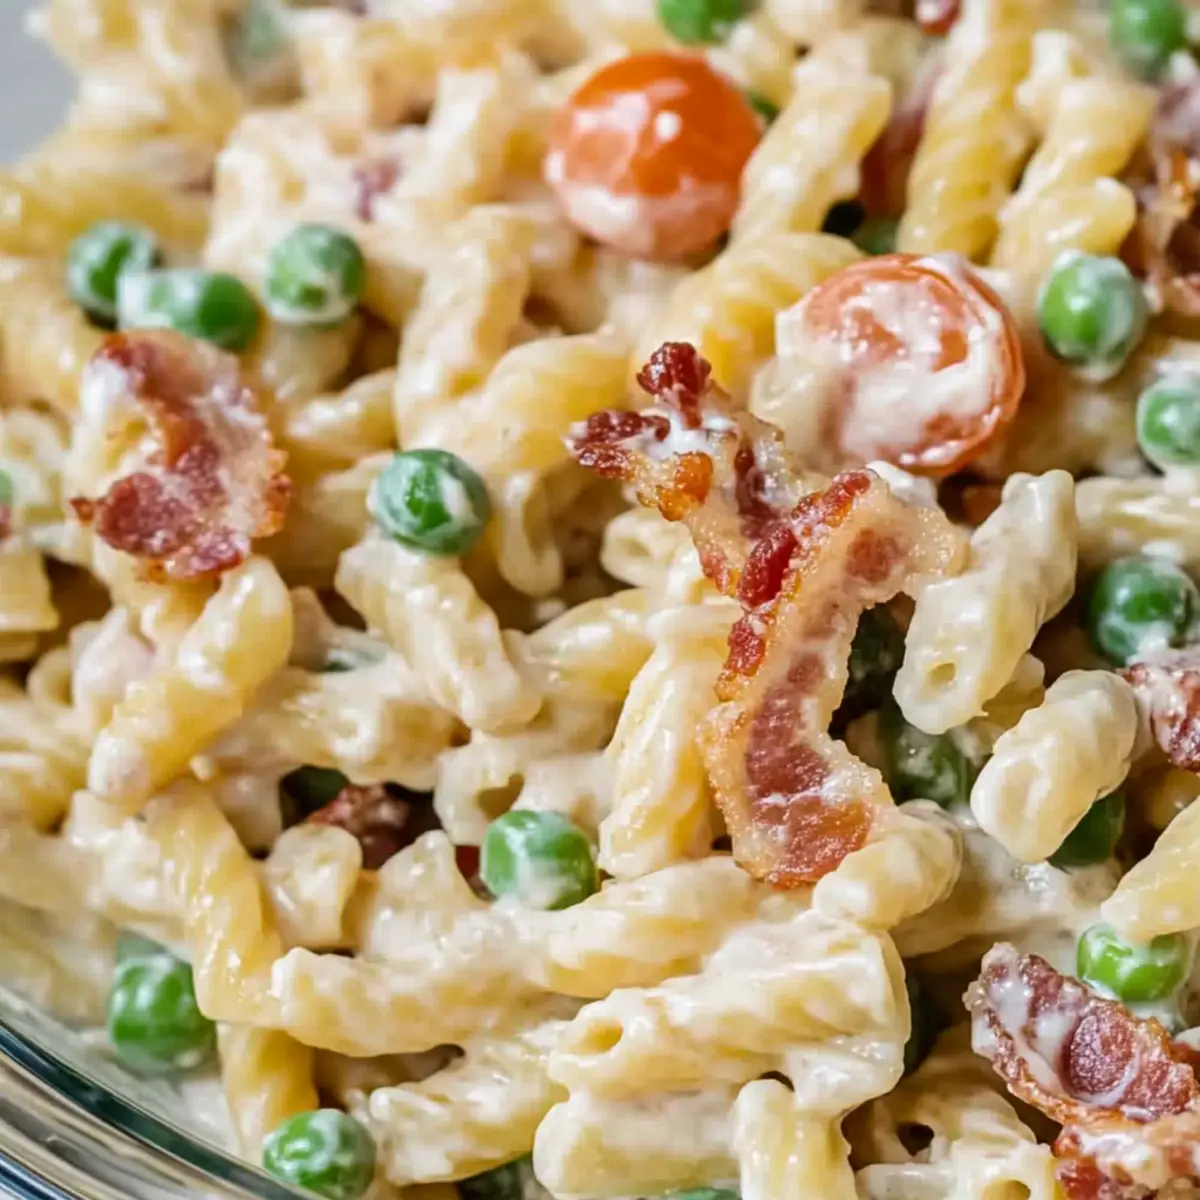
Bacon Ranch Pasta Salad: The Ultimate Summer Side Dish
Ingredients
Equipment
Method
- Boil a large pot of salted water and cook the rotini pasta according to package instructions, usually about 8–10 minutes. Drain and rinse under cold water.
- Cook diced bacon in a skillet over medium-high heat for 6–8 minutes until crispy. Transfer to a paper towel-lined plate to drain.
- Combine mayonnaise, dry ranch seasoning mix, garlic powder, black pepper, and milk in a bowl and whisk until smooth.
- In a mixing bowl, fold in the cooled pasta, crumbled bacon, halved tomatoes, thawed peas, and shredded cheddar. Pour dressing over and mix well.
- Chill in the refrigerator for at least 1 hour before serving to allow flavors to meld.
- After chilling, give the salad a gentle toss and serve alongside grilled meats or at your next picnic.
Leave a Reply