
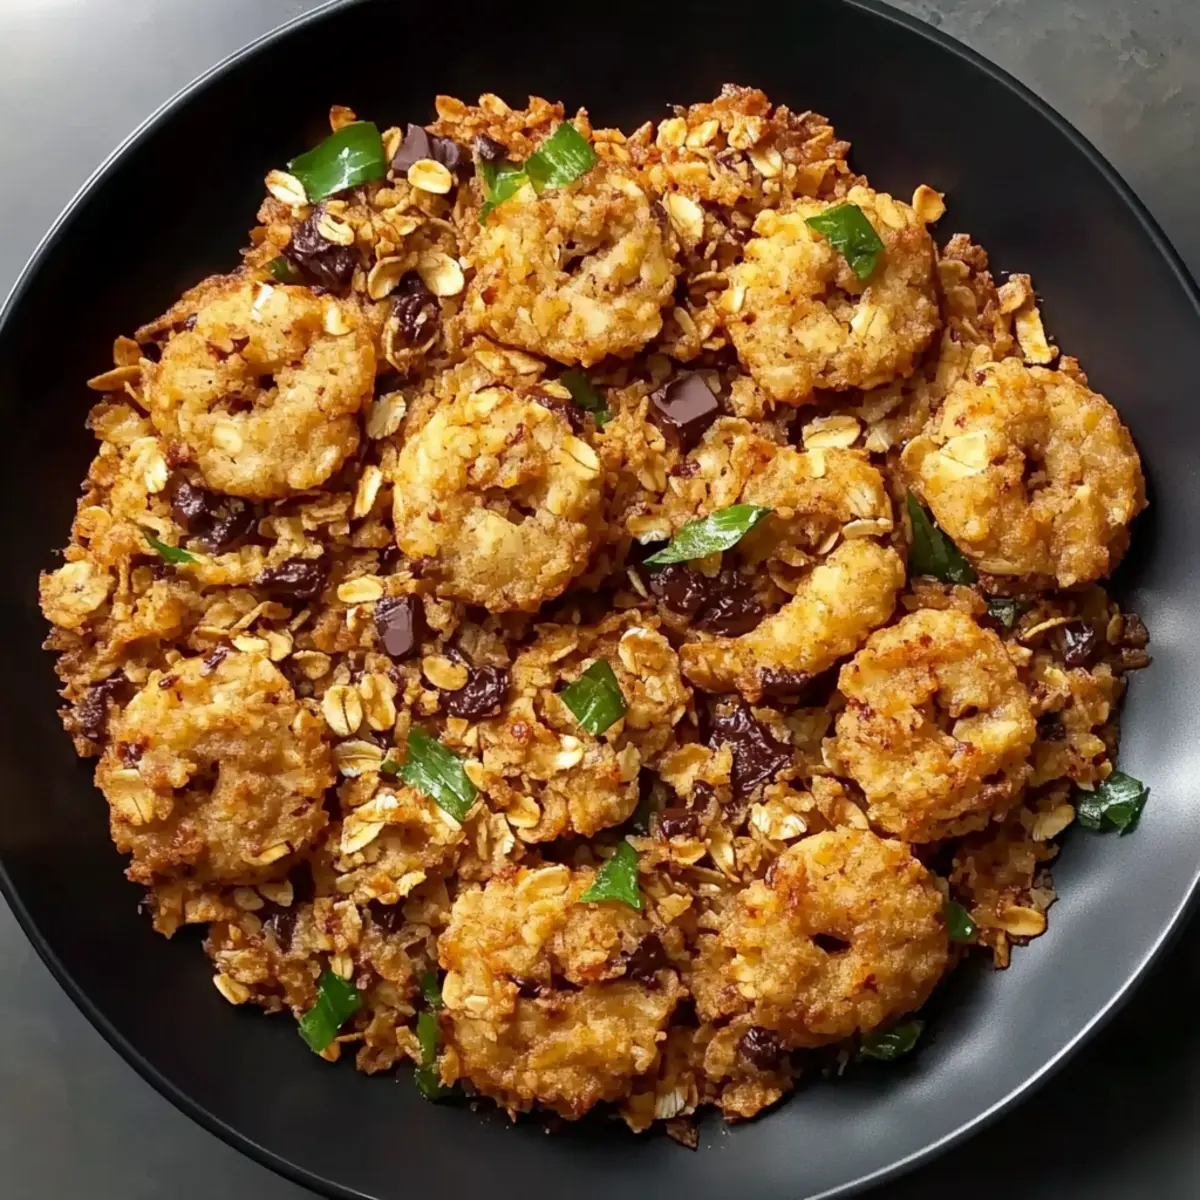
As the clock ticks down and snack time approaches, I’m hit with an intense craving for something sweet yet satisfying. Enter my 4-Ingredient Crispy Chocolate Oat Cookies—a simple, no-bake delight that’s as quick to whip up as it is irresistible. These gem-like cookies strike a perfect balance between a satisfying crunch and a chewy center, making them the ideal treat when you’re juggling a busy day or looking to impress last-minute guests. Plus, they come with the bonus of being gluten-free! Whether you’re a seasoned baker or just beginning your kitchen adventure, this recipe promises to deliver joy without the hassle. Have you ever experienced the joy of biting into a homemade cookie that brings back childhood memories? Let’s dive in and create that moment together!
Why make chocolate oat cookies?
Simplicity at Its Core: With just four simple ingredients, these cookies are incredibly easy to make, perfect for both beginners and experienced chefs alike.
Quick and Convenient: This no-bake recipe means you can satisfy those sweet cravings in no time, making it an excellent option for last-minute snacks or desserts.
Chewy and Crispy Delight: They boast a perfect texture with a crispy exterior and chewy center, ensuring a delightful bite every time!
Gluten-Free Goodness: A fantastic gluten-free treat, these cookies accommodate various dietary needs without compromising on flavor—just like my Freakin Fried Rice that’s full of satisfying tastes.
Customize to Your Taste: The option to add mix-ins like nuts or dried fruits allows you to tailor these cookies to your liking effortlessly.
Crowd-Pleasing Treat: Whether you’re sharing with friends or enjoying solo, these cookies are sure to be a hit with anyone who tries them!
4-Ingredient Chocolate Oat Cookie Ingredients
For the Base
• Oats – Rolled oats provide structure and chewiness, making them ideal for these chocolate oat cookies.
• Nut Butter – Creamy peanut or almond butter acts as the sticky binder; feel free to swap in sunflower seed butter for a nut-free treat.
• Honey or Maple Syrup – Use honey for a richer flavor or maple syrup for a vegan option that adds moisture and sweetness.
• Chocolate Chips – Choose dark chocolate chips for a more intense chocolate flavor, or use any chocolate variety you prefer.
Feel free to experiment with different mix-ins to make your 4-ingredient chocolate oat cookies uniquely yours!
Step‑by‑Step Instructions for Easy Thai Shrimp Fried Rice Recipe
Step 1: Prepare the Ingredients
Begin by gathering all your ingredients for the Easy Thai Shrimp Fried Rice. Dice your bell peppers, scallions, and any additional vegetables you like. If you’re using fresh shrimp, peel and devein them, patting them dry with paper towels. This prep will set the stage for a smooth cooking process, ensuring everything is ready when you need it.
Step 2: Cook the Shrimp
In a large skillet or wok, heat a tablespoon of oil over medium-high heat. Add the shrimp and stir-fry for about 2-3 minutes, or until they turn pink and opaque. Make sure to stir frequently to avoid any sticking. Once cooked, remove the shrimp from the skillet and set them aside, letting the residual heat flavor the pan for the next steps.
Step 3: Sauté the Vegetables
In the same skillet, add another tablespoon of oil and stir in the diced vegetables, cooking them for about 3-4 minutes until they are tender yet still crisp. You want the bell peppers to maintain their bright color. This sautéing enhances the flavor, creating a beautiful base for your Easy Thai Shrimp Fried Rice.
Step 4: Add Cooked Rice
Once the vegetables are ready, toss in the cooked rice, ensuring it is cold to help prevent sticking. Stir everything together for about 2 minutes, allowing the rice to heat through and soak in the flavors from the vegetables. This step is crucial for achieving that delightful texture associated with fried rice.
Step 5: Season the Dish
Pour in soy sauce, fish sauce, and a hint of lime juice over the rice and stir well for about 1-2 minutes. The sauces should evenly coat the rice and shrimp, infusing it with that characteristic Thai flavor. Adjust the seasoning to your taste, adding more soy sauce if desired, while keeping an eye on the color and aroma.
Step 6: Incorporate the Shrimp
Gently fold the cooked shrimp back into the rice mixture, allowing them to warm through for an additional 1-2 minutes. Be careful not to break the shrimp as you mix. This final step melds all the ingredients together, presenting a vibrant and flavorful Easy Thai Shrimp Fried Rice dish ready to enjoy.
Step 7: Finish and Serve
Once everything is well combined and heated through, remove the skillet from the heat. Garnish your shrimp fried rice with sliced scallions and optional cilantro for a fresh finish. Serve hot and enjoy this delightful meal with your loved ones, savoring the rich mix of flavors in every bite!
Easy Chocolate Oat Cookies Variations
Feel free to make these delightful cookies your own by experimenting with these scrumptious variations!
-
Nut-Free Delight: Swap out nut butter for sunflower seed butter to cater to allergies while keeping that creamy goodness.
For those seeking alternatives, this change guarantees a similar texture, allowing everyone to indulge without worry. -
Spice It Up: Add 1 teaspoon of cinnamon or a splash of vanilla extract to enhance the flavor profile.
These warm spices will elevate your cookies, creating an aromatic experience that dances on your palate. -
Fruity Twist: Incorporate dried fruits like cranberries or raisins for a burst of sweetness and texture.
Much like my Neiman Marcus Cake that’s loaded with flavor, your cookies will be bursting with delightful surprises. -
Chocolate Lovers’ Upgrade: Mix in white chocolate chips or a splash of cocoa powder for an extra chocolatey kick.
This variation celebrates the richness of chocolate, perfect for those who can’t get enough! -
Nutty Crunch: Toss in some crushed nuts like almonds or walnuts for added crunch and richness.
With every bite, you’ll savor the satisfying contrast between chewy oats and crunchy nuts. -
Coconut Infusion: Add shredded coconut for a tropical twist that gives your cookies a new dimension.
This simple touch brings a hint of the exotic, transforming your treat into something marvelously different yet familiar. -
Protein Boost: Incorporate protein powder into the mix for a hearty, energizing snack.
This allows you to indulge while getting a nutritional benefit, making these cookies a flexible option for any time of day. -
Chili Kick: For spice enthusiasts, add a pinch of cayenne pepper for a surprising heat that beautifully balances the sweetness.
Prepare for flavor fireworks as the heat intertwines with the chocolate warmth, giving a traditional treat a spirited twist!
Make Ahead Options
These 4-Ingredient Crispy Chocolate Oat Cookies are perfect for meal prep enthusiasts looking to save time! You can mix the dry ingredients (oats and chocolate chips) up to 3 days in advance and store them in an airtight container at room temperature. Prepare the wet ingredients (nut butter with honey or maple syrup) and refrigerate for up to 24 hours. When you’re ready to bake, combine both mixtures, form the cookies, and bake for 10-12 minutes. This way, you’ll enjoy freshly baked cookies just as delicious as if made from scratch, while keeping your busy schedule in check!
What to Serve with 4-Ingredient Crispy Chocolate Oat Cookies
Treat yourself to a delightful experience by complementing your cookies with these delicious pairings!
-
Creamy Milk: A classic choice that balances the cookies’ sweetness, perfect for a refreshing dip with every bite.
-
Fresh Berries: The natural tartness of berries complements the rich chocolate, adding a burst of freshness to your treat.
-
Nutty Granola: Sprinkle some granola on top or serve it alongside for a crunchy contrast that enhances the oats’ texture.
-
Ice Cream Delight: Serve with a scoop of vanilla or chocolate ice cream to create a warm-cold sensation that’s pure bliss.
-
Herbal Tea: Offer a warm cup of chamomile or mint tea to balance the cookie’s sweetness and provide a soothing experience.
-
Fruit Salad: A bowl of mixed fruits provides a refreshing and vibrant contrast, making your dessert feel lighter and more satisfying.
-
Dark Chocolate Drizzle: Elevate your cookies by drizzling some melted dark chocolate over them, adding extra indulgence to each bite.
-
Flavored Coffee: Pair with a cup of flavored coffee, like hazelnut or mocha, to enhance the chocolate notes and make each moment feel special.
-
Coconut Yogurt: Creamy coconut yogurt adds a tropical touch and a delightful creaminess that pairs beautifully with the chocolate oat cookies.
-
Hot Chocolate: For an extra sweet treat, indulge in a warm cup of hot chocolate that echoes the cookie’s flavors and creates a cozy experience.
Storage Tips for 4-Ingredient Chocolate Oat Cookies
Room Temperature: Store cookies in an airtight container at room temperature for up to one week, ensuring they remain fresh and chewy.
Fridge: For longer shelf life, keep the cookies in the fridge for up to two weeks, but allow them to come to room temperature for the best texture.
Freezer: Freeze the cookies in a single layer, then transfer to a freezer-safe bag for up to three months. Thaw them at room temperature before enjoying.
Reheating: If desired, warm cookies in the microwave for 10-15 seconds to revive their delightful chewiness, making these easy chocolate oat cookies even more enjoyable!
Expert Tips for 4-Ingredient Chocolate Oat Cookies
Use Quality Ingredients: Choose fresh, high-quality oats and chocolate chips for the best flavor in your cookies. They make a noticeable difference in taste.
Avoid Overmixing: Mix just until combined; overmixing can lead to tough cookies. A gentle fold helps retain that lovely chewy texture.
Perfect Baking Time: Watch the cookies closely; they should be slightly soft in the center after baking. This ensures they stay chewy, aligning with the easy chocolate oat cookies concept.
Cool Properly: Allow cookies to cool completely on a wire rack. This will help them set correctly and achieve that perfect crispy texture.
Experiment Wisely: Feel free to add mix-ins, but be cautious not to overwhelm the base recipe. A few extra nuts or fruits can elevate your cookies without overpowering the chocolate flavor.

4-Ingredient Crispy Chocolate Oat Cookies Recipe FAQs
How do I choose the right oats for these cookies?
For the best texture and flavor, I recommend using rolled oats. They provide a perfect chewiness that enhances the cookies, making them delightful. Avoid instant oats, as they can make the cookies too soft and affect the final crunchiness!
How should I store the cookies to keep them fresh?
Store your cookies in an airtight container at room temperature for up to one week. If you want them to last longer, you can refrigerate them for up to two weeks! Just let them return to room temperature to maintain their crispy and chewy goodness.
Can I freeze these cookies, and if so, how?
Absolutely! To freeze your cookies, first, let them cool completely. Then, place them in a single layer on a baking sheet and stick them in the freezer for about an hour. Once frozen, transfer them to a freezer-safe bag or container—this way, they can be stored for up to three months. Just thaw them at room temperature whenever you’re ready to enjoy another bite!
What if my cookies turn out dry or crumbly?
That can happen if you overbake them or use too much dry ingredient! To avoid this, make sure to check your cookies around the 10-minute mark, looking for a golden edge but still soft in the center. If they do end up dry, you can try adding a small drizzle of nut butter or a teaspoon of honey on top when serving to revive some moisture.
Are these cookies pet-friendly?
Unfortunately, they are not suitable for pets, especially those with nut allergies or dietary restrictions, since using nut butter is essential for the recipe. Always check with your vet before sharing any human food with your furry friends!
Can I make these cookies vegan?
Yes! Simply substitute the honey with maple syrup for a delicious vegan-friendly option. It retains the sweetness you love while keeping the cookies moist and chewy. Enjoy creating a tasty treat that caters to all dietary preferences!
Easy Thai Shrimp Fried Rice Recipe that Dances with Flavor
Ingredients
Equipment
Method
- Gather all ingredients for the Easy Thai Shrimp Fried Rice, and prepare the shrimp and vegetables.
- Heat 1 tablespoon of oil in a skillet over medium-high heat, add the shrimp and stir-fry for 2-3 minutes until pink and opaque, then remove shrimp and set aside.
- In the same skillet, add another tablespoon of oil and the diced vegetables; sauté for 3-4 minutes until tender but crisp.
- Add the cold cooked rice to the skillet, stir to combine, and heat through for about 2 minutes.
- Pour soy sauce, fish sauce, and lime juice over the rice, and stir well for 1-2 minutes, adjusting seasoning as needed.
- Fold the cooked shrimp back into the rice mixture and warm for another 1-2 minutes.
- Remove from heat, garnish with scallions and serve hot.
Leave a Reply