
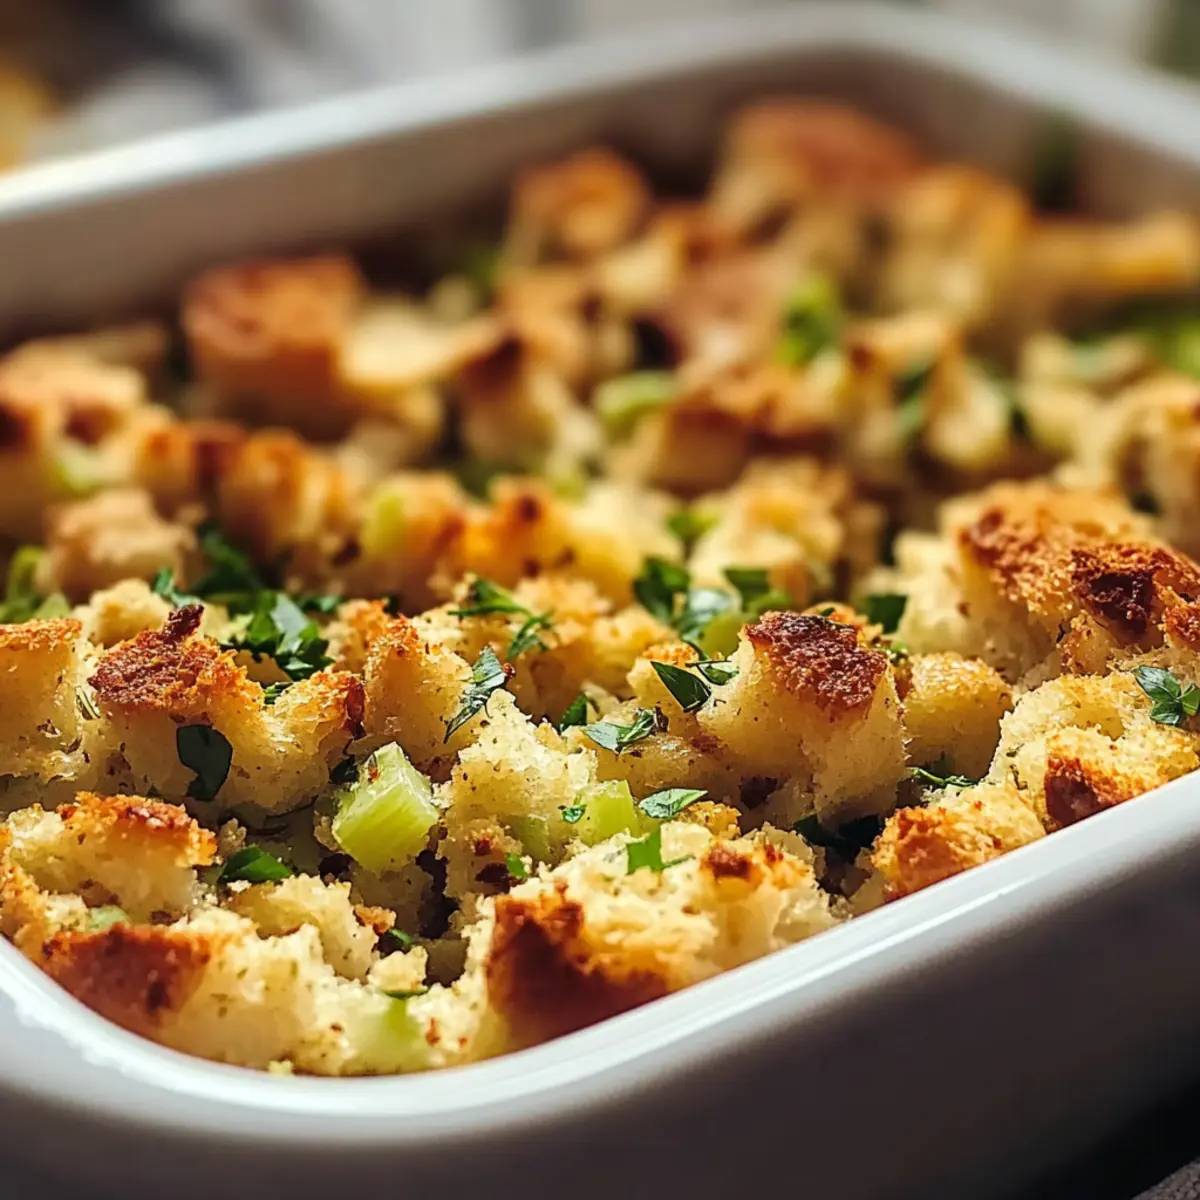
Every Thanksgiving, as the leaves turn and a chill fills the air, the enticing scent of baking bread mingled with savory herbs wafts through my home. It instantly transports me back to my grandma’s cozy kitchen, where the real magic happened. This isn’t just any stuffing; it’s Grandma’s Thanksgiving Stuffing, a traditional recipe that captures the essence of holiday comfort. The beauty of this dish lies in its adaptability, allowing you to express your culinary flair with variations like sausage, nuts, or even dried fruits. With quick prep and endless customization possibilities, this comforting side is sure to please everyone at your table. Are you ready to create your own memorable version this Thanksgiving?

Why is Grandma’s Stuffing a Must-Have?
Tradition: This recipe revives cherished family memories with every bite, bringing warmth to your Thanksgiving table.
Customizable: Feel free to add your favorite ingredients like sausage or nuts, making it uniquely yours.
Simple Preparation: With straightforward steps, even novice cooks can whip up this dish without hassle.
Crowd-Pleaser: The savory aroma and rich flavors appeal to everyone, making it a guaranteed hit at any gathering. Plus, don’t forget to check out our storage tips for making this treat ahead of time!
Versatile Options: Whether gluten-free or vegetarian, this stuffing can accommodate any dietary preferences.
Grandma’s Thanksgiving Stuffing Ingredients
• Dive into preparing this heartwarming dish with these essential ingredients!
For the Base
- Bread – Use 10 cups of stale sourdough or French bread, cubed and dried out overnight for best results.
- Onion – Use 1 large yellow onion, finely diced; sauté until translucent to enhance flavor.
- Celery – About 2 cups (3-4 stalks) of finely chopped celery, sautéed with onions for a fresh crunch.
For Flavoring
- Fresh Herbs – Incorporate 2 tbsp fresh sage, 2 tbsp fresh thyme, and 1 tbsp fresh rosemary, finely chopped, to elevate the taste.
- Broth – Use 4 cups of low-sodium chicken or vegetable broth (preferably homemade) to keep your stuffing moist.
- Butter – Add ½ cup (1 stick) unsalted butter, melted before mixing with other ingredients for richness.
Feel free to customize Grandma’s Thanksgiving Stuffing by adding preferred ingredients for a personal touch!
Step‑by‑Step Instructions for Grandma’s Thanksgiving Stuffing
Step 1: Preheat and Prep the Bread
Begin by preheating your oven to 350°F (175°C). While it warms up, cube 10 cups of stale sourdough or French bread into small pieces, ensuring they are slightly dried out from sitting overnight. This step enhances the texture of Grandma’s Thanksgiving stuffing, allowing it to absorb the delicious flavors while maintaining a perfect bite.
Step 2: Sauté the Aromatics
In a large skillet over medium heat, melt ½ cup of unsalted butter. Once melted, add 1 finely diced large yellow onion and about 2 cups of finely chopped celery. Stir continuously for 5 to 7 minutes, ensuring the mixture becomes tender and the onions turn a lovely translucent shade. This fragrant base is crucial for the taste of your Grandma’s Thanksgiving stuffing.
Step 3: Combine Ingredients
In a large mixing bowl, combine the sautéed onion and celery with your cubed bread. Sprinkle in 2 tablespoons each of freshly chopped sage and thyme, along with 1 tablespoon of rosemary, and season with salt and pepper to taste. Gently toss the mixture together, allowing the bread to soak in all the wonderful aromas from the sautéed veggies and herbs.
Step 4: Add Broth for Moisture
Next, gradually pour in 4 cups of warm low-sodium chicken or vegetable broth into the bread mixture. Stir gently to ensure the liquid evenly coats the bread cubes. You want the mixture to be moist but not soggy, so keep mixing until you achieve a desirable consistency. This stage is essential for the rich flavor of Grandma’s Thanksgiving stuffing to fully develop.
Step 5: Bake the Stuffing
Transfer the stuffing mixture into a greased baking dish, spreading it out evenly. Cover the dish with aluminum foil and place it in your preheated oven. Bake for 30 minutes covered to allow the flavors to meld and the stuffing to become tender.
Step 6: Brown the Top
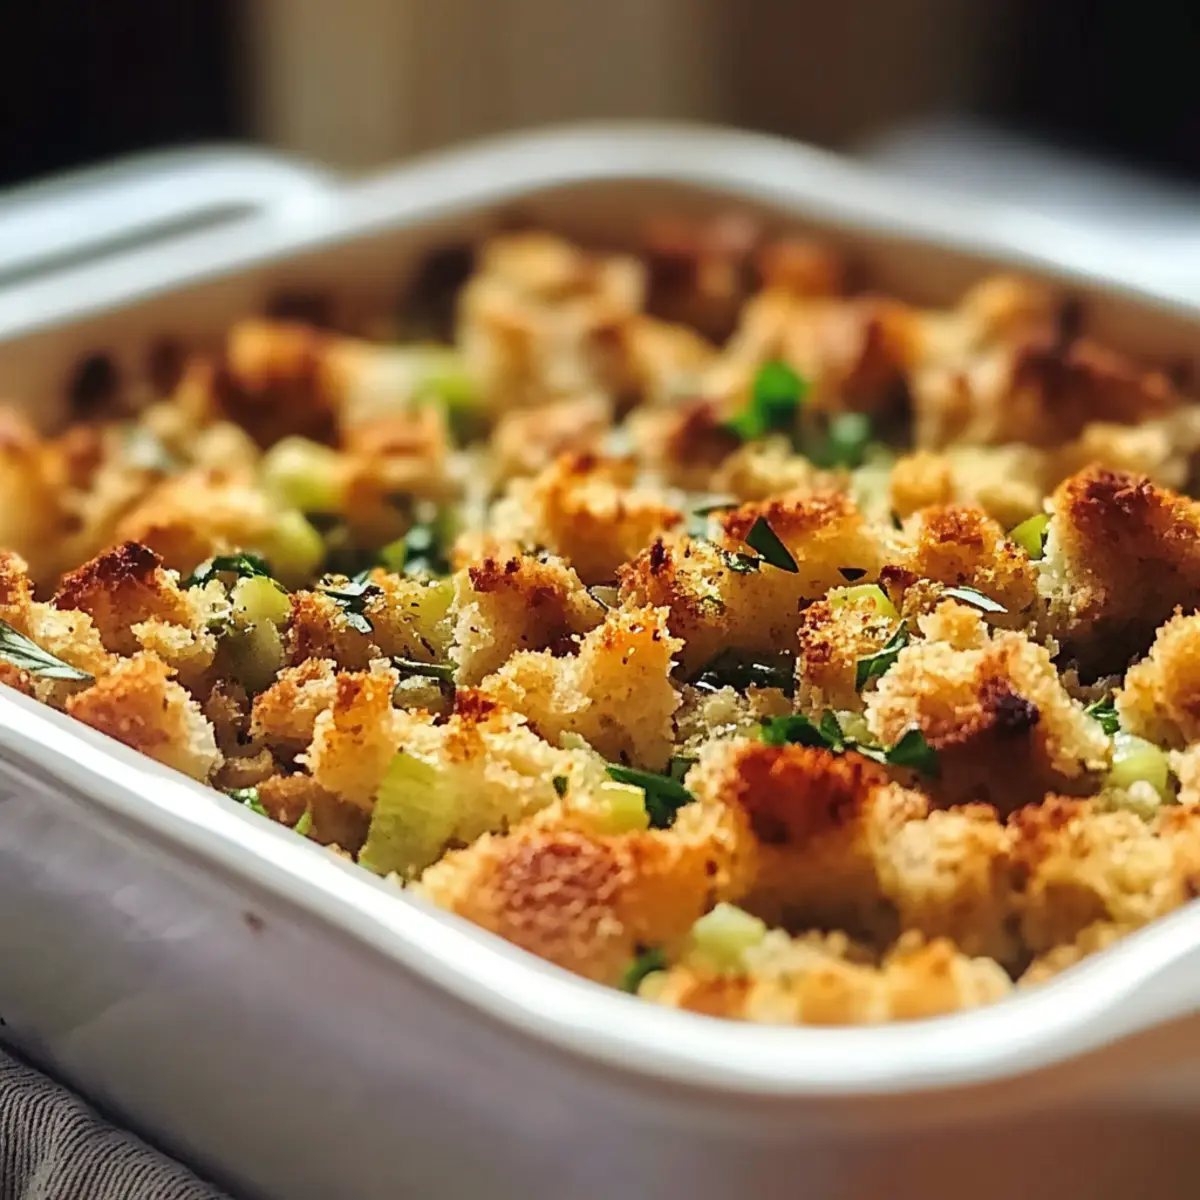
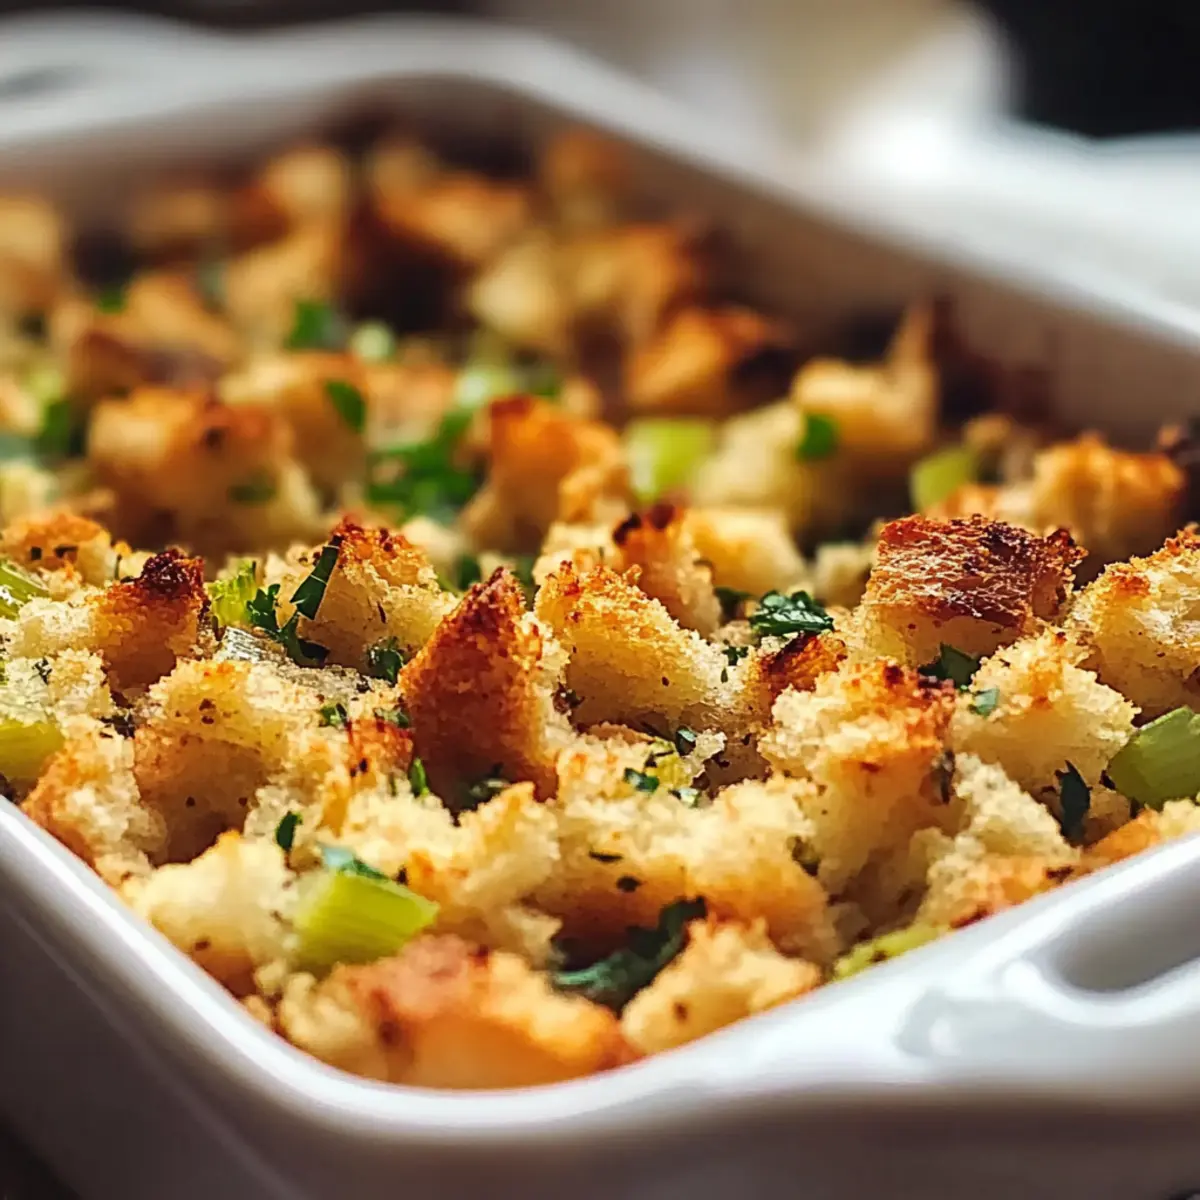
After 30 minutes, remove the foil and return the stuffing to the oven for an additional 15 minutes. This step allows the top to crisp up beautifully, creating a contrast to the moist interior typical of Grandma’s Thanksgiving stuffing. Watch closely, as you’ll want it to be golden and inviting when you take it out.
How to Store and Freeze Grandma’s Thanksgiving Stuffing
Fridge: Store leftovers in an airtight container in the refrigerator for up to 3-4 days. Reheat thoroughly before serving to retain moisture and flavor.
Freezer: For long-term storage, freeze the stuffing in a tightly sealed container or freezer bags for up to 2-3 months. Thaw overnight in the fridge before reheating.
Make-Ahead: Prepare the stuffing a day in advance and keep it covered in the refrigerator. Bake on Thanksgiving day for a fresh and warm experience.
Reheating: Reheat in the oven, covered with foil, at 350°F (175°C) for about 20 minutes, or until heated through, ensuring Grandma’s Thanksgiving stuffing is deliciously moist.
Expert Tips for Grandma’s Thanksgiving Stuffing
• Quality Ingredients: Use high-quality, fresh bread and herbs for maximum flavor; avoid pre-packaged products that can taste bland.
• Taste as You Go: Adjust seasoning according to your personal preference by tasting the mixture before baking; it’s the key to a perfect Grandma’s Thanksgiving stuffing.
• Moisture Check: Ensure the stuffing mixture is adequately moist before baking; it should soak up the broth without being too soggy.
• Variety in Bread: Experiment with different bread types like cornbread or whole grain for unique flavor profiles and textures in your stuffing.
• Custom Add-ins: Feel free to incorporate sausage, nuts, or dried fruits to add personal flavors that resonate with your holiday traditions.
• Bake to Perfection: Keep an eye on the stuffing as it bakes; remove the foil towards the end to achieve that lovely golden crispiness on top.
What to Serve with Grandma’s Thanksgiving Stuffing
Imagine your Thanksgiving table adorned with delightful flavors and comforting aromas that wrap you in warmth and nostalgia.
-
Herb-Roasted Turkey: Perfectly moist turkey paired with rich gravy complements the savory, herbal notes of the stuffing beautifully.
-
Cranberry Sauce: The sweet-tart flavor of homemade cranberry sauce adds a vibrant contrast to the stuffing’s heartiness, balancing the flavors.
-
Garlic Green Beans: These crisp green beans coated in garlic provide a fresh crunch and bright color, enhancing your festive plate.
-
Creamy Mashed Potatoes: Silky smooth and buttery mashed potatoes bring a wonderful creaminess that pairs perfectly with the stuffing’s texture.
-
Maple Glazed Carrots: Roasted carrots sweetened with a splash of maple syrup create a lovely sweetness that harmonizes with the savory elements of the meal.
-
Sautéed Brussels Sprouts: Their slightly bitter taste and crispiness make a great counterpoint to the stuffing’s comforting qualities, adding depth to each bite.
-
Savory Gravy: Drizzling warm, flavorful gravy over both turkey and stuffing creates an irresistible combination of taste and texture.
-
Pumpkin Pie: End your meal with a slice of spiced pumpkin pie; its sweetness and spices beautifully offset the richness of the stuffing.
-
Mulled Wine: A warm glass of mulled wine fills the room with festive spices, making it the perfect drink to sip with your Thanksgiving feast.
Variations & Substitutions for Grandma’s Thanksgiving Stuffing
Feel free to sprinkle in your own creative touches and make this stuffing uniquely yours!
-
Meat Lovers:
Add cooked sausage or bacon for a savory, hearty boost. The irresistible flavors blend beautifully, giving that cozy holiday feel. -
Fruity Twist:
Toss in dried cranberries or apricots for a delightful sweet surprise that complements the earthiness of the herbs. It’s an unexpected pairing that brings joy to every bite! -
Cornbread Base:
Substitute traditional bread with cornbread for a sweet and crumbly texture. This twist adds a Southern charm to your Thanksgiving table. -
Nuts for Crunch:
Introduce walnuts or pecans for an added crunch and a nutty flavor. This little change brings depth and personality to grandma’s classic recipe. -
Heat Things Up:
Mix in a dash of cayenne pepper or some diced jalapeños for a spicy kick. It’s a fun way to keep your guests guessing while tasting this comforting dish! -
Herb Variations:
Experiment with different herbs like basil or parsley to create a unique flavor profile. Feel free to customize according to your favorites for a personalized touch. -
Vegan Delight:
Use vegetable broth instead of chicken broth and substitute olive oil for butter, making it a delightful vegan-friendly option. No one will miss the meat, we promise! -
Gluten-Free Goodness:
Swap the traditional bread for gluten-free bread or even quinoa for a nutritious alternative. This allows everyone to enjoy comfort food regardless of dietary needs.
These variations allow you to adapt Grandma’s Thanksgiving Stuffing to your taste and dietary preferences. So roll up your sleeves and let your creativity shine—your personalized stuffing will be the highlight of the feast! Don’t forget to check out our make-ahead tips for prepping in advance for stress-free cooking on the big day!
Make Ahead Options
Preparing Grandma’s Thanksgiving Stuffing in advance is a fantastic way to save time and ensure your holiday meal runs smoothly! You can assemble the stuffing up to 24 hours ahead of time—just prepare it completely, then cover it tightly and refrigerate. When you’re ready to serve, simply take it out and let it come to room temperature while preheating your oven. To maintain its delightful texture, sprinkle a little extra broth over the top before baking; this helps keep the stuffing moist and flavorful. Bake it as directed, and you’ll have a delicious, hassle-free side dish that tastes just as good as if made fresh that day!
Grandma’s Thanksgiving Stuffing Recipe FAQs
What type of bread should I use for Grandma’s Thanksgiving stuffing?
For the best texture and flavor, I recommend using 10 cups of stale sourdough or French bread. Ensure it’s cubed and dried out overnight, which allows it to absorb flavors and moisture without becoming soggy.
Can I prepare the stuffing in advance?
Absolutely! You can assemble Grandma’s Thanksgiving stuffing the day before and store it covered in the refrigerator. Just bake it fresh on Thanksgiving day to ensure it’s warm and enjoyable for everyone at the table.
How should I store leftover stuffing?
Store any leftovers in an airtight container in the refrigerator for up to 3-4 days. When reheating, I suggest doing so in the oven at 350°F (175°C) for about 20 minutes. Cover the dish with foil to help maintain moisture.
Can I freeze Grandma’s Thanksgiving stuffing?
Yes, you can! For longer storage, freeze the stuffing in tightly sealed containers or freezer bags for up to 2-3 months. Thaw overnight in the refrigerator before reheating. To reheat, place in a preheated oven at 350°F (175°C) until warmed through.
What if my stuffing turns out too dry?
If your stuffing is too dry, don’t worry! You can add a bit more broth to moisten it or cover it with foil when baking to trap in moisture. Stirring in some warm broth right before serving can also help revive its texture.
Are there any gluten-free options for this recipe?
Very much so! Simply substitute the stale bread with gluten-free bread to make Grandma’s Thanksgiving stuffing suitable for those with gluten sensitivities. Just ensure the broth used is also gluten-free.
Grandma’s Thanksgiving Stuffing: Your Comfort Food Classic!
Ingredients
Equipment
Method
- Preheat your oven to 350°F (175°C). Cube the bread into small pieces and set aside.
- In a large skillet, melt the unsalted butter over medium heat. Add the diced onion and chopped celery. Sauté for 5 to 7 minutes.
- In a large mixing bowl, combine the sautéed vegetables with cubed bread, fresh herbs, salt, and pepper.
- Gradually pour in the warm broth and mix gently until the bread is evenly coated.
- Transfer the mixture to a greased baking dish, cover with foil, and bake for 30 minutes.
- Remove the foil and bake for an additional 15 minutes until the top is golden and crisp.
Leave a Reply