
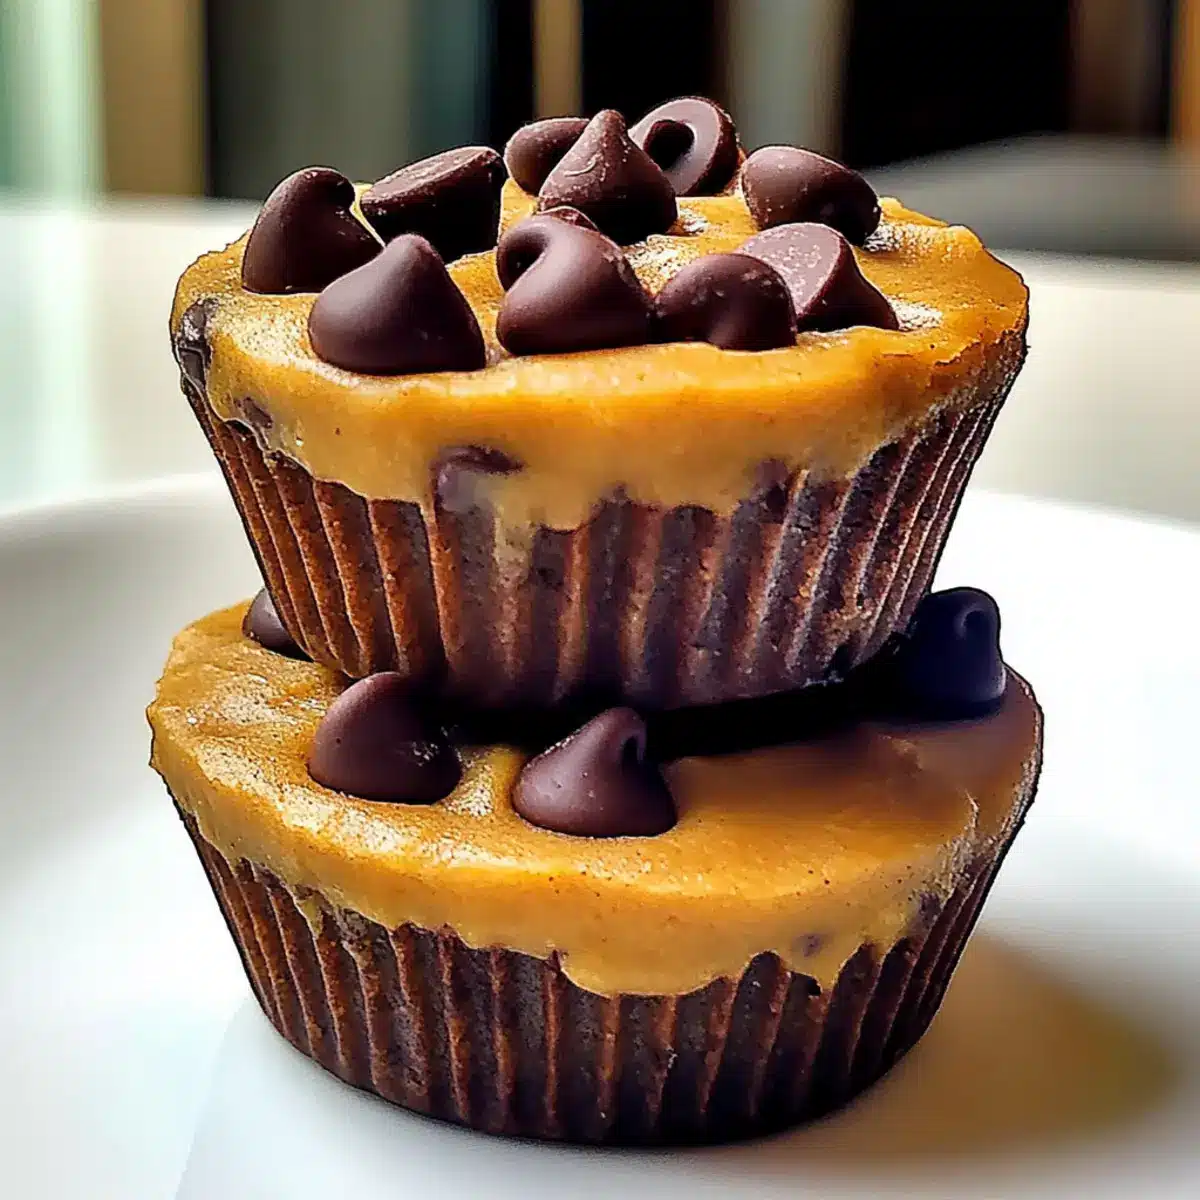
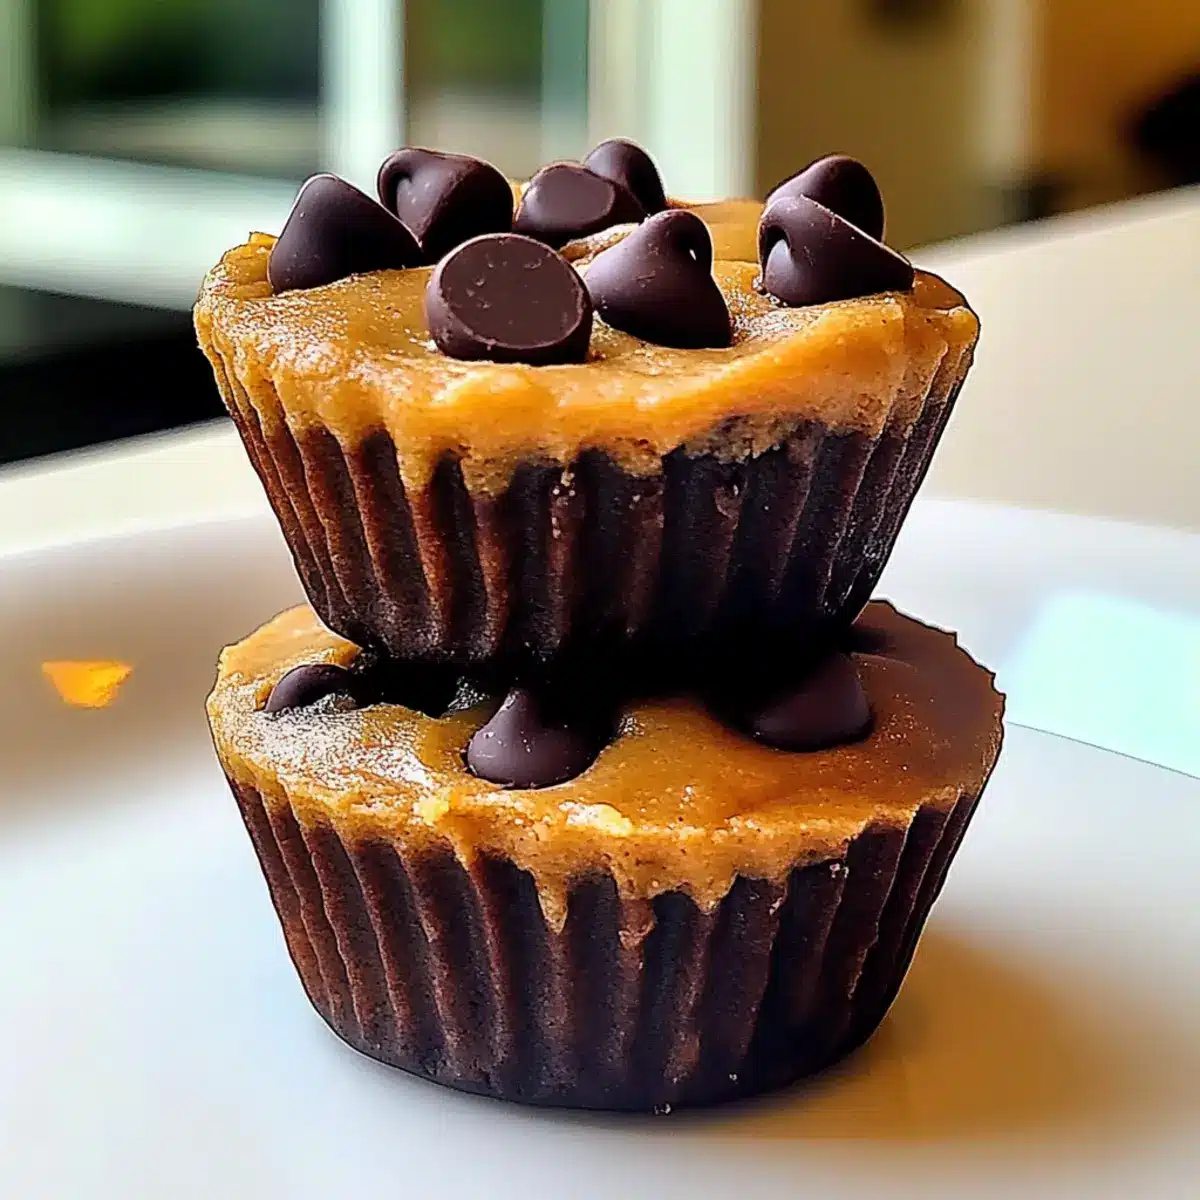
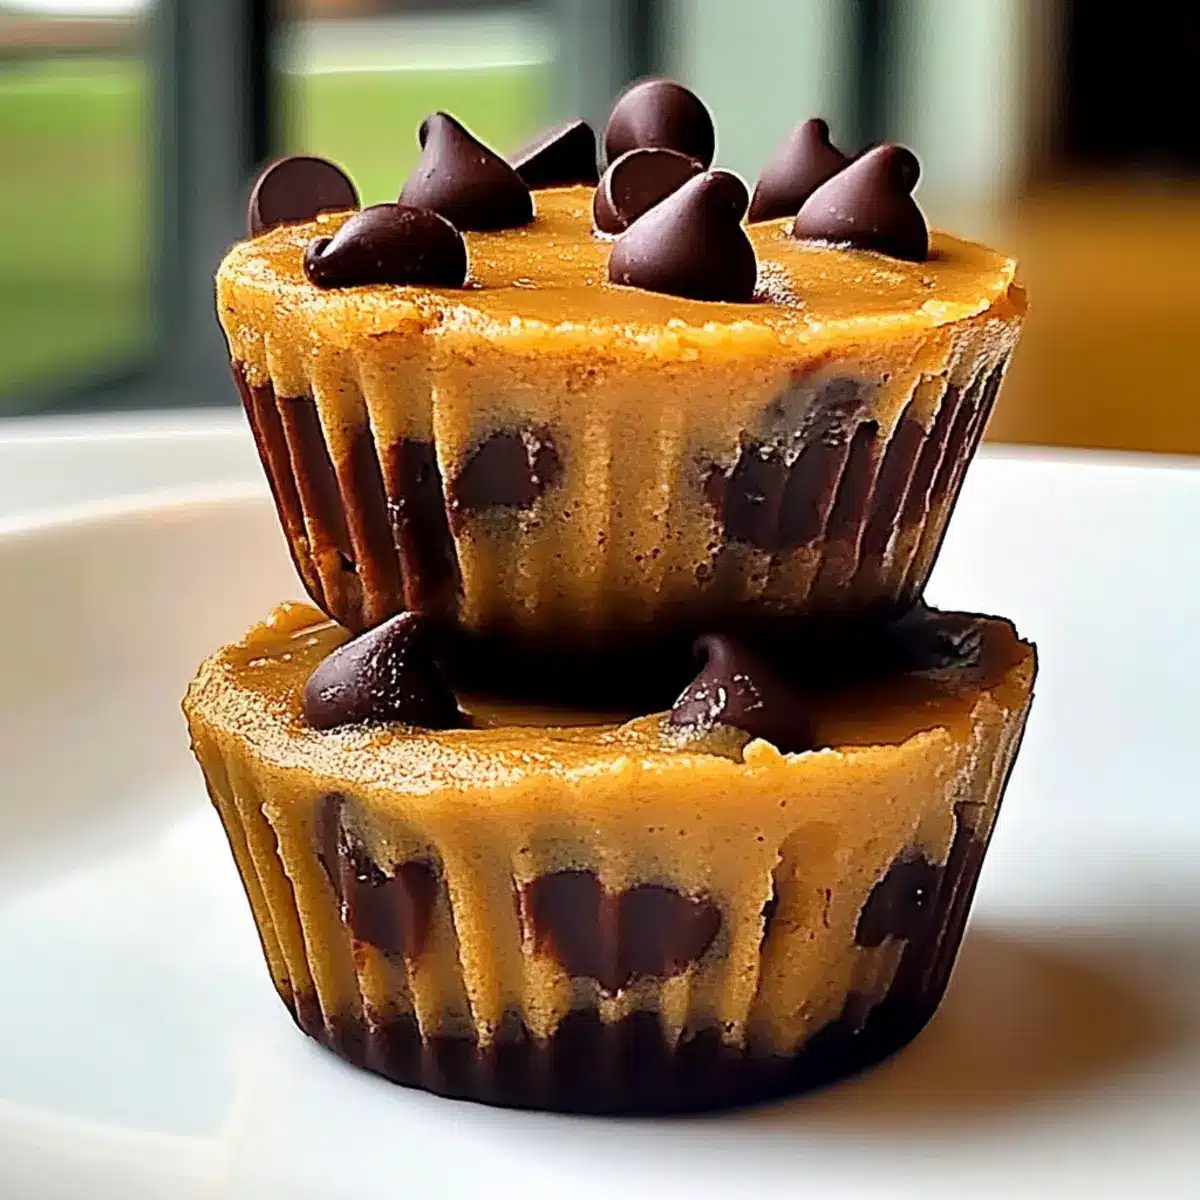
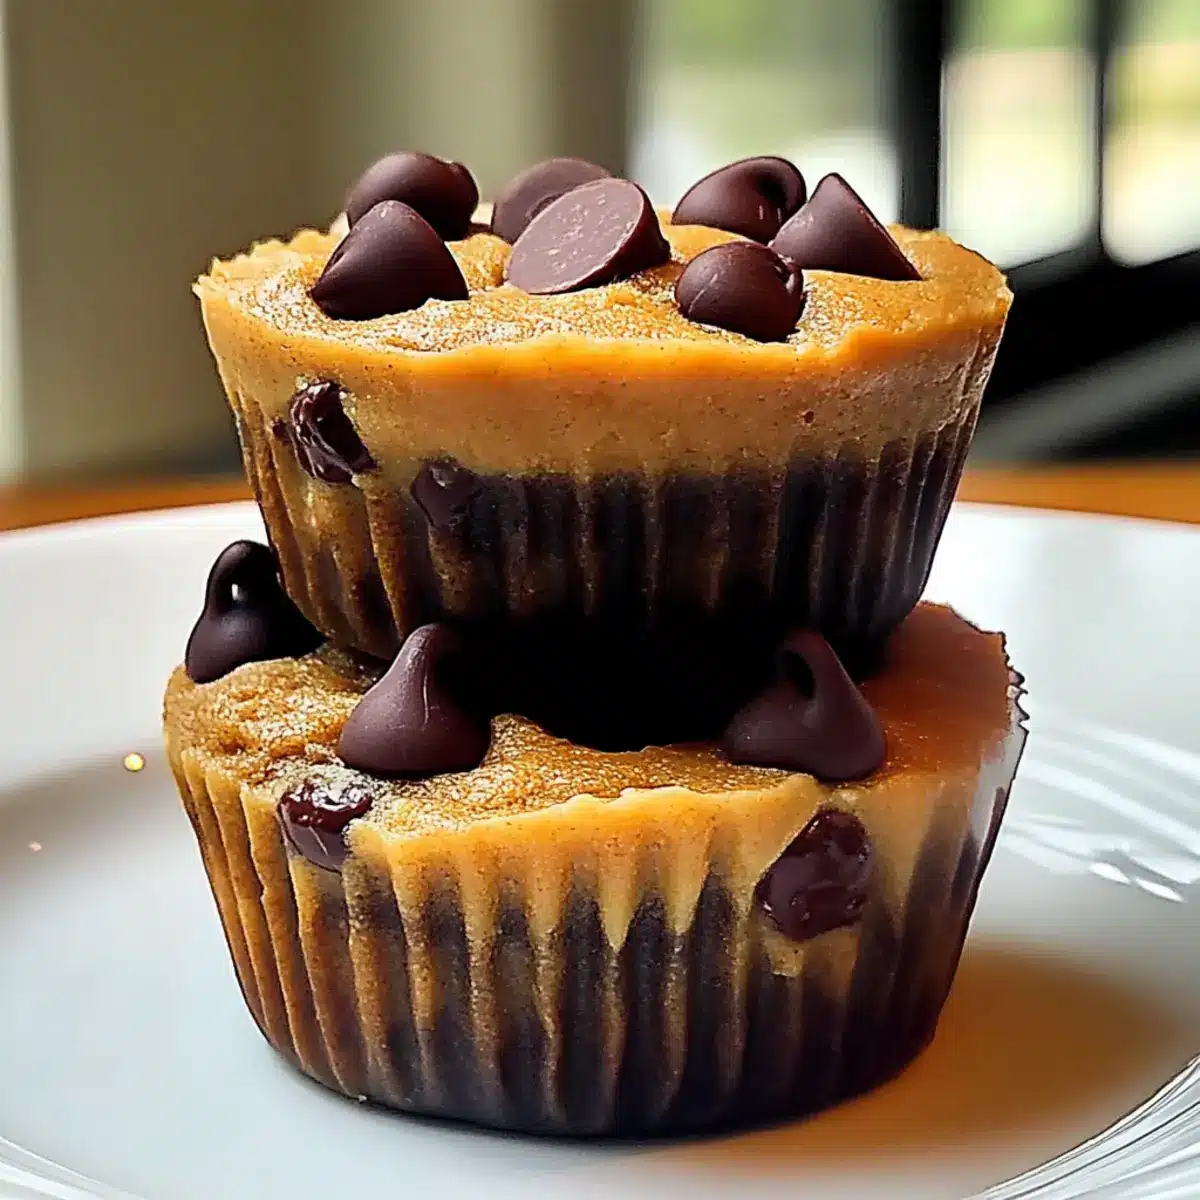
As the aroma of freshly baked cookies wafted through my kitchen, I couldn’t help but feel a wave of nostalgia—those cozy moments spent after school, diving into a jar of peanut butter with a spoon. Today, I’m excited to share a sweet twist on that childhood favorite: Peanut Butter Chocolate Chip Cookie Cups. These delightful treats effortlessly blend a chewy cookie base with luscious chocolate and an indulgent peanut butter filling, making them a heavenly dessert for any occasion. Plus, they’re quick to whip up, so you can satisfy your sweet tooth in no time! Whether you’re treating yourself or delighting guests, these cookie cups deliver the perfect comforting bite that’s hard to resist. Who’s ready to indulge?
Why not indulge in something sweet?
Irresistible Treat: These Peanut Butter Chocolate Chip Cookie Cups are a match made in dessert heaven, combining soft cookies and creamy peanut butter for a delightful bite.
Quick & Easy: With simple ingredients and fast prep, you can have these ready in no time—perfect for a last-minute treat!
Versatile Flavors: Add some flair by mixing in nuts or swapping peanut butter for almond butter. You might also check out our Chocolate Pretzel Cupcakes for another indulgent option!
Crowd-Pleasing Appeal: These cookie cups are sure to impress at any gathering, making them a go-to dessert for parties or potlucks.
Gluten-Free Option: You can easily adapt this recipe for gluten-free friends by substituting all-purpose flour for a gluten-free blend, ensuring everyone can enjoy these scrumptious treats!
Peanut Butter Chocolate Chip Cookie Cups Ingredients
For the Cookie Cups
• Peanut Butter – Creamy peanut butter works best for a smooth texture in these delectable cups.
• Chocolate Chips – Semi-sweet or dark chocolate chips enhance the sweetness and add rich cocoa flavor.
• Brown Sugar – Adds moisture and a deep caramel hint, perfect for achieving that chewy cookie texture.
• Granulated Sugar – Balances sweetness and contributes to the iconic chewy feel of cookies.
• Unsalted Butter (softened) – Creates a tender and luxurious cookie base that complements the peanut butter.
• Egg – Acts as a binder, providing necessary structure and stability to the cookie cups.
• Vanilla Extract – Brings out the sweet and nutty flavor nuances throughout the cookie dough.
• All-Purpose Flour – The backbone of the cookie dough, this provides the ideal structure and texture.
• Baking Soda – Helps leaven the dough slightly, giving the cookie cups their perfect puffy shape.
• Salt – A pinch to balance out sweetness, enhancing those lovely chocolate and peanut butter notes.
For the Peanut Butter Filling
• Creamy Peanut Butter – A spoonful of warmth and richness added to each cup, elevating the treat.
These Peanut Butter Chocolate Chip Cookie Cups are simple yet indulgent, perfect for anyone craving something sweet!
Step‑by‑Step Instructions for Peanut Butter Chocolate Chip Cookie Cups
Step 1: Preheat and Prepare
Begin by preheating your oven to 350°F (175°C). While the oven warms up, line a muffin tin with paper liners, ensuring they fit snugly to hold your delicious Peanut Butter Chocolate Chip Cookie Cups. This step will create the perfect vessel for your sweet treats, keeping them from sticking while baking.
Step 2: Cream Butter and Sugars
In a large mixing bowl, use an electric mixer to cream together the softened unsalted butter, brown sugar, and granulated sugar until the mixture becomes light and fluffy, about 2-3 minutes. This is crucial for achieving a luscious and rich cookie base. The texture should be smooth, and the sugars should be well incorporated.
Step 3: Add Egg and Vanilla
Next, gently add in one egg and a splash of vanilla extract to the butter mixture. Continue mixing until everything is combined, ensuring no traces of egg are visible. The batter should look smooth and creamy, promising a flavorful dough for your Peanut Butter Chocolate Chip Cookie Cups.
Step 4: Incorporate Dry Ingredients
Gradually sift in the all-purpose flour, baking soda, and salt. Mix on low speed until the dry ingredients are just combined, avoiding overmixing to keep your cookie cups tender. You’ll want the dough to remain soft and slightly sticky, thus enhancing its chewy texture.
Step 5: Fold in Chocolate Chips
Once your dough is mixed, gently fold in the semi-sweet or dark chocolate chips with a spatula. This will ensure that the chips are evenly distributed throughout the dough, ready to melt deliciously in each Peanut Butter Chocolate Chip Cookie Cup.
Step 6: Scoop Dough into Muffin Liners
Using a tablespoon, scoop dough portions into each muffin liner, pressing gently down to create shallow cups. Aim for a level surface to ensure even baking and a uniform shape for your cookie cups. The filled liners should be about two-thirds full, allowing room for rise.
Step 7: Bake the Cookie Cups
Place the muffin tin in the preheated oven and bake for 10-12 minutes. Keep an eye on them; they should be golden brown around the edges and slightly soft in the center. These visual cues indicate that your Peanut Butter Chocolate Chip Cookie Cups are perfectly baked and ready for their delicious filling.
Step 8: Create Wells and Add Peanut Butter
Remove the muffin tin from the oven and, while still warm, use a small spoon or measuring tool to create a well in the center of each cookie cup. Fill each well with a spoonful of creamy peanut butter. The warmth will slightly melt the peanut butter, infusing the cups with rich flavor.
Step 9: Top with Extra Chocolate Chips
Sprinkle additional chocolate chips over the filled peanut butter cups, allowing them to melt slightly in the residual heat for added decadence. This final touch not only enhances the visual appeal but also intensifies the chocolate flavor in your Peanut Butter Chocolate Chip Cookie Cups.
Step 10: Cool and Transfer
Allow the cookie cups to cool in the pan for about 10 minutes, letting them stabilize. Once cooled, carefully transfer them to a wire rack to cool completely. This cooling process is vital to maintain their shape and texture, ensuring a delightful bite when you’re ready to indulge.
Storage Tips for Peanut Butter Chocolate Chip Cookie Cups
Room Temperature: Store your Peanut Butter Chocolate Chip Cookie Cups in an airtight container at room temperature for up to 5 days to keep them soft and chewy.
Fridge: If you want to prolong freshness, keep them in the refrigerator for up to 10 days. Just be sure they’re in a sealed container to prevent them from drying out.
Freezer: For longer storage, freeze the cookie cups in a zip-top bag for up to 2 months. Allow them to cool completely before freezing, and thaw at room temperature when ready to enjoy.
Reheating: If you prefer them warm, simply reheat in the microwave for about 10-15 seconds. This will bring back that gooey texture perfect for indulging!
Expert Tips for Peanut Butter Chocolate Chip Cookie Cups
• Use Creamy Peanut Butter: For the best texture, opt for creamy peanut butter. Crunchy can be used but may result in a drier cookie.
• Cool Completely: Allow the cookie cups to cool fully before removing them from the muffin tin; this helps maintain their shape and avoids crumbling.
• Check Baking Time: Keep a close eye on the baking time. Overbaking can lead to dry cookie cups; they should be slightly soft in the center when done.
• Gluten-Free Substitute: If you’re making gluten-free Peanut Butter Chocolate Chip Cookie Cups, use a 1:1 gluten-free baking mix, ensuring all ingredients are gluten-free.
• Add Your Twist: Feel free to mix in chopped nuts, dried fruits, or replace peanut butter with almond butter for extra flavor variety!
Peanut Butter Chocolate Chip Cookie Cups Variations
Feel free to tailor these delightful treats to your taste buds and dietary needs for an unforgettable dessert experience!
-
Nutty Twist: Substitute almond butter for peanut butter for a fragrant, nutty flair. This alternative adds a unique richness that visitors will adore.
-
Texture Boost: Mix in chopped nuts or dried fruits like cranberries or raisins. This provides an unexpected crunch and bursts of flavor in every bite.
-
Chocolate Drizzle: Add an extra layer of indulgence by drizzling melted chocolate over the tops. It creates a beautiful finish that aesthetically elevates your dessert.
-
Mini Cups: Use a mini muffin tin to create bite-sized cookie cups. They’re perfect for parties, letting guests enjoy these treats in a fun, smaller form.
-
Spicy Kick: Try mixing in a pinch of cayenne pepper or cinnamon to the dough for a surprising twist. The subtle heat complements the sweet flavors wonderfully.
-
Vegan Delight: Replace the egg with flaxseed meal or applesauce to make these cookie cups vegan-friendly. Combine 1 tablespoon of flaxseed meal with 3 tablespoons of water for a great binding agent.
As you explore these variations, consider pairing your cookie cups with the classic charm of our Shortbread Cookies Perfectly or even the luscious flavors from our Chocolate Chip Banana recipe for more delightful dessert experiences!
What to Serve with Peanut Butter Chocolate Chip Cookie Cups
As you prepare to delight in these gooey treats, consider pairing them with complementary flavors and textures to craft the ultimate dessert experience.
- Vanilla Ice Cream: A scoop of creamy vanilla ice cream adds a rich contrast, balancing the sweetness and enhancing the indulgent experience.
- Chocolate Sauce: Drizzling warm chocolate sauce on top intensifies the chocolate flavor, making every bite a decadent delight.
- Fresh Berries: Bright, juicy berries like raspberries or strawberries offer a refreshing tartness that cuts through the creamy richness of the cookie cups.
- Whipped Cream: Light and airy whipped cream adds a luscious touch that wonderfully complements the buttery peanut butter filling.
- Coffee: A rich cup of coffee, whether black or with milk, brings a subtle bitterness that harmonizes beautifully with the sweetness of the cookie cups.
- Caramel Sauce: A drizzle of warm caramel creates a delightful flavor combination, with the saltiness of the caramel enhancing the sweet flavors of the cookies.
- Nutella: A dollop of Nutella next to the cookie cups adds an irresistible hazelnut chocolate twist that fans of chocolate will adore.
- Milk: A classic pairing, a tall glass of cold milk is perfect for washing down these cookie cups, enhancing the comfort food vibe.
- Peanut Butter Drizzle: For peanut butter lovers, an extra drizzle of creamy peanut butter makes these dessert cups even more indulgent and satisfying.
Make Ahead Options
These Peanut Butter Chocolate Chip Cookie Cups are perfect for meal prep, saving you time and hassle on busy days! You can prepare the cookie dough up to 24 hours in advance—just store it in an airtight container in the fridge. Additionally, you can bake the cups and fill them with peanut butter, then refrigerate them for up to 3 days. When you’re ready to enjoy, simply warm them in the oven for a few minutes to restore that fresh-baked goodness. To maintain their chewy texture, avoid overbaking, and make sure to cool them completely before storage. This way, you can indulge in these delightful treats whenever the craving hits!
Peanut Butter Chocolate Chip Cookie Cups Recipe FAQs
How do I select ripe ingredients for this recipe?
Absolutely! When choosing peanut butter, opt for creamy varieties as they produce a smoother texture in your cookie cups. If using chocolate chips, semi-sweet or dark varieties enhance the richness. Make sure your eggs are fresh for optimal binding, and your butter should be softened for easy creaming with the sugars.
How should I store leftover cookie cups?
Great question! Store your Peanut Butter Chocolate Chip Cookie Cups in an airtight container at room temperature for up to 5 days. If you choose to refrigerate them, they can last up to 10 days. Just be sure to seal them well to prevent drying!
Can I freeze the cookie cups, and how?
Yes, you can definitely freeze these delightful treats! After cooling completely, place the cookie cups in a zip-top bag, ensuring to remove as much air as possible. They can be stored this way for up to 2 months. When you’re ready to enjoy them, thaw the cookie cups at room temperature. For a bit of warm gooeyness, pop them in the microwave for about 10-15 seconds.
What should I do if my cookie cups are too dry?
If your Peanut Butter Chocolate Chip Cookie Cups come out on the dry side, it might be due to overbaking. Keep a close eye during the baking process; they should be golden around the edges and slightly soft in the center. If they do turn out dry, serving them with a scoop of ice cream or drizzling some warm peanut butter may help add moisture.
Are there any allergy considerations for this recipe?
Very! Since the recipe features peanut butter, those with nut allergies should avoid these cookies altogether. If you want alternatives, try substituting with sunflower seed butter or almond butter, but be sure that other ingredients you use are also nut-free if allergies are a concern.
Can I make these cookie cups gluten-free?
Absolutely! To make gluten-free Peanut Butter Chocolate Chip Cookie Cups, simply substitute the all-purpose flour with a gluten-free 1:1 baking mix. Be sure to check that the other ingredients, like chocolate chips, are also gluten-free to keep the entire recipe safe for those with gluten sensitivities.
Peanut Butter Chocolate Chip Cookie Cups: Melty Bliss Awaiting
Ingredients
Equipment
Method
- Preheat your oven to 350°F (175°C) and line a muffin tin with paper liners.
- Cream together softened unsalted butter, brown sugar, and granulated sugar until light and fluffy, about 2-3 minutes.
- Gently add in one egg and vanilla extract to the butter mixture, mixing until combined.
- Gradually sift in all-purpose flour, baking soda, and salt, mixing on low until just combined.
- Fold in chocolate chips evenly with a spatula.
- Scoop dough portions into each muffin liner, pressing gently to create shallow cups.
- Bake for 10-12 minutes, until golden brown around the edges and slightly soft in the center.
- Create a well in the center of each cookie cup and fill with a spoonful of creamy peanut butter.
- Top with additional chocolate chips, allowing them to slightly melt.
- Cool in the pan for about 10 minutes, then transfer to a wire rack to cool completely.
Leave a Reply