
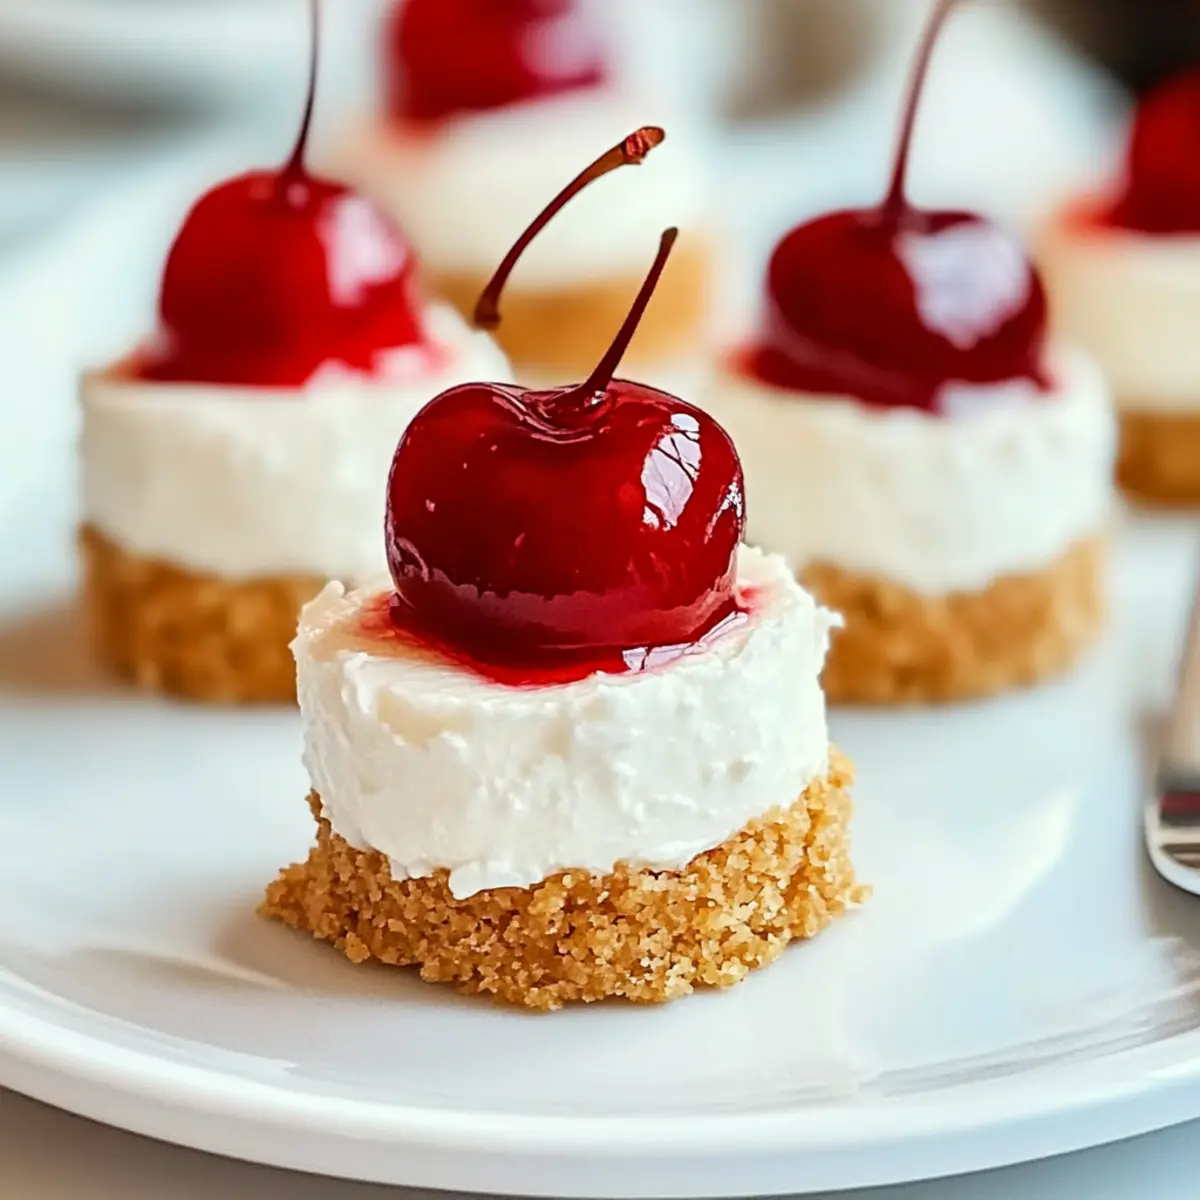
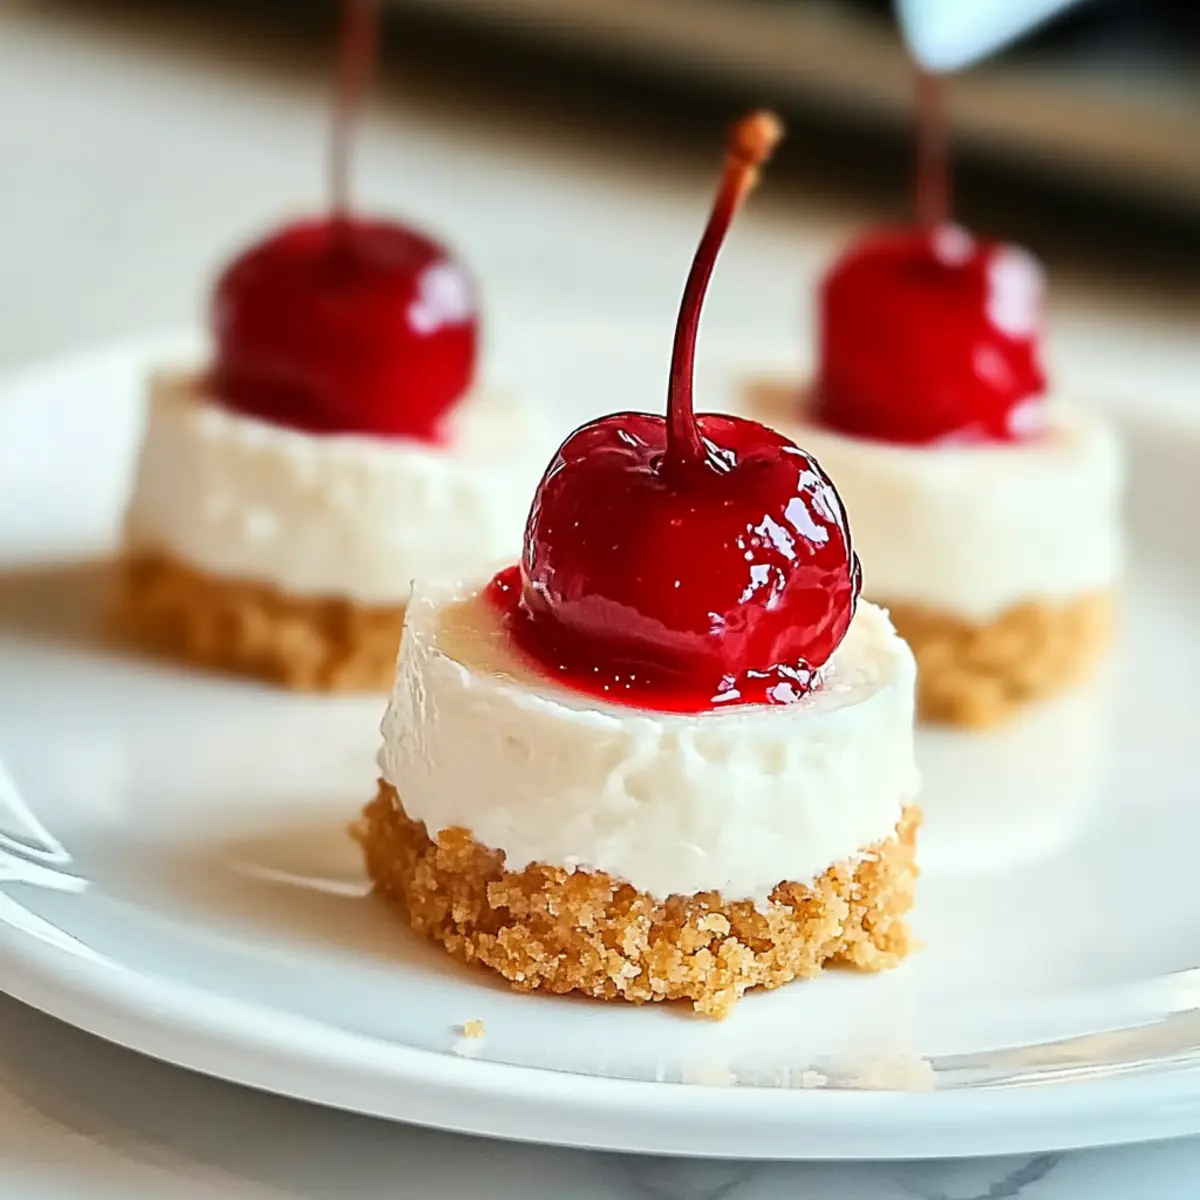
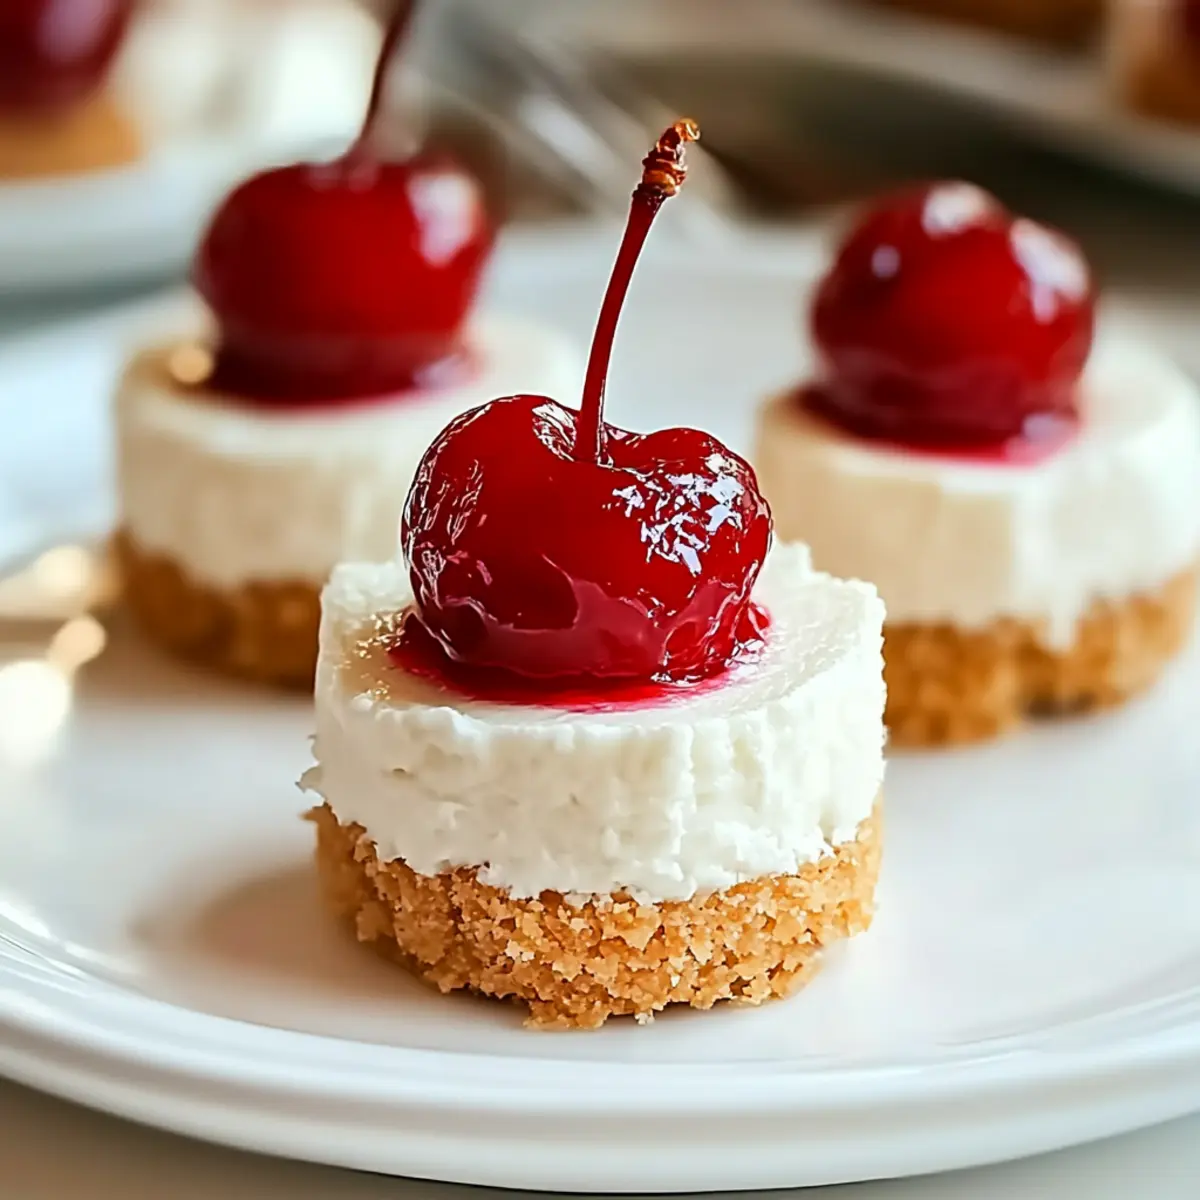
A delightful idea just popped into my mind as I was enjoying a sunny afternoon in my kitchen: what if I could whip up something creamy, dreamy, and utterly indulgent without turning on the oven? Enter my No-Bake Mini Cheesecakes Recipe! These adorable little desserts come together with ease, making them the perfect solution for satisfying those sweet cravings or impressing guests at your next gathering. Crafted from a velvety cream cheese filling nestled on a buttery graham cracker crust and topped with juicy cherries, these mini cheesecakes are both crowd-pleasers and effortlessly elegant. Plus, they’re simply perfect for any occasion, whether you’re hosting a fancy dinner or enjoying a cozy night in. Want to learn how to create this blissful treat? Let’s dive in!
Why Choose No-Bake Mini Cheesecakes?
No-Bake Simplicity: This recipe is a breeze, demanding minimal skills and no oven time, making it ideal for busy schedules.
Creamy Indulgence: With a luscious cream cheese filling, every bite is a delight that melts in your mouth and keeps your taste buds dancing.
Versatile Toppings: You can easily customize these mini cheesecakes with various toppings like fresh berries or chocolate to suit any occasion. Consider serving them alongside my delicious Candied Yams for a delightful dessert spread!
Perfect for Gatherings: Impress your guests effortlessly at parties or family dinners, turning an ordinary gathering into a memorable event.
Storage Friendly: Made ahead and stored in the fridge, they’re an easy make-ahead dessert that ensures you’re always ready for sweet moments!
No-Bake Mini Cheesecakes Ingredients
For the Crust
• Graham Cracker Crumbs – Provides structure and a buttery flavor; crushed digestive biscuits or vanilla wafers make great substitutes.
• Granulated Sugar – Sweetens the crust and cheesecake filling; brown sugar can add a deeper flavor.
• Unsalted Butter – Binds the crust mixture and adds richness; it must be melted for proper mixing.
For the Cheesecake Filling
• Cream Cheese – Forms the creamy base of the cheesecake; substitute with a dairy-free alternative if desired.
• Sour Cream – Adds a subtle tang to balance the sweetness; creamy yogurt is a good substitute.
• Fresh Lemon Juice – Brightens the flavors; freshly squeezed yields the best taste.
• Heavy Whipping Cream – Creates lightness in the filling; use coconut cream for a dairy-free option.
Topping Ideas
• Fresh Cherries – Adds a juicy burst of flavor; you can substitute with other berries or chocolate as topping variations.
• Chocolate Ganache – Rich and decadent; drizzled on top, it pairs beautifully with the creamy filling.
• Caramel Sauce – A sweet drizzle for a delicious contrast; enhances the flavor profile of your mini cheesecakes.
This No-Bake Mini Cheesecakes Recipe is designed to help you whip up a delightful dessert effortlessly!
Step‑by‑Step Instructions for Easy No-Bake Mini Cheesecakes with Cherry Topping
Step 1: Prepare the Crust
Start by crushing graham crackers until you achieve a fine crumb consistency; this can be done using a food processor or a zip-top bag and rolling pin. In a medium bowl, mix the crumbs with granulated sugar and melted unsalted butter until it resembles wet sand. Firmly press the mixture into mini cheesecake cups or muffin liners, creating an even layer. Refrigerate for about 15 minutes to set.
Step 2: Make the Cheesecake Filling
In a large mixing bowl, beat the softened cream cheese using an electric mixer on medium speed until incredibly smooth and creamy, which should take about 2-3 minutes. Gradually add in the granulated sugar while continuing to beat, ensuring everything is well combined. Mix in the sour cream and fresh lemon juice until the mixture is fully blended and creamy—set this aside.
Step 3: Whip the Cream
In a separate bowl, pour in the heavy whipping cream and use an electric mixer to whip it on high speed until soft peaks start to form, which should take about 3-5 minutes. Keep an eye on it to avoid overwhipping, as you want a light and airy texture for your mini cheesecakes. This will enhance the creaminess of your filling and provide a delightful fluffiness.
Step 4: Combine the Mixtures
Gently fold the whipped cream into the cream cheese mixture using a spatula, being careful to maintain the lightness by not overmixing. You want the two mixtures to just blend together beautifully without deflating the whipped cream. This combination will give your Easy No-Bake Mini Cheesecakes their signature creamy texture and flavor.
Step 5: Assemble the Cheesecakes
Once the filling is ready, remove your chilled crusts from the refrigerator. Spoon or pipe the cheesecake filling evenly into each crust, smoothing the surface with a spatula or the back of a spoon. Make sure to fill them generously to the top for a delightful presentation.
Step 6: Chill to Set
Cover the assembled mini cheesecakes with plastic wrap to prevent drying, and place them in the refrigerator. Allow them to chill for at least 4 hours, or overnight if possible, to let the flavors meld and the filling to firm up, ensuring each cheesecake is perfectly set.
Step 7: Serve with Toppings
Just before serving your delicious no-bake mini cheesecakes, add your choice of cherry topping or any other fruit you prefer. This will not only add a burst of color but also enhance the flavor profile. Serve chilled and enjoy the smiles as everyone savors these delightful treats!
How to Store and Freeze No-Bake Mini Cheesecakes
Fridge: Store tightly covered for up to 4 days in the refrigerator, ensuring they remain fresh and ready to delight your taste buds whenever the craving strikes.
Freezer: For longer storage, freeze the mini cheesecakes without toppings for up to 1 month. Wrap them individually in plastic wrap, then place in an airtight container.
Thawing: When ready to enjoy, simply transfer your frozen no-bake mini cheesecakes to the fridge for several hours or overnight to thaw gently.
Serving: After thawing, add your favorite toppings just before serving for a fresh, vibrant finish that elevates these delightful treats!
What to Serve with Easy No-Bake Mini Cheesecakes with Cherry Topping
Indulging in creamy, dreamy mini cheesecakes is a treat on its own, but pairing them with the right sides elevates your dessert experience.
-
Fresh Berries: Bright blueberries or raspberries add a refreshing tartness, complementing the sweetness of the cheesecake beautifully. Served on the side, they bring a pop of color to your plate.
-
Chocolate Drizzle: A warm chocolate ganache adds richness and decadence. Drizzle it over the cheesecakes just before serving for an extra touch of luxury.
-
Whipped Cream: Light, airy, and ultra-creamy, a dollop of homemade whipped cream enhances the cheesecake’s texture while adding a touch of sweetness.
-
Fruit Salad: A medley of seasonal fruits brings freshness and a variety of textures that harmonize wonderfully with the cheesecakes.
-
Mint Leaves: Garnish with fresh mint for a pop of color and a hint of minty flavor that refreshes the palate after each rich bite.
-
Coffee or Espresso: Serve with a robust cup of coffee or espresso to balance the sweetness and enhance the creamy notes of the cheesecake. The slight bitterness of coffee offers a perfect contrast.
-
Ice Cream: A scoop of vanilla or cherry ice cream alongside your cheesecakes can transform dessert into a delightful sundae experience! The creaminess complements the cheesecake while adding a fun twist.
-
Caramel Sauce: A drizzle of warm caramel adds a sweet and slightly salty flavor, enhancing the dessert’s indulgence. Pair each cheesecake bite with a touch of caramel for an unforgettable combination.
Make Ahead Options
These Easy No-Bake Mini Cheesecakes are perfect for meal prep enthusiasts who want to save time during busy weeks! You can prepare the crusts up to 24 hours in advance and refrigerate them in an airtight container, ensuring they stay fresh and maintain their crunch. The cheesecake filling can also be made ahead of time; simply whip it up and store it—without folding in the whipped cream—covered in the fridge for up to 3 days. When you’re ready to serve, gently fold the whipped cream into the filling, spoon it into the crusts, and chill for about 4 hours or overnight for optimal flavor. This make-ahead approach allows for an effortlessly elegant dessert that’s just as delicious!
No-Bake Mini Cheesecakes Recipe: Variations & Substitutions
Feel free to tailor this delightful dessert to your preferences, making it uniquely yours!
-
Dairy-Free: Replace cream cheese with vegan cream cheese and use coconut cream instead of heavy whipping cream for a delicious dairy-free version.
-
Gluten-Free: Swap graham cracker crumbs for gluten-free cookie crumbs or almond flour to create a crunchy crust that everyone can enjoy.
-
Chocolate Delight: Mix in cocoa powder or melted chocolate into the cheesecake filling for a rich chocolate flavor that complements the original sweetness.
-
Fruit Fusion: Top with a variety of fresh fruits like strawberries, blueberries, or raspberries instead of cherries for a vibrant and fruity twist.
-
Nutty Crust: Combine ground almonds or crushed pecans with graham cracker crumbs for an extra crunchy texture and a nutty flavor profile.
-
Key Lime Twist: Substitute sour cream and lemon juice with key lime juice for a zesty flavor that transforms your cheesecakes into a tropical treat.
-
Infused Flavors: Add a splash of vanilla extract, almond extract, or a hint of coffee for unique flavor dimensions that elevate your mini cheesecakes.
-
Syrup Swirls: Swirl in some fruit preserves or chocolate syrup into the cheesecake filling before chilling for a marbled effect that is as pretty as it is delicious!
With these easy variations, you can keep each batch exciting and fit perfectly into different occasions. If you’re in the mood for something a bit savory and enjoy a hearty meal alongside your dessert, consider pairing these cheesecakes with my Freakin Fried Rice or some delightful Sweet Sour Chicken. Happy baking!
Expert Tips for No-Bake Mini Cheesecakes
Room Temp Cream Cheese: Make sure the cream cheese is at room temperature for a smooth filling and to avoid lumps in your no-bake mini cheesecakes.
Firm Crust: Press the crust mixture firmly into the cups to prevent crumbling when serving. A sturdy base ensures a delightful bite every time.
Chill Time Matters: Adhere to the chilling time to allow the flavors to meld and the filling to set perfectly. Rushing this step could lead to a loose filling.
Gentle Folding: Avoid overmixing when folding in the whipped cream; this keeps your filling light and airy, a hallmark of fabulous no-bake mini cheesecakes.
Creative Toppings: Feel free to experiment with different toppings like chocolate ganache or fresh berries, allowing you to customize each dessert for any occasion!

No-Bake Mini Cheesecakes Recipe FAQs
What should I look for when selecting cream cheese?
Absolutely! Freshness is key when it comes to cream cheese. Look for packages that are within their expiration date and feel firm to the touch. If possible, opt for block cream cheese rather than the spreadable kind, as it has a richer texture that will create a creamier filling for your no-bake mini cheesecakes.
How long can I store no-bake mini cheesecakes in the fridge?
You can store your no-bake mini cheesecakes in the refrigerator for up to 4 days if they are tightly covered. I recommend using plastic wrap or an airtight container to keep them fresh and tasty, so you can enjoy a delightful treat whenever the sweet tooth strikes!
Can I freeze the mini cheesecakes? If so, how?
Yes! Freezing is a great option if you want to make these delightful treats ahead of time. To freeze, wrap your cheesecakes individually in plastic wrap, then place them in an airtight container to prevent freezer burn. They can be stored for up to 1 month. To enjoy them, simply thaw them in the fridge for a few hours or overnight before serving.
What if my cheesecake filling is lumpy?
Very good question! If your filling turns out lumpy, it may be because the cream cheese wasn’t soft enough. To fix it, try beating the cream cheese until smooth before adding in the sugar and other ingredients. If you find lumps after everything’s mixed, you can pass the filling through a fine-mesh sieve to achieve a silky texture.
Are these mini cheesecakes safe for people with allergies?
Great consideration! This recipe contains dairy ingredients, including cream cheese and heavy cream. If you have dairy allergies, consider substituting with dairy-free alternatives like coconut cream and dairy-free cream cheese. Always check labels for any hidden allergens to ensure safety for those with dietary restrictions.
Creamy No-Bake Mini Cheesecakes Recipe for Effortless Indulgence
Ingredients
Equipment
Method
- Crush graham crackers until fine crumb consistency. Mix with sugar and melted butter until resembling wet sand. Press into mini cheesecake cups and refrigerate for 15 minutes.
- Beat softened cream cheese with an electric mixer until smooth, about 2-3 minutes. Gradually add granulated sugar and mix well. Incorporate sour cream and lemon juice until fully blended.
- In a separate bowl, whip heavy cream until soft peaks form, about 3-5 minutes. Avoid overwhipping for a light texture.
- Gently fold whipped cream into the cream cheese mixture using a spatula without overmixing.
- Spoon or pipe cheesecake filling evenly into chilled crusts, smoothing the surface. Fill generously to the top.
- Cover cheesecakes with plastic wrap and refrigerate for at least 4 hours, or overnight if possible, to let flavors meld and filling set.
- Before serving, add cherry topping or preferred fruit. Serve chilled and enjoy!
Leave a Reply