
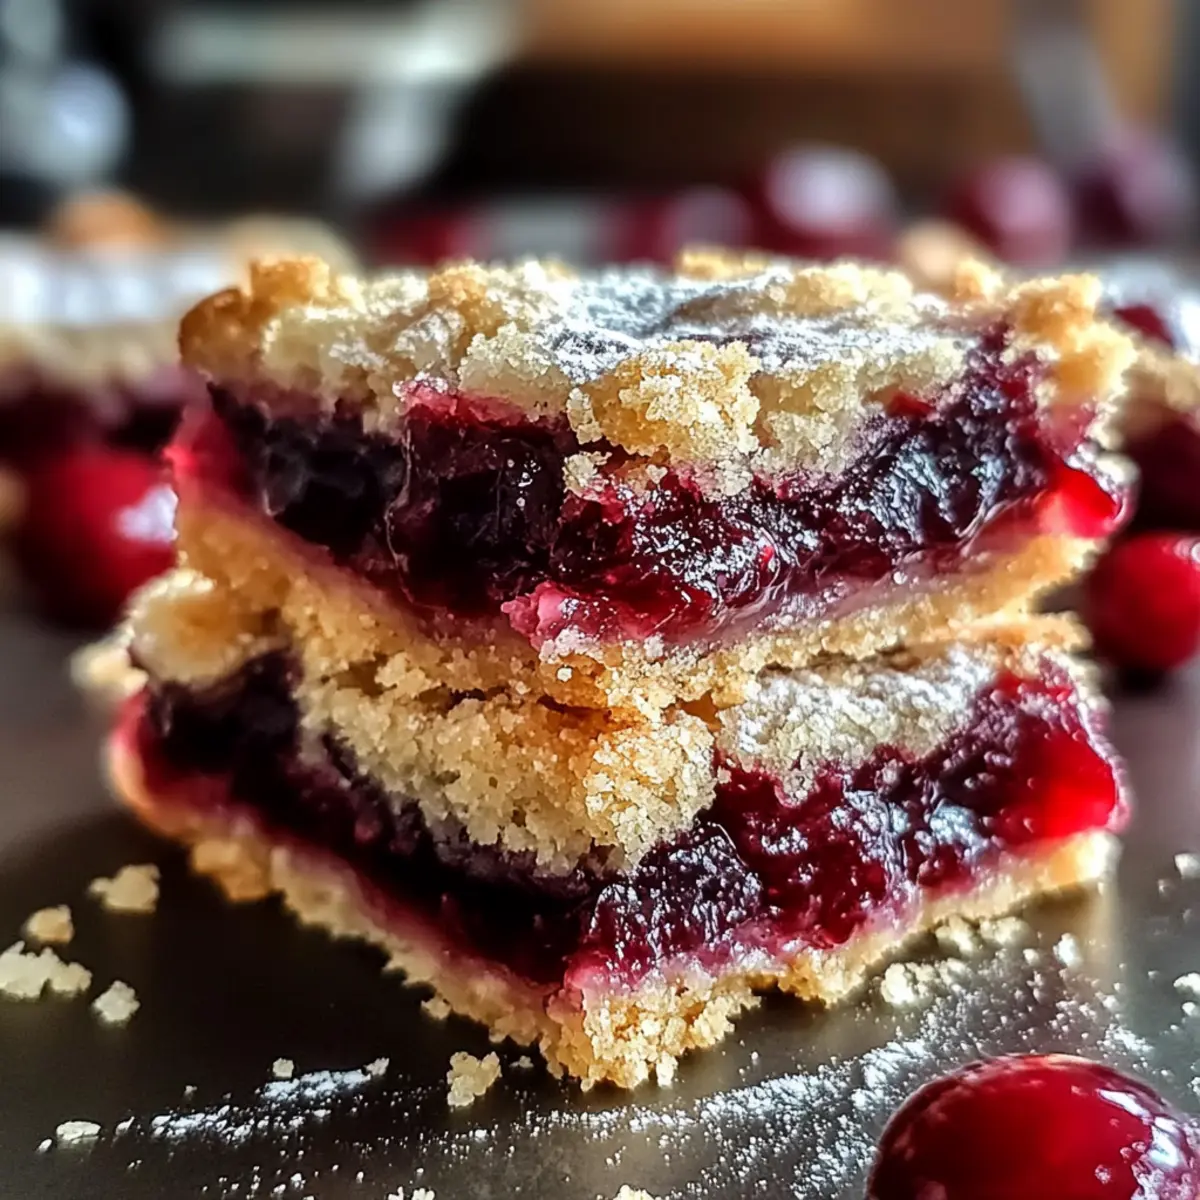
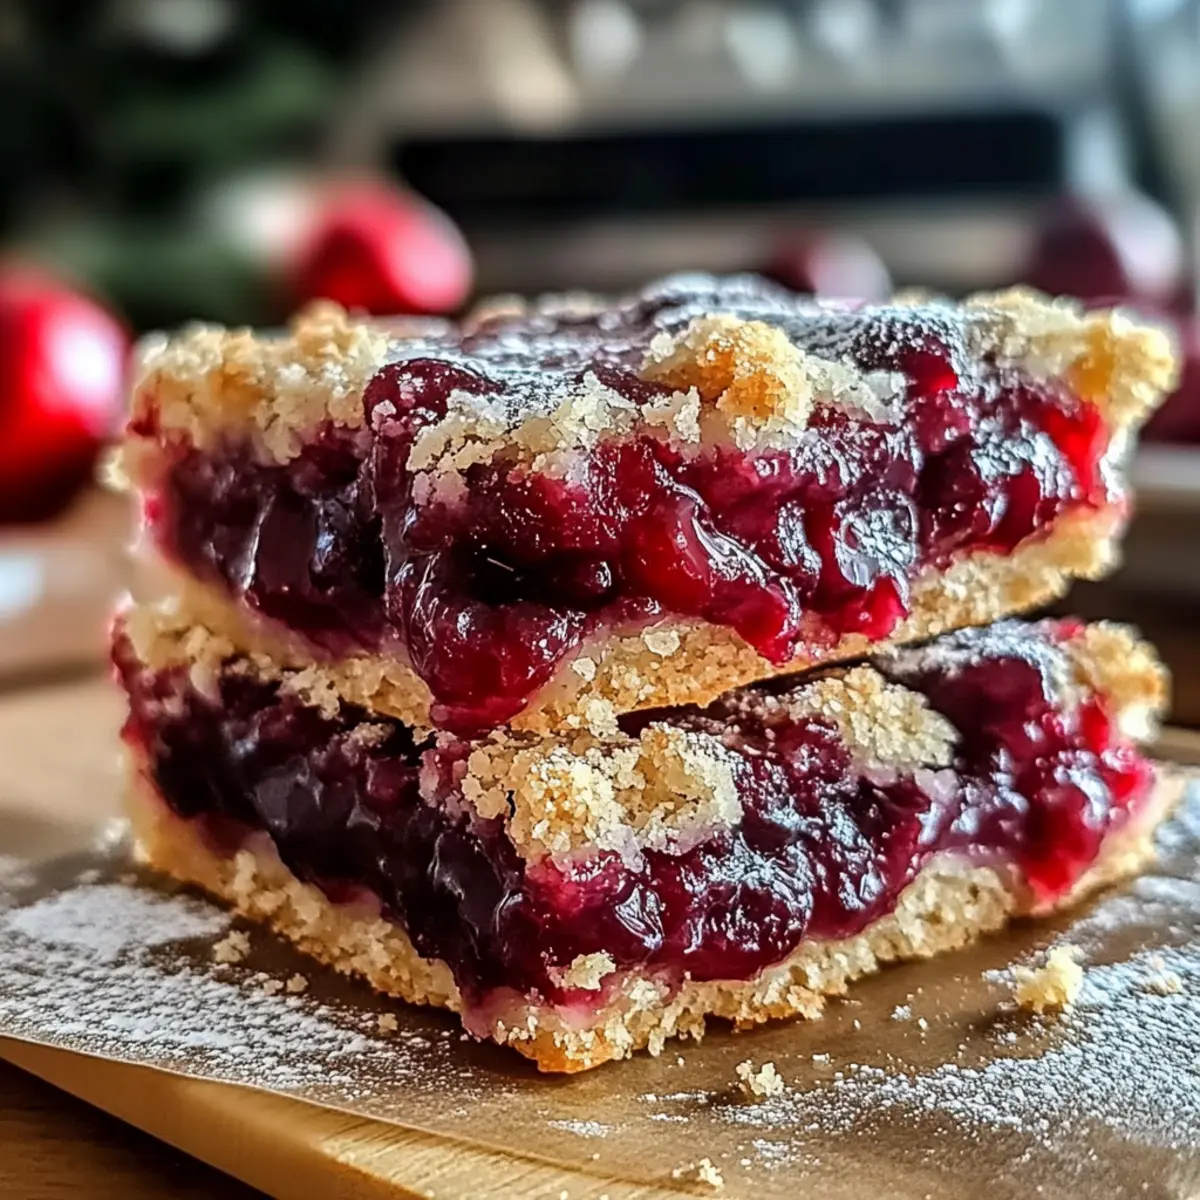
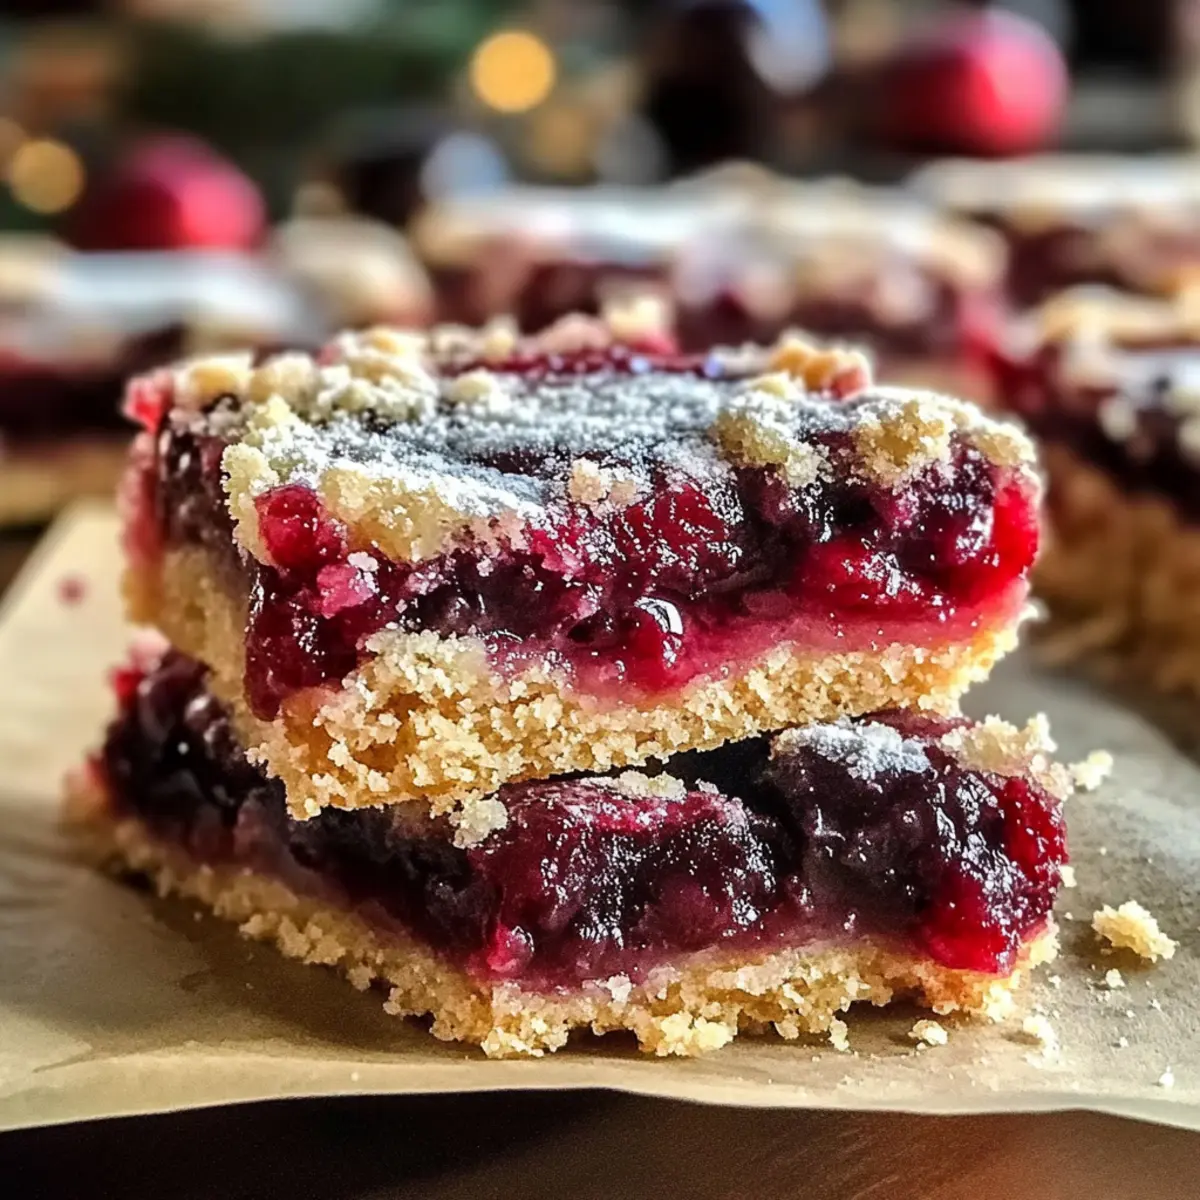
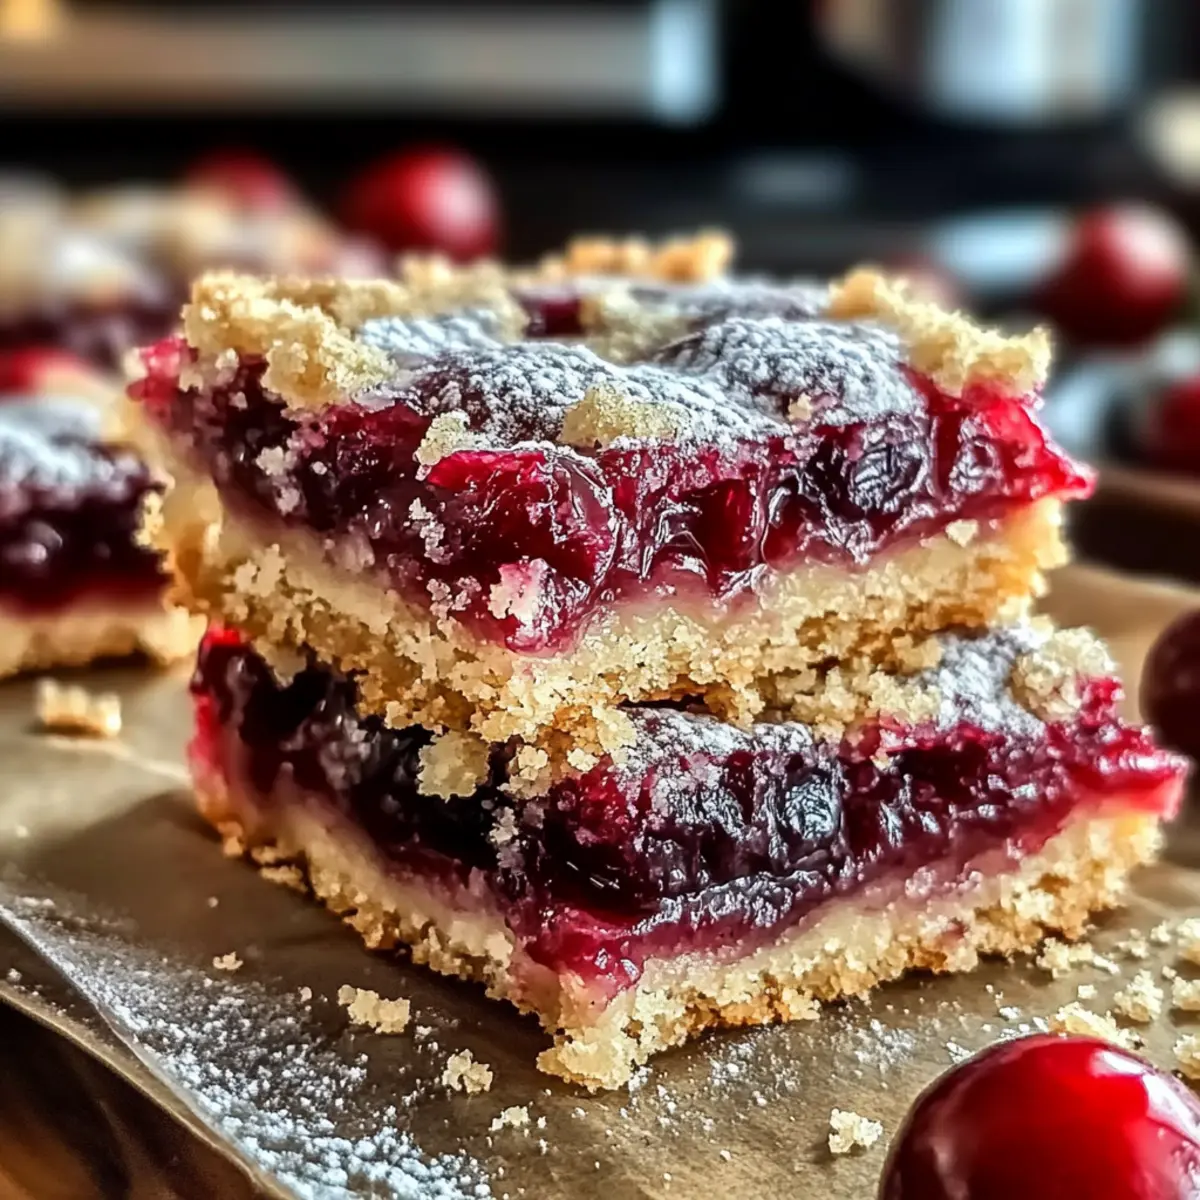
As I rummaged through my grandmother’s old recipe box recently, a flash of nostalgia enveloped me—a collection of love and care wrapped in the form of her beloved Christmas Cherry Bars. With their buttery and tender base, these bars evoke holiday warmth, making them the perfect addition to any festive gathering. Quick to prepare and downright irresistible, my Easy Festive Christmas Cherry Bars are adaptable too, offering gluten-free options that cater to any dietary need. You’ll see them light up your holiday dessert table and become the star of every cookie exchange. Ready to create a sweet holiday memory that will have everyone coming back for more? Let’s dive into these delightful treats together!
Why make Christmas Cherry Bars?
Ease of Preparation: With minimal effort, you whip up these stunning bars, making them perfect for busy bakers!
Festive Appeal: Their vibrant colors and sweet-tart cherry filling make them an eye-catching addition to any holiday spread, impressing your guests.
Customizable Delight: Feel free to experiment with various fruit fillings or dietary options. Whether it’s a vegan twist or a gluten-free version, these bars cater to everyone!
Perfect for Sharing: Great for cookie exchanges or holiday gatherings, these bars create sweet memories that your friends and family will cherish.
Ideal with Ice Cream: Pair them with a scoop of vanilla bean ice cream or a dollop of whipped cream for an indulgent treat!
Make the festive season brighter by sharing these irresistibly Delicious Christmas Cherry Bars at your next holiday event!
Christmas Cherry Bars Ingredients
For the Base
- Butter – Use unsalted butter for better control over salt levels while achieving a rich, tender base.
- Granulated Sugar – Adds the perfect sweetness and aids in browning; coconut sugar is a great low-glycemic substitute.
- All-Purpose Flour – Provides structure; for gluten-free options, switch to a gluten-free all-purpose baking blend.
- Eggs – Binds ingredients together, enhancing moisture and texture; a flax egg works well for a vegan option.
For the Cherry Filling
- Canned Cherry Pie Filling – Offers a sweet-tart flavor base, but fresh or frozen pitted cherries could be cooked down for a homemade alternative.
Optional Glaze
- Powdered Sugar – Glazes the bars beautifully with sweetness without graininess; can be skipped for a less sweet finish.
Create these delightful Christmas Cherry Bars that are not only easy to make but also sure to be a crowd-pleaser this holiday season!
Step‑by‑Step Instructions for Christmas Cherry Bars
Step 1: Prepare the Base
Begin by preheating your oven to 350°F (175°C). In a large mixing bowl, cream together 1 cup of unsalted butter and 1 cup of granulated sugar until the mixture is light and fluffy, about 3-5 minutes. Add 2 eggs one at a time, mixing well until combined. Gradually incorporate 2 cups of all-purpose flour until a smooth dough forms, ensuring not to overmix.
Step 2: Bake the Base
Press two-thirds of the dough evenly into the bottom of a greased 9×13 inch baking pan, using your fingers or a spatula for an even layer. Bake in the preheated oven for 15 minutes, or until the edges are lightly golden brown and the center is set. Keep an eye on it to avoid overbaking, as the base will continue cooking slightly after being removed from the oven.
Step 3: Add Filling
Once the base has cooled slightly, open a can of cherry pie filling and carefully spread it evenly over the baked crust. Make sure to leave a small gap at the edges to prevent the filling from bubbling over while baking. Crumble the remaining dough on top of the cherry filling, creating an even layer that covers it completely for a delightful finish to your Christmas Cherry Bars.
Step 4: Finish Baking
Return the pan to the oven and bake for an additional 25 minutes, or until the topping is golden brown and has a firm texture. The tantalizing aroma of baked cherry and buttery dough will fill your kitchen, signaling that your delicious Christmas Cherry Bars are nearly ready to delight your senses.
Step 5: Cool
Remove the pan from the oven and place it on a wire rack to cool completely. This ensures that the bars will firm up and be easier to cut into neat squares. Allowing them to cool in the pan also helps retain their perfect, tender texture. Once cooled, carefully slice into squares to share with family and friends during your holiday festivities.
Expert Tips for Christmas Cherry Bars
-
Don’t Overmix: Overmixing the dough can lead to tough bars. Mix just until ingredients are combined for a tender texture.
-
Edge Control: Leave a small gap around the edges when spreading cherry filling. This prevents overflow and ensures even baking.
-
Cooling Time: Allow the bars to cool completely before cutting. This aids in achieving clean, sharp squares that are visually appealing.
-
Flavor Infusion: For deeper flavor, let the bars rest for a few hours or overnight before serving. It enhances the cherry and buttery notes.
-
Chill for Precision: If you want perfectly uniform pieces, chill the bars in the fridge briefly before slicing. It makes cutting easier and cleaner.
How to Store and Freeze Christmas Cherry Bars
Room Temperature: Store the bars in an airtight container at room temperature for up to 4 days, ensuring they stay fresh and soft.
Fridge: If you want to extend their shelf life, place the Christmas Cherry Bars in the fridge, where they’ll keep well for up to a week.
Freezer: For longer storage, you can freeze unglazed bars wrapped tightly in plastic wrap and placed in a freezer-safe container for up to 3 months.
Reheating: To enjoy them warm, thaw in the fridge overnight, then reheat in a preheated oven at 350°F (175°C) for about 10 minutes until warmed through.
Christmas Cherry Bars Variations
Embrace your creativity and adapt these delightful bars to suit your taste and dietary needs!
- Gluten-Free: Use a gluten-free all-purpose baking blend instead of regular flour to enjoy a similar texture without gluten.
- Vegan: Substitute the eggs with a flax egg made from 1 tablespoon of flaxseed meal and 2.5 tablespoons of water.
- Berry Swirl: Replace the cherry pie filling with raspberry or blueberry filling for a sweet-tart twist, bursting with flavor!
- Chocolate Lovers: Add cocoa powder to the dough or fold in chocolate chips for a rich, decadent dessert that will satisfy any chocoholic.
- Nutty Crunch: Toss in some chopped walnuts or almonds into the crust before baking for a delightful crunch and nutty flavor.
- Holiday Spice: Sprinkle some cinnamon or nutmeg into the filling for a warm, seasonal spice that complements the cherries beautifully.
- Bright Citrus: Add a splash of orange or lemon zest to the filling for a refreshing zing that elevates the cherry taste.
- Dessert Parfait: Layer crumbled bars with whipped cream and fresh cherries in jars for a stunning, no-bake dessert that’s perfect for gatherings.
Let your imagination fly and create your own version of these radiant Christmas Trifle Dreamy bars that capture the festive spirit! And if you’re in the mood for baking cookies, my Christmas Cookies Festive recipe is another delicious option to explore.
What to Serve with Easy Festive Christmas Cherry Bars?
These delightful desserts are perfect for sharing, adding a celebratory touch to your festive table.
-
Vanilla Bean Ice Cream: A scoop nestles perfectly beside the warm bars, creating comforting warmth and sweet creaminess that enhance the cherry flavors. It’s an indulgent duo your guests will adore!
-
Whipped Cream: Light and fluffy, a dollop of whipped cream offers a refreshing contrast to the buttery base, making for a delightful taste experience.
-
Mulled Wine: The warm spices in mulled wine pair beautifully with the sweet-tart cherry filling, providing a cozy complement for winter gatherings.
-
Chocolate Drizzle: A drizzle of rich chocolate adds decadence and contrasts beautifully with the sweet brightness of the cherries—your taste buds will thank you!
-
Fresh Berries: Serve with a side of fresh strawberries or blueberries for a refreshing burst of flavor; their sweetness and slight tartness amplify the cherry filling.
-
Pecan Topping: Sprinkle some crushed pecans on top for a crunchy texture that offsets the tender bars— a delightful way to add depth and flavor!
-
Coffee or Espresso: A steaming cup of coffee or a shot of espresso rounds out the sweetness, making it the perfect partner to the cherry bars’ richness.
-
Powdered Sugar Glaze: A light glaze made from powdered sugar not only adds sweetness but also creates a visually appealing finish, enhancing the holiday spirit.
Make Ahead Options
These Easy Festive Christmas Cherry Bars are a fantastic option for busy home cooks looking to save time during the holiday rush! You can prepare the base dough up to 24 hours in advance; simply wrap it tightly in plastic wrap and refrigerate to keep it fresh. The cherry filling can also be made ahead and stored in an airtight container for up to 3 days in the fridge—this not only enhances the flavors but also keeps things effortless! When you’re ready to bake, just press the chilled dough into your pan, layer with the filling, crumble the top, and then bake as instructed. This way, your holiday treat is just as delicious, with minimal last-minute effort!
Christmas Cherry Bars Recipe FAQs
What kind of cherries should I use for the filling?
You can use canned cherry pie filling for convenience, but I absolutely recommend using fresh or frozen pitted cherries for a homemade touch. Simply cook them down with a little sugar and cornstarch until thickened for a delightful, natural flavor.
How should I store Christmas Cherry Bars?
Store your Christmas Cherry Bars in an airtight container at room temperature for up to 4 days to maintain their fresh taste. If you’d like to extend their lifespan, place them in the fridge where they can last up to a week.
Can I freeze Christmas Cherry Bars?
Yes! These bars freeze beautifully. To do so, wrap unglazed bars tightly in plastic wrap, then place them in a freezer-safe container. They can stay in the freezer for up to 3 months! When you’re ready to enjoy, simply thaw in the fridge overnight and reheat if desired.
What should I do if the dough is too crumbly?
If your dough is crumbly, don’t worry! You can add a tablespoon of milk or water, one teaspoon at a time, until the mixture comes together. Just be careful not to overmix, as this can make the texture tough.
Are Christmas Cherry Bars suitable for vegetarians and vegans?
Yes! For vegetarians, this recipe works perfectly as is. If you’re looking for a vegan version, simply substitute the eggs with a flax egg (1 tablespoon of ground flaxseed mixed with 3 tablespoons of water, let sit for 5 minutes to thicken) for a fabulous alternative!
How can I enhance the flavor of the bars?
For an added twist, consider incorporating a splash of almond extract into the cherry filling or the dough. It gives a lovely flavor depth that complements the sweet-tart cherries beautifully!
Delicious Christmas Cherry Bars That Will Brighten Your Holidays
Ingredients
Equipment
Method
- Preheat your oven to 350°F (175°C). In a large mixing bowl, cream together butter and sugar until light and fluffy, about 3-5 minutes. Add eggs one at a time, mixing well until combined. Gradually incorporate flour until a smooth dough forms.
- Press two-thirds of the dough into the bottom of a greased baking pan. Bake for 15 minutes or until edges are lightly golden and center is set.
- Spread cherry pie filling evenly over the baked crust, leaving a small gap at the edges. Crumble the remaining dough on top.
- Return the pan to the oven and bake for an additional 25 minutes, or until the topping is golden brown.
- Remove from the oven and place on a wire rack to cool completely. Once cooled, slice into squares.
Leave a Reply