
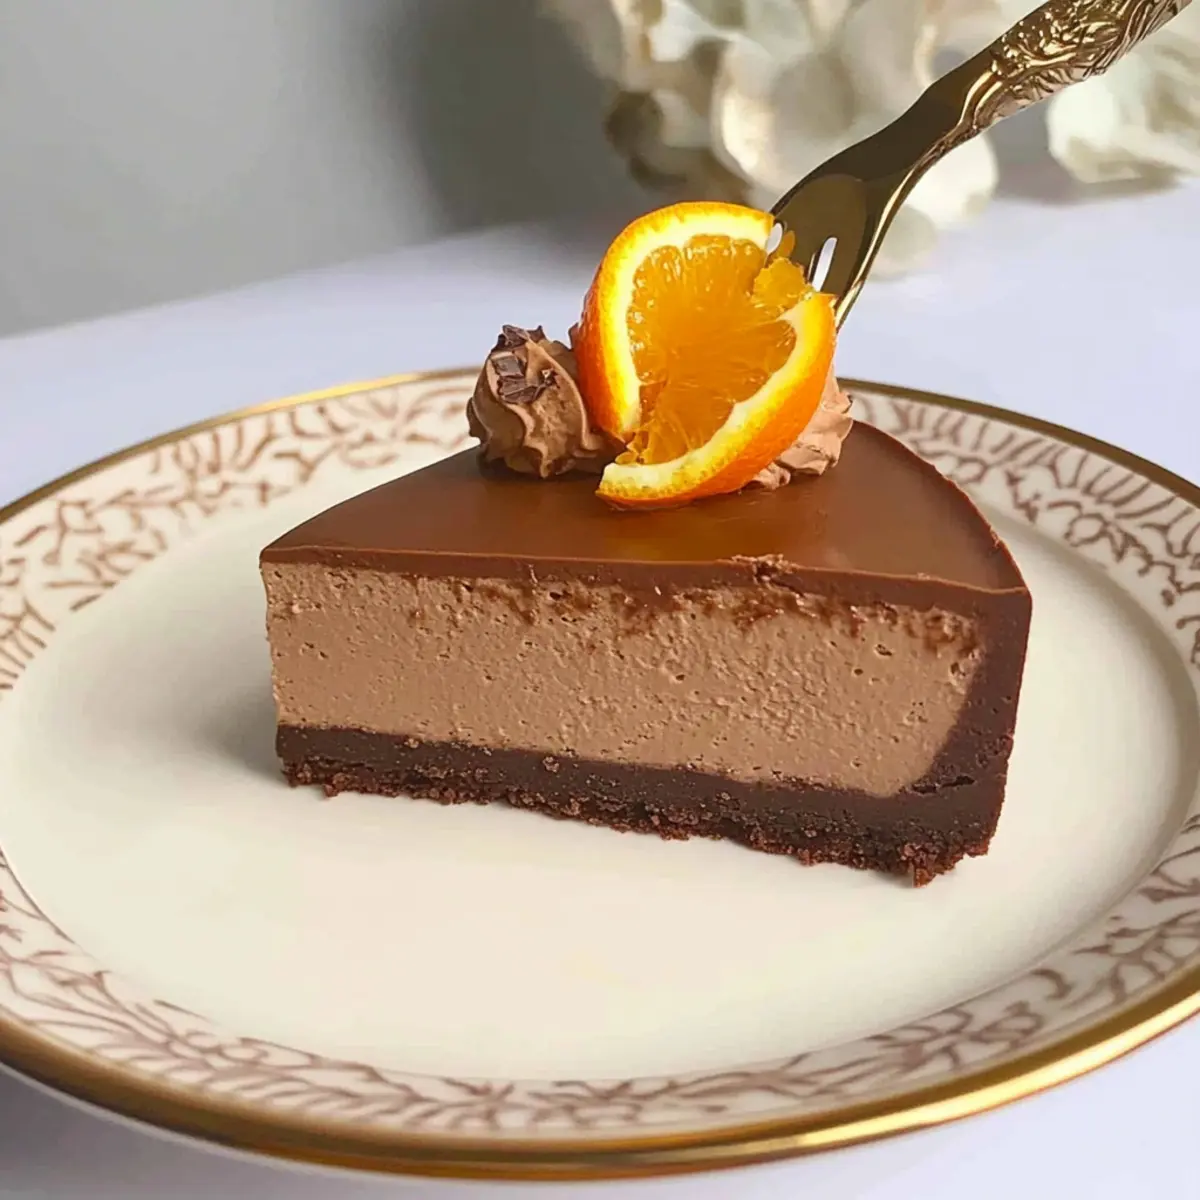
There’s something magical about pairing chocolate and orange—it’s like a festive hug for your taste buds! Today, I’m thrilled to share my Vegan Chocolate Orange No-bake Cheesecake, a dessert that not only delights but also saves you from the oven’s warm embrace, making it a perfect choice for those chaotic kitchen moments. This easy-to-assemble cheesecake boasts a creamy, luscious filling atop a delightful cocoa biscuit base, ensuring you can enjoy your favorite flavors without the fuss of baking. What’s more, it’s plant-based, making it a fabulous, guilt-free option for anyone looking to indulge during the holiday season or any gathering. Intrigued? Let’s dive into the joy of creating this decadent treat together!
Why Is This Cheesecake So Irresistible?
Uncomplicated Preparation: This no-bake treat requires minimal effort and skill—perfect for any home chef, whether a seasoned pro or a beginner.
Zesty Flavor Harmony: The combination of zesty orange and rich chocolate creates a bright, bold flavor profile that will impress your guests.
Decadent Yet Guilt-Free: With its plant-based ingredients, you can indulge without compromising your dietary choices. It’s a win-win!
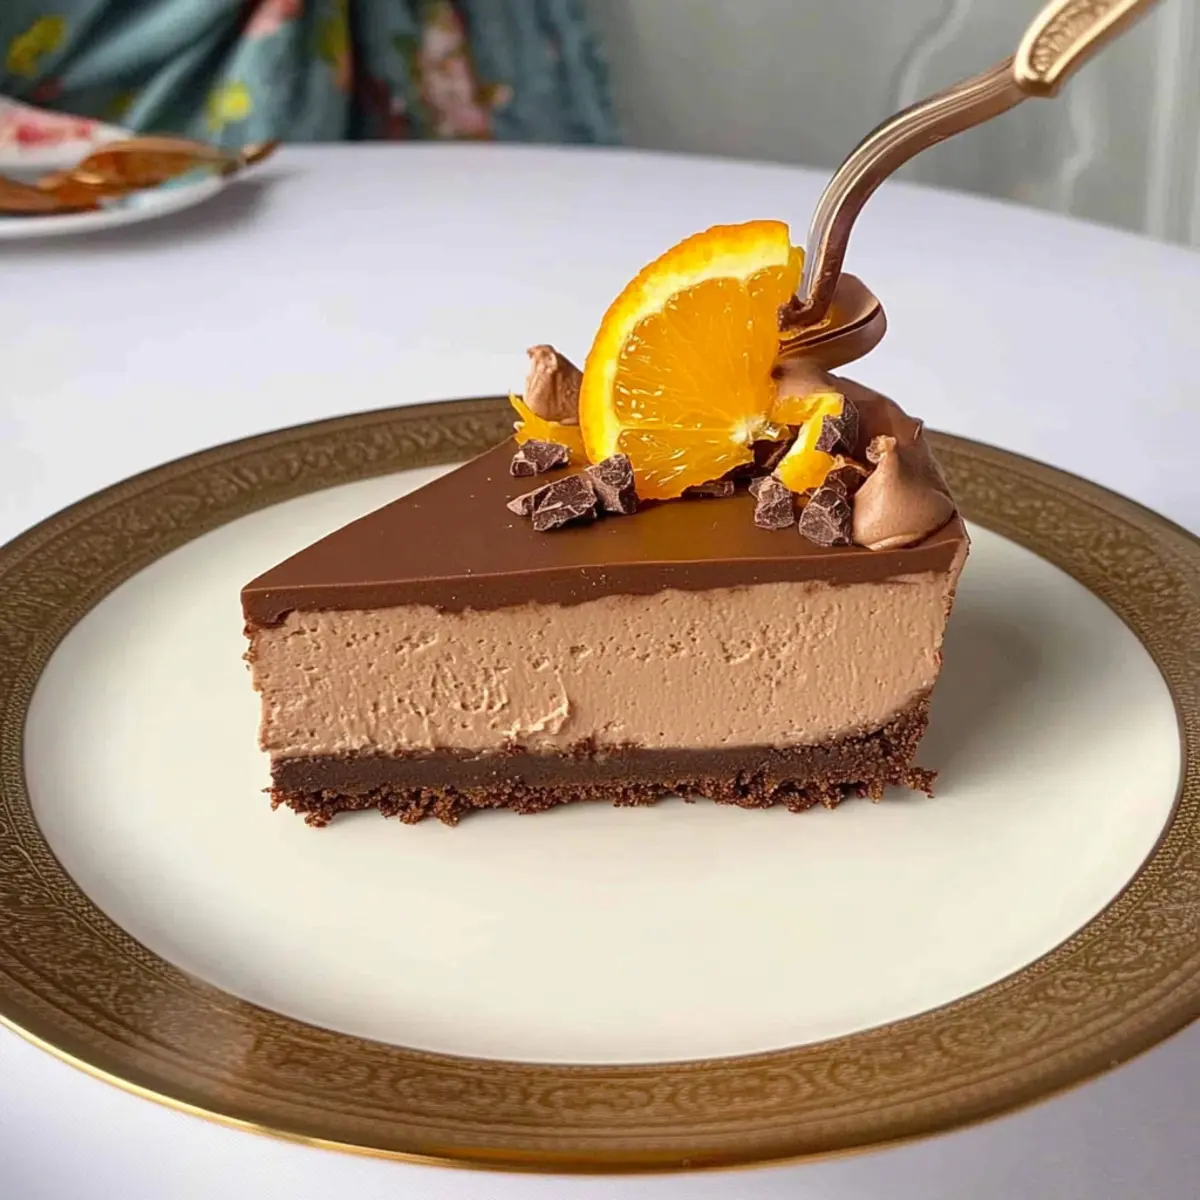
Visually Stunning: Decorate it with fresh oranges or a drizzle of chocolate sauce, making it a showstopper for any gathering.
Make-Ahead Convenience: Prepare this ahead of time and store it in the fridge for easy entertaining; your sweet tooth will thank you later.
If you’re looking for other delicious treats, don’t miss out on my Chocolate Pretzel Cupcakes or explore a classic with Chocolate Chip Banana recipes that are crowd-pleasers!
Chocolate Orange No-bake Cheesecake Ingredients
For the Crust
• Biscuit of Choice – 150g for a solid base; make sure they’re finely crushed, and choose vegan options for a plant-based crust.
• Cocoa Powder – 1 tablespoon to deepen the chocolate flavor in your crust.
• Granulated Sugar – 1 tablespoon to add a hint of sweetness to the base.
• Butter – 2 tablespoons to bind the crust ingredients; use vegan butter to keep it dairy-free.
For the Filling
• Cream Cheese – 750g for that creamy texture you love; substitute with vegan cream cheese for a dairy-free version.
• Icing Sugar – 150g to sweeten and create a smooth, velvety mixture.
• Chocolate – 300g total (half milk and half dark); use dairy-free chocolate for a vegan treat.
• Orange Extract – 2 teaspoons for that beautiful burst of citrus flavor; fresh orange juice can be a delightful substitute.
For Decoration
• Oranges – 2 (optional) to add fresh flavor and a pop of color to your cheesecake; feel free to use any citrus you love.
Feel the excitement of preparing this delectable Chocolate Orange No-bake Cheesecake and get ready to impress everyone with a dessert that’s both simple and spectacular!
Step‑by‑Step Instructions for Vegan Chocolate Orange No-bake Cheesecake
Step 1: Prepare Biscuit Base
Begin by grabbing a food processor and blitzing your choice of biscuits until they resemble fine crumbs, about 30 seconds. In a mixing bowl, combine these crumbs with cocoa powder and sugar. Melt your vegan butter and mix it in, then press this crumb mixture firmly into the base of a removable-bottom baking tin to create a solid crust layer.
Step 2: Make Filling
In a large mixing bowl, use a hand mixer to beat together the cream cheese and icing sugar until smooth and creamy, around 2–3 minutes. While that’s mixing, melt half of your dairy-free chocolate gently in a microwave or double boiler. Combine the melted chocolate with the cream cheese mixture and add in the orange extract, mixing until fully blended and luscious.
Step 3: Assemble Cheesecake
Carefully pour the rich chocolate orange filling over your prepared biscuit base, using a mini palette knife to smooth it evenly across the surface. This creates a beautiful, even layer that perfectly contrasts the crust. Ensure it’s all spread nicely to avoid any gaps as you prepare to chill it.
Step 4: Chill
Once assembled, it’s time to let the cheesecake set! Place your tin in the fridge and chill for at least 4 hours, though overnight is even better for a firmer texture. This crucial step ensures your Vegan Chocolate Orange No-bake Cheesecake holds its shape when sliced and showcases its creamy filling.
Step 5: Decorate & Serve
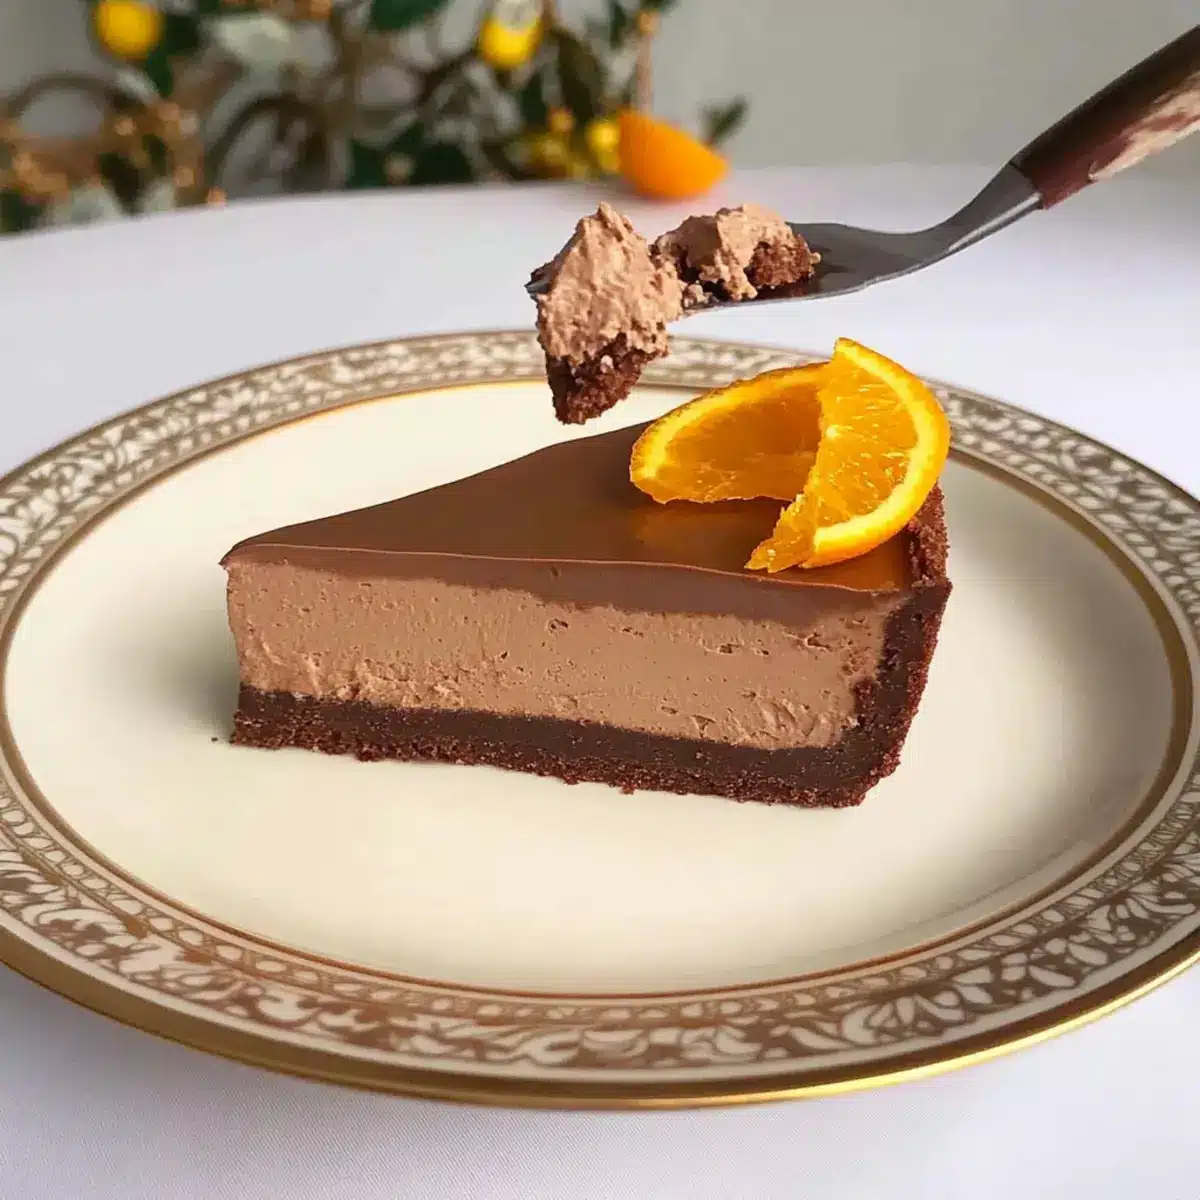
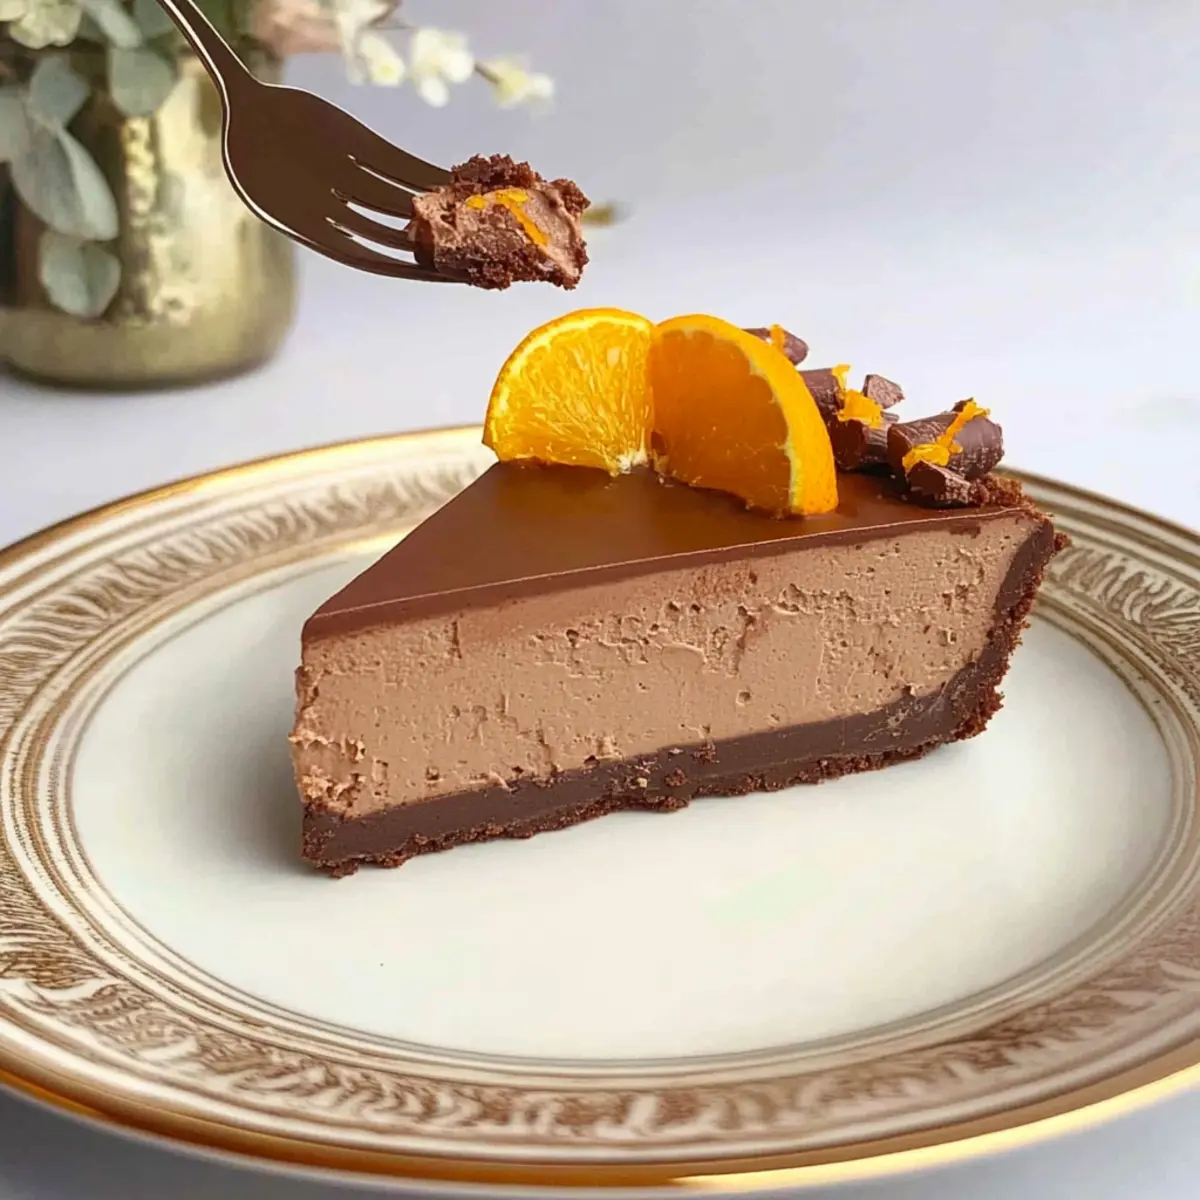
After chilling, remove the cheesecake from the fridge and take off the baking tin’s sides. Decorate with fresh orange slices or zests for a vibrant touch. Slice into wedges and serve this stunning dessert chilled. Each slice reveals the decadent layers of chocolate and orange, ready to impress your family and friends!
Expert Tips for Perfect Cheesecake
-
Use Quality Ingredients: Ensure your chocolate and cream cheese are high-quality; this significantly enhances the taste of your Chocolate Orange No-bake Cheesecake.
-
Crust Consistency: Press the biscuit base firmly into the tin to avoid a crumbly crust; it should hold together well when sliced.
-
Chilling Time: Don’t skimp on the chilling time; allowing at least 4 hours (preferably overnight) ensures the cheesecake sets up perfectly.
-
Check Vegan Cream Cheese: Different brands have varying flavors; taste test before use to ensure your cheesecake doesn’t end up tasting off.
-
Garnish Creativity: Get creative with your decorations! Besides oranges, consider using chocolate shavings or edible flowers to make your Chocolate Orange No-bake Cheesecake more visually appealing.
How to Store and Freeze Chocolate Orange No-bake Cheesecake
Fridge: Keep your Chocolate Orange No-bake Cheesecake stored in an airtight container in the fridge for up to 3 days. This will help retain its creamy texture and delightful flavors.
Freezer: If you want to extend its life, freeze the cheesecake for up to 2 months. Wrap it tightly in plastic wrap and then in aluminum foil to prevent freezer burn.
Thawing: To enjoy, thaw the cheesecake in the fridge overnight for the best results. This allows it to regain its rich, creamy consistency.
Serving: Serve chilled after thawing. If desired, add fresh orange slices or chocolate shavings for a beautiful presentation!
Make Ahead Options
These Vegan Chocolate Orange No-bake Cheesecake preparations are perfect for busy home cooks looking to save time! You can make the biscuit crust up to 3 days in advance; simply prepare it and store in an airtight container at room temperature to keep it fresh. The filling can also be mixed ahead of time and kept in the refrigerator for up to 24 hours—this helps the flavors meld beautifully. When you’re ready to serve, simply pour the filling over the prepared crust and chill it for at least 4 hours or overnight for best results. Just remember to decorate with fresh orange slices right before serving to keep them vibrant and appealing!
Chocolate Orange No-bake Cheesecake Variations
Feel free to personalize your cheesecake, making it uniquely yours with these delightful twists and substitutions.
- Vegan Twist: Use vegan cream cheese and dairy-free chocolate for a fully plant-based dessert that tastes just as decadent.
- Citrus Swap: Replace orange extract with fresh lemon or lime juice for a refreshing twist that brightens your cheesecake.
- Nutty Crust: Incorporate finely ground nuts, like almonds or walnuts, into your crust for an added layer of flavor and texture.
- Spiced Crust: Add a pinch of cinnamon or nutmeg to the crust for an extra warmth that complements the chocolate beautifully.
- Different Chocolate: Swap half the chocolate for carob for a unique flavor that’s both delicious and unexpected.
- Fruit Topping: Use mixed berries or toasted coconut on top for a refreshing contrast that adds both flavor and visual appeal.
- Caramel Sauce Drizzle: A drizzle of vegan caramel sauce over the top brings a rich sweetness that enhances the overall experience.
- Coffee Infusion: Add espresso powder to the filling for a delightful mocha flavor that pairs well with chocolate and orange.
Explore the world of flavors with these variations, and don’t forget to check out my favorites like Italian Tiramisu for more delicious dessert ideas!
What to Serve with Vegan Chocolate Orange No-bake Cheesecake
There’s nothing like a delightful spread around your decadent dessert to make an occasion truly memorable!
-
Joyfully Crunchy Fruit Salad: A mix of fresh fruits adds a vibrant, juicy contrast to the creamy cheesecake, enhancing its richness. The freshness of seasonal fruits will perfectly balance the sweet chocolate and zesty orange flavors.
-
Fluffy Coconut Whipped Cream: This light, airy topping gives your cheesecake a tropical touch and is a fantastic dairy-free option. A dollop of this creamy delight complements the dessert’s richness while adding a delightful coconut twist.
-
Rich Dark Chocolate Sauce: Drizzling warm chocolate sauce over the cheesecake elevates the chocolate experience to a new level. Each slice becomes a luxurious treat that combines flavors in the most decadent way.
-
Crunchy Almond Biscotti: These delightful cookies provide a satisfying crunch that contrasts with the creamy dessert. Dip them into your coffee or tea as the perfect accompaniment, creating a cozy, indulgent moment.
-
Tangy Orange Sorbet: A refreshing sorbet made from fresh oranges not only cleanses the palate but also ties in beautifully with the dessert’s flavor profile. This light, fruity delight is perfect for balancing the rich cheesecake.
-
Sparkling Prosecco: This bubbly drink complements the rich flavors of the cheesecake and adds a celebratory flair. Its crispness cuts through the sweetness and enhances the overall dining experience.
-
Classic Vanilla Ice Cream: A scoop of vanilla ice cream brings nostalgia and warmth to your plate. Its smoothness beautifully contrasts the cheesecake’s texture, making each bite a delightful experience.
-
Gourmet Coffee: A cup of freshly brewed coffee provides the perfect finishing touch, enhancing the dessert’s decadent notes while warming your soul. The rich flavors of the coffee pair wonderfully with chocolate and orange, creating a blissful harmony.
-
Decadent Raspberry Sauce: This vibrant sauce adds a tart element, beautifully contrasting the sweet cheesecake and enhancing the fruitiness of the orange. Drizzle it over individual slices for a pop of color and flavor.
Each of these pairings will enhance your Vegan Chocolate Orange No-bake Cheesecake, creating a truly unforgettable meal!
Chocolate Orange No-bake Cheesecake Recipe FAQs
What type of biscuits should I use for the crust?
You can use any type of biscuits, but I recommend choosing vegan biscuits for a plant-based version. Ensure they are finely crushed for a solid base—think about 30 seconds in a food processor!
How long can I store the cheesecake in the fridge?
Absolutely! Your Chocolate Orange No-bake Cheesecake can be stored in an airtight container in the fridge for up to 3 days. Make sure it’s well-covered to maintain its rich creamy flavor!
Can I freeze the cheesecake? How?
Yes, you can freeze this cheesecake for up to 2 months! First, wrap it tightly in plastic wrap, then in aluminum foil to prevent freezer burn. When you’re ready to enjoy it, simply thaw it in the fridge overnight to restore its creamy texture!
What if my cheesecake isn’t setting properly?
If your cheesecake doesn’t set as expected, it’s likely due to insufficient chilling time—make sure you let it chill for at least 4 hours, preferably overnight. If needed, give it a little extra time in the fridge until it firms up. Layering it thin might also help it set better.
Can this cheesecake be made gluten-free?
Definitely! To make the Chocolate Orange No-bake Cheesecake gluten-free, simply select gluten-free biscuits for the crust. There are many delicious options available that can maintain that delightful taste and texture you love.
Is this cheesecake safe for pets and allergies?
While the vegan ingredients are safer for pets compared to traditional cheesecakes, be cautious as some ingredients like chocolate can be harmful to dogs. As for allergies, always check the specific items you use, especially for common allergens like nuts or soy in vegan alternatives.
Decadent Chocolate Orange No-bake Cheesecake Delight
Ingredients
Equipment
Method
- Step 1: Prepare Biscuit Base - Blitz biscuits in a food processor until fine crumbs, about 30 seconds. Combine crumbs with cocoa powder and sugar, mix in melted vegan butter and press into a baking tin to form a crust.
- Step 2: Make Filling - Beat cream cheese and icing sugar until smooth. Melt half the chocolate and mix with cream cheese mixture and orange extract.
- Step 3: Assemble Cheesecake - Pour filling over crust and smooth it evenly with a mini palette knife.
- Step 4: Chill - Refrigerate for at least 4 hours, preferably overnight, to let the cheesecake set.
- Step 5: Decorate & Serve - Once chilled, decorate with orange slices or zest, slice, and serve chilled.
Leave a Reply