
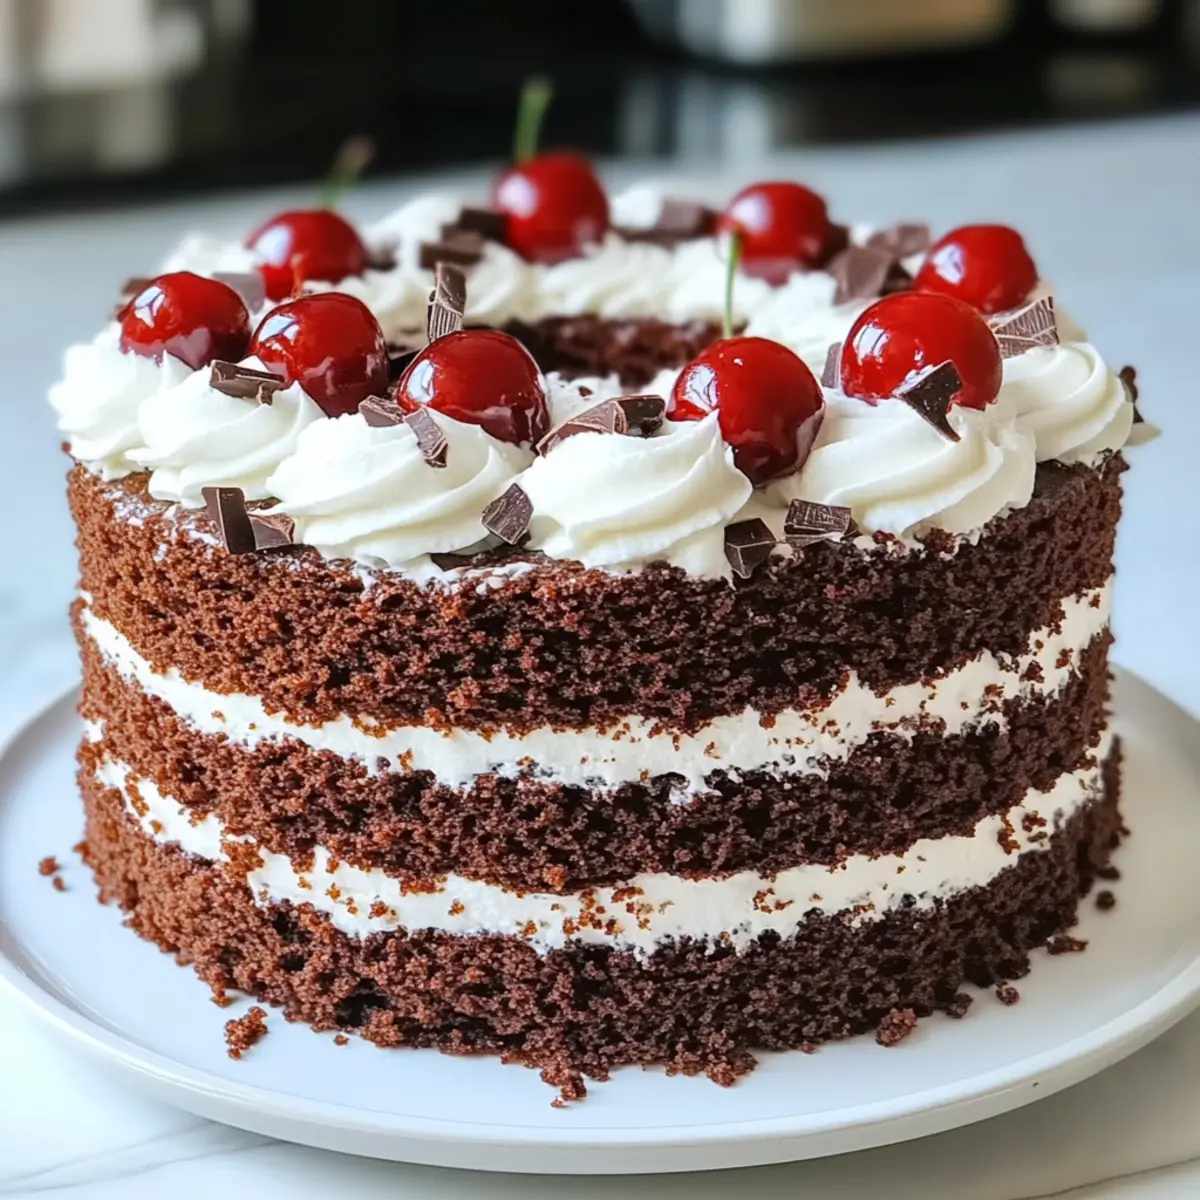
Amidst the clatter of dishes and the sweet aroma wafting through my kitchen, the allure of a stunning dessert captures my heart—the Black Forest Cake. This easy black forest cake recipe transforms simple ingredients into a visually striking masterpiece, layered with rich chocolate, luscious cherries, and fluffy whipped cream. Perfect for gatherings, this recipe is not just a treat for the eyes; it’s also a crowd-pleaser that comes together without fuss, making it accessible even for novice bakers. Imagine slicing into that moist cake, every piece revealing a delightful balance of deep chocolate, tart cherries, and airy cream that brings joy to every bite. Are you ready to impress your friends and family with this German classic? Let’s dive into the delicious details!
Why is this Black Forest Cake a must-try?
Simplicity at its finest: This easy Black Forest Cake recipe is approachable for bakers of all levels, allowing anyone to create a showstopper without the stress.
Decadent layers: Each slice offers a heavenly blend of rich chocolate, tart cherries, and fluffy whipped cream that will delight your taste buds.
Perfect for any occasion: Birthday parties, holidays, or casual gatherings—this cake is a crowd-pleaser that’s sure to impress!
Timeless appeal: Celebrate the culinary heritage of this German dessert with every bite, making it a meaningful addition to your table.
Versatile variations: Feel free to play around with fillings or toppings, like substituting cherries with strawberries, giving you creativity to savor! So, whether you’re a baking novice or a seasoned chef, this Black Forest Cake is the ultimate sweet treat to brighten your day!
Black Forest Cake Ingredients
• For the ultimate baking experience, gather these ingredients for a delightful Black Forest Cake recipe!
For the Batter
- All-Purpose Flour – Provides structure and creates a soft, tender cake.
- Cocoa Powder – Contributes a deep, rich chocolate flavor that defines this dessert.
- Granulated Sugar – Sweetens and balances the cocoa’s bitterness for a perfect taste.
- Baking Powder & Baking Soda – Ensures your cake rises beautifully, resulting in a fluffy texture.
- Salt – Enhances and balances the flavors in your cake, making each bite unforgettable.
- Eggs – Provide vital structure and moisture, helping the cake stay soft and rich.
- Whole Milk – Adds delightful moisture and richness to the cake’s delightful texture.
- Vegetable Oil – Keeps your cake moist and tender, preventing dryness.
- Vanilla Extract – Adds a touch of flavor complexity that harmonizes beautifully with chocolate.
- Boiling Water – Smooths out the batter, enhancing the cake’s overall texture.
For the Cherry Filling
- Cherries (fresh or canned) – Essential for that classic Black Forest flavor, offering fruity sweetness.
- Kirsch (or cherry juice) – Optional, but this adds moisture and a lovely cherry flavor to the cake.
For the Frosting
- Heavy Cream – Whips into a light, fluffy frosting that complements the cake perfectly.
- Powdered Sugar – Sweetens the whipped cream, ensuring your frosting is perfectly balanced.
For the Garnish
- Chocolate Shavings – Adds a gorgeous finish and enhances the rich chocolate experience.
With these ingredients in hand, you’re ready to craft an unforgettable Black Forest Cake that will wow your guests and bring smiles all around!
Step‑by‑Step Instructions for Black Forest Cake Recipe
Step 1: Preheat and Prepare Pans
Preheat your oven to 350°F (175°C) to ensure it’s ready for baking. While it heats up, grease two 9-inch round cake pans and line the bottoms with parchment paper. This will help the cakes release easily after baking, ensuring a perfect presentation for your Black Forest Cake.
Step 2: Mix Dry Ingredients
In a large mixing bowl, combine 1 ¾ cups of all-purpose flour, 2 cups of granulated sugar, ¾ cup of cocoa powder, 1 ½ teaspoons of baking powder, 1 ½ teaspoons of baking soda, and 1 teaspoon of salt. Whisk these thoroughly until the mixture appears uniform, as this is crucial for achieving a consistent texture in your cake layers.
Step 3: Add Wet Ingredients
Next, add 2 large eggs, 1 cup of whole milk, ½ cup of vegetable oil, and 2 teaspoons of vanilla extract to the dry ingredients. Mix with an electric mixer on medium speed for about 2 minutes, until everything is well incorporated and you have a smooth batter. The glossy appearance will indicate you’re ready for the next step.
Step 4: Incorporate Boiling Water
Carefully stir in 1 cup of boiling water; the batter will become thin, which is perfectly normal. This step will help enhance the moisture and richness of your Black Forest Cake. Make sure to mix it until smooth, ensuring no lumps remain, as you prepare for baking.
Step 5: Bake Cake Layers
Evenly divide the batter between the prepared cake pans. Place them in the preheated oven and bake for 30-35 minutes. The cakes are done when a toothpick inserted into the center comes out clean. Once baked, remove them from the oven and let them cool in the pans for 10 minutes before transferring to wire racks.
Step 6: Prepare Cherry Filling
While the cakes cool, make the cherry filling. In a saucepan, combine 2 cups of cherries with ½ cup of sugar over medium heat. Cook until the cherries release their juices. Mix 2 tablespoons of cornstarch with 2 tablespoons of water, stir into the cherry mixture, and heat until thickened. Optional: stir in 2 tablespoons of Kirsch for added flavor. Let this cool.
Step 7: Whip Cream for Frosting
In a chilled mixing bowl, add 2 cups of heavy cream, ½ cup of powdered sugar, and 1 teaspoon of vanilla extract. Using an electric mixer, whip on high speed until stiff peaks form—this should take about 3-4 minutes. This fluffy whipped cream will be the delightful frosting enveloping your Black Forest Cake.
Step 8: Assemble the Cake
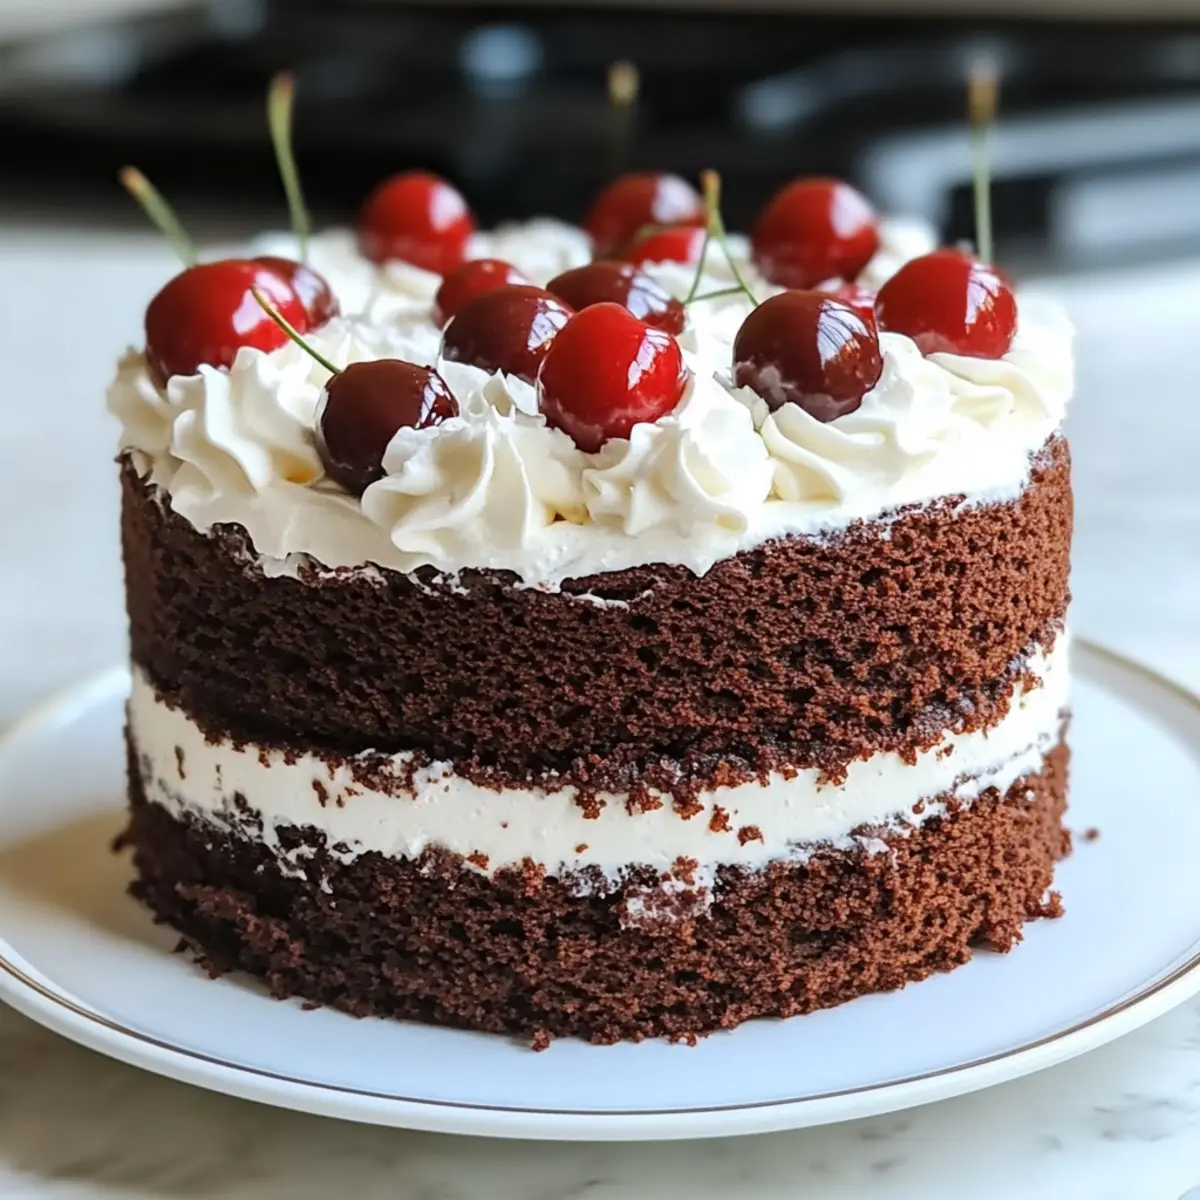
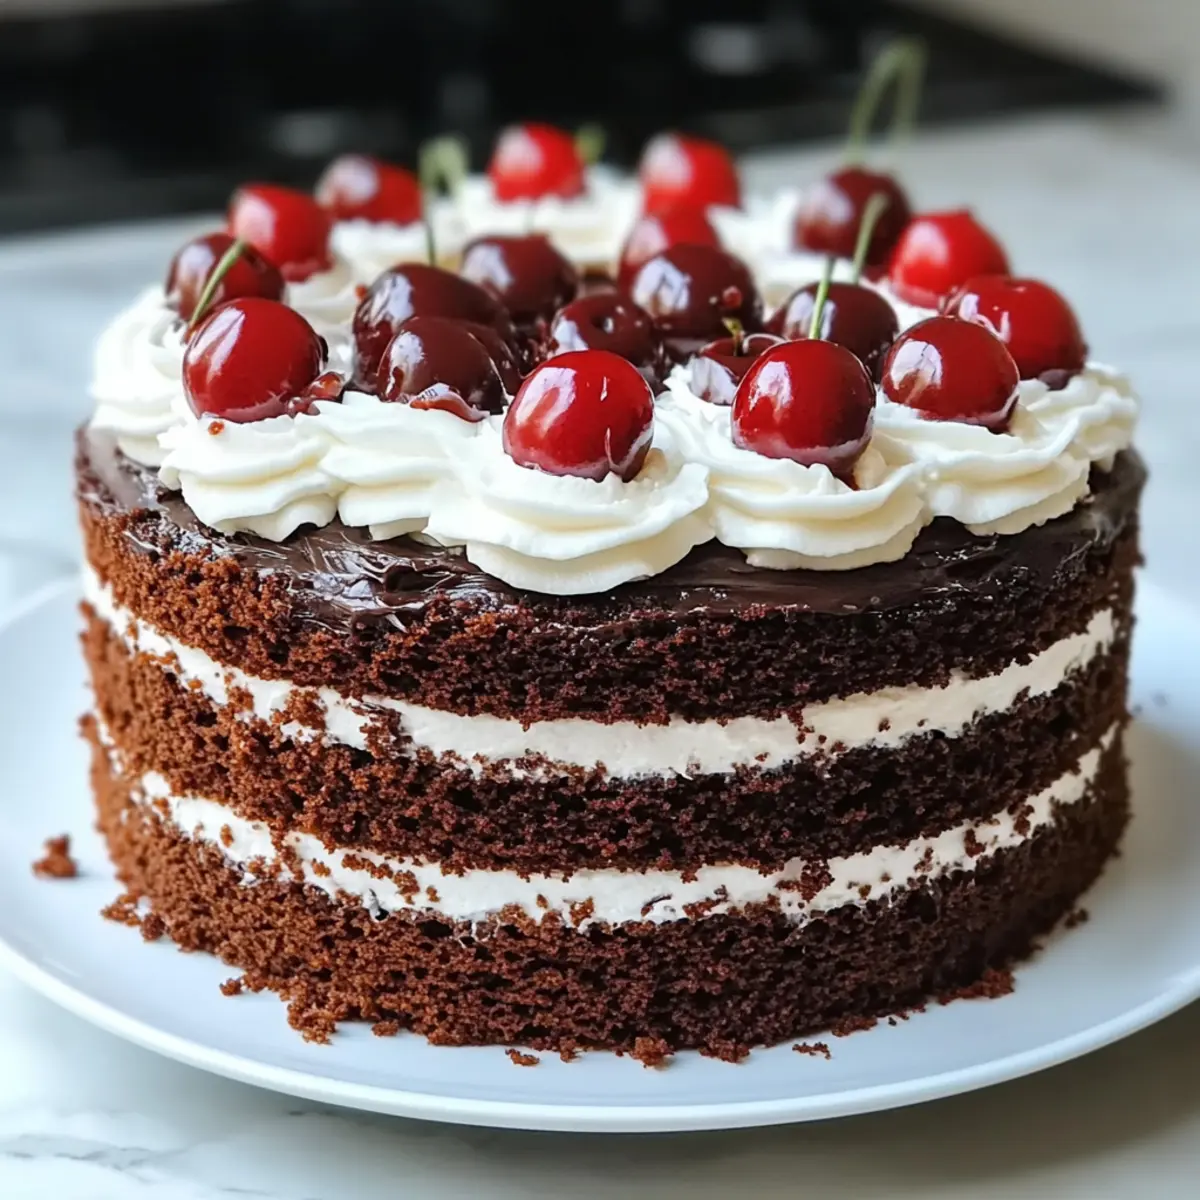
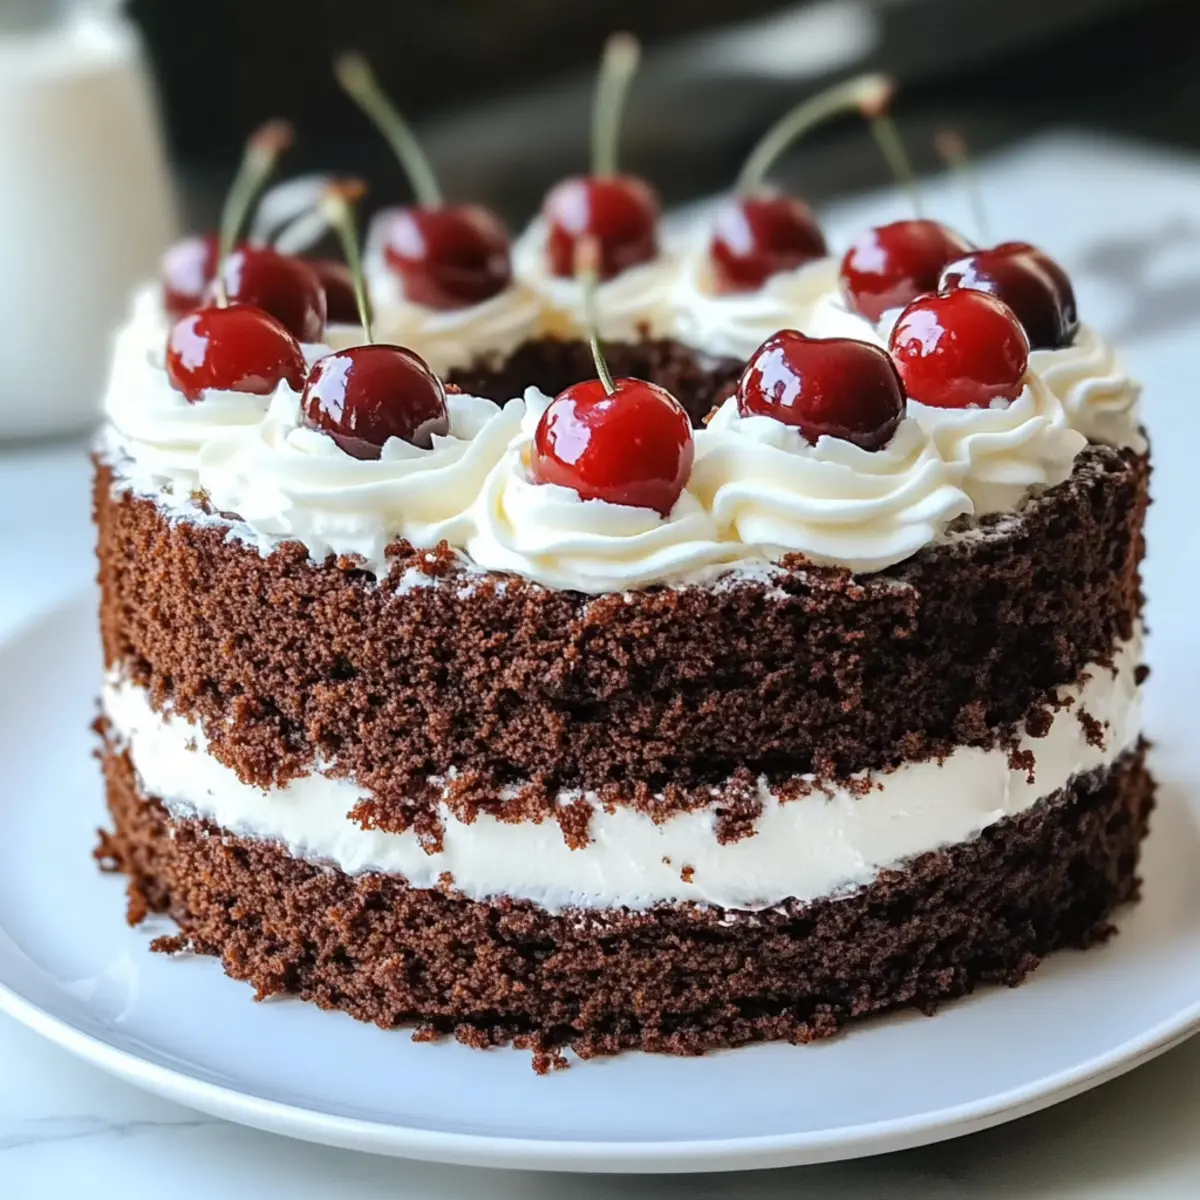
To assemble, place one cooled cake layer on a serving platter. Spread a generous layer of whipped cream over the top, followed by half of the cherry filling. Place the second cake layer on top and repeat with whipped cream and the remaining cherry filling. Frost the entire cake with the leftover whipped cream, creating a smooth finish.
Step 9: Garnish and Refrigerate
Finish your Black Forest Cake with chocolate shavings for an elegant look. Refrigerate the cake for at least 2-3 hours, allowing the flavors to meld beautifully and the frosting to set, ensuring it’s perfectly chilled when you’re ready to serve.
Make Ahead Options
Preparing this Black Forest Cake ahead of time is a fantastic way to save yourself stress, especially on busy occasions! You can prepare the chocolate cake layers up to 24 hours in advance; just wrap them tightly in plastic wrap and refrigerate. The cherry filling can also be made up to 3 days ahead—store it in an airtight container in the fridge to keep it fresh. When you’re ready to serve, simply whip up the cream and assemble your cake with the previously made layers and filling. This way, the cake will be just as delicious, allowing the flavors to meld beautifully, and you’ll be able to enjoy the celebration without the last-minute rush!
Expert Tips for Black Forest Cake
• Choose Quality Ingredients: Opt for high-quality cocoa powder and fresh cherries to elevate the flavor and authenticity of your Black Forest Cake.
• Cool Completely: Always let your cake layers cool completely before assembling. This will prevent the whipped cream from melting and ensure a beautiful finish.
• Chill the Cream: For the fluffiest whipped cream, chill your mixing bowl and beaters beforehand. This helps achieve those perfect stiff peaks.
• Master the Layers: When assembling, be generous with the whipped cream and cherry filling between cake layers. This ensures every bite is moist and flavorful.
• Refrigeration Matters: Allow your cake to refrigerate for 2-3 hours before serving. Chilling enhances the flavor melds and improves the texture of the icing.
• Experiment with Toppings: Feel free to explore variations, like using raspberries or strawberries as fillings, keeping your Black Forest Cake exciting and fresh!
What to Serve with Easy Black Forest Cake?
Imagine a delightful gathering where each bite of the cake is echoed by the perfect complementary flavors surrounding it. Let’s create a meal that elevates your Black Forest Cake experience!
- Creamy Mashed Potatoes: The buttery richness of mashed potatoes balances the cake’s sweetness while providing a comforting, smooth texture.
- Grilled Chicken: Juicy, seasoned grilled chicken offers a savory contrast that’ll satisfy any palate without overpowering the cake’s sweetness.
- Light Garden Salad: Crisp greens with a tangy vinaigrette add freshness, cutting through the richness of the cake and awakening your taste buds.
- Sautéed Green Beans: Adding a touch of garlic to sautéed green beans brings a vibrant crunch, offering a great textural balance to your meal.
- Chocolate Mousse: Serve a small portion of chocolate mousse for the chocolate lovers, letting the layers of flavor play off each other beautifully.
- Sparkling Berry Lemonade: A refreshing drink that echoes the cherry notes from the cake, creating a harmonious and whimsical pairing.
- Vanilla Ice Cream: The creamy ice cream pairs beautifully, and the cold temperature enhances the cake’s flavors in each delightful bite.
- Fresh Fruit Platter: A selection of seasonal fruits provides a light and vibrant finish from natural sweetness, enhancing the overall indulgence.
With these pairings, your Black Forest Cake will shine even brighter while offering your guests an unforgettable dining experience!
Storage Tips for Black Forest Cake
Fridge: Keep your Black Forest Cake covered with plastic wrap or in an airtight container for up to 3 days to maintain its freshness.
Freezer: If you need to freeze, wrap individual slices in plastic wrap and then foil, storing them for up to 2-3 months. Thaw in the fridge for a few hours before serving.
Reheating: If you’d like to enjoy it warm, gently reheat slices in the microwave for about 15-20 seconds. Be careful not to overheat, as cream may melt.
Assembly Tip: If you assemble the cake ahead of time, refrigerate it for at least 2-3 hours before serving to allow flavors to meld beautifully.
Black Forest Cake Recipe Variations
Feel free to get creative and make this Black Forest Cake your own!
-
Fruit Fillings: Swap cherries for raspberries or strawberries for a refreshing twist. The tartness will complement the chocolate beautifully.
-
Gluten-Free: Use a gluten-free flour blend instead of all-purpose flour to make this dessert suitable for those with gluten sensitivities. Your guests won’t even notice the difference!
-
Non-Alcoholic: Replace Kirsch with cherry juice or a splash of vanilla extract to keep the flavors rich and festive without the alcohol.
-
Dairy-Free: Substitute heavy cream with coconut cream or a plant-based whip cream for a dairy-free option that still delivers the luscious texture.
-
Nutty Flavor: Add a handful of chopped hazelnuts or almonds into the batter for delightful crunch and nutty flavor. A lovely surprise in each slice!
-
Double Chocolate: Mix chocolate chips into the batter for an extra chocolatey experience that will delight all chocolate lovers.
-
Layered Delight: Create a tiered version of the cake by stacking three layers instead of two. More layers mean more opportunities for delicious whipped cream and cherry filling!
-
Whipped Cream Options: For a twist on the frosting, try folding in some cocoa powder or espresso powder into the whipped cream for enhanced flavor.
Whether you choose to tantalize your taste buds with a variation or stick to the classic, this Tuna Fish Cake recipe is a fantastic base. Don’t forget to share your favorites, and if you’re looking for more delightful desserts, check out my Neiman Marcus Cake for inspiration!
Black Forest Cake Recipe FAQs
What kind of cherries should I use for the Black Forest Cake?
Absolutely! You can use either fresh or canned cherries for this recipe. If using fresh cherries, look for those that are firm, plump, and dark red, avoiding any with dark spots. Canned cherries are also a great option, offering convenience and sweetness; just make sure to drain them well.
How should I store the Black Forest Cake?
To keep your delicious cake fresh, store it in the refrigerator, tightly covered with plastic wrap or in an airtight container. It will stay good for about 3 days. It’s even better if you let it chill for a few hours—this helps the flavors meld beautifully!
Can I freeze the Black Forest Cake?
Yes! You can definitely freeze your Black Forest Cake. To do this, wrap individual slices in plastic wrap, then in aluminum foil. This protects it from freezer burn and allows it to be stored for up to 2-3 months. When you’re ready to enjoy, simply thaw the slices in the fridge for several hours, and they’re good to go!
What should I do if the whipped cream isn’t whipping properly?
Very common! If your whipped cream isn’t achieving those lovely stiff peaks, make sure your heavy cream is cold—using a chilled bowl helps too. If you find your cream is not thickening, it may be due to using a lower-fat cream. I recommend using heavy cream with at least 36% fat for best results!
Is the Black Forest Cake nut-free?
Yes, this Black Forest Cake recipe is nut-free, making it a great option for those with nut allergies. However, always check that your ingredients, especially any processed products, are labeled as nut-free to be safe.
Decadent Black Forest Cake Recipe for Every Celebration
Ingredients
Equipment
Method
- Preheat your oven to 350°F (175°C) and prepare two 9-inch round cake pans.
- In a large mixing bowl, combine flour, sugar, cocoa powder, baking powder, baking soda, and salt.
- Add eggs, milk, vegetable oil, and vanilla to the dry ingredients and mix for 2 minutes.
- Stir in boiling water until the batter is smooth.
- Divide batter between pans and bake for 30-35 minutes or until a toothpick comes out clean.
- While the cakes cool, prepare the cherry filling by cooking cherries and sugar, thicken with cornstarch mixture.
- Whip heavy cream with powdered sugar and vanilla until stiff peaks form.
- Assemble the cake with layers of whipped cream and cherry filling between the cake layers.
- Garnish with chocolate shavings and refrigerate for 2-3 hours before serving.
Leave a Reply