
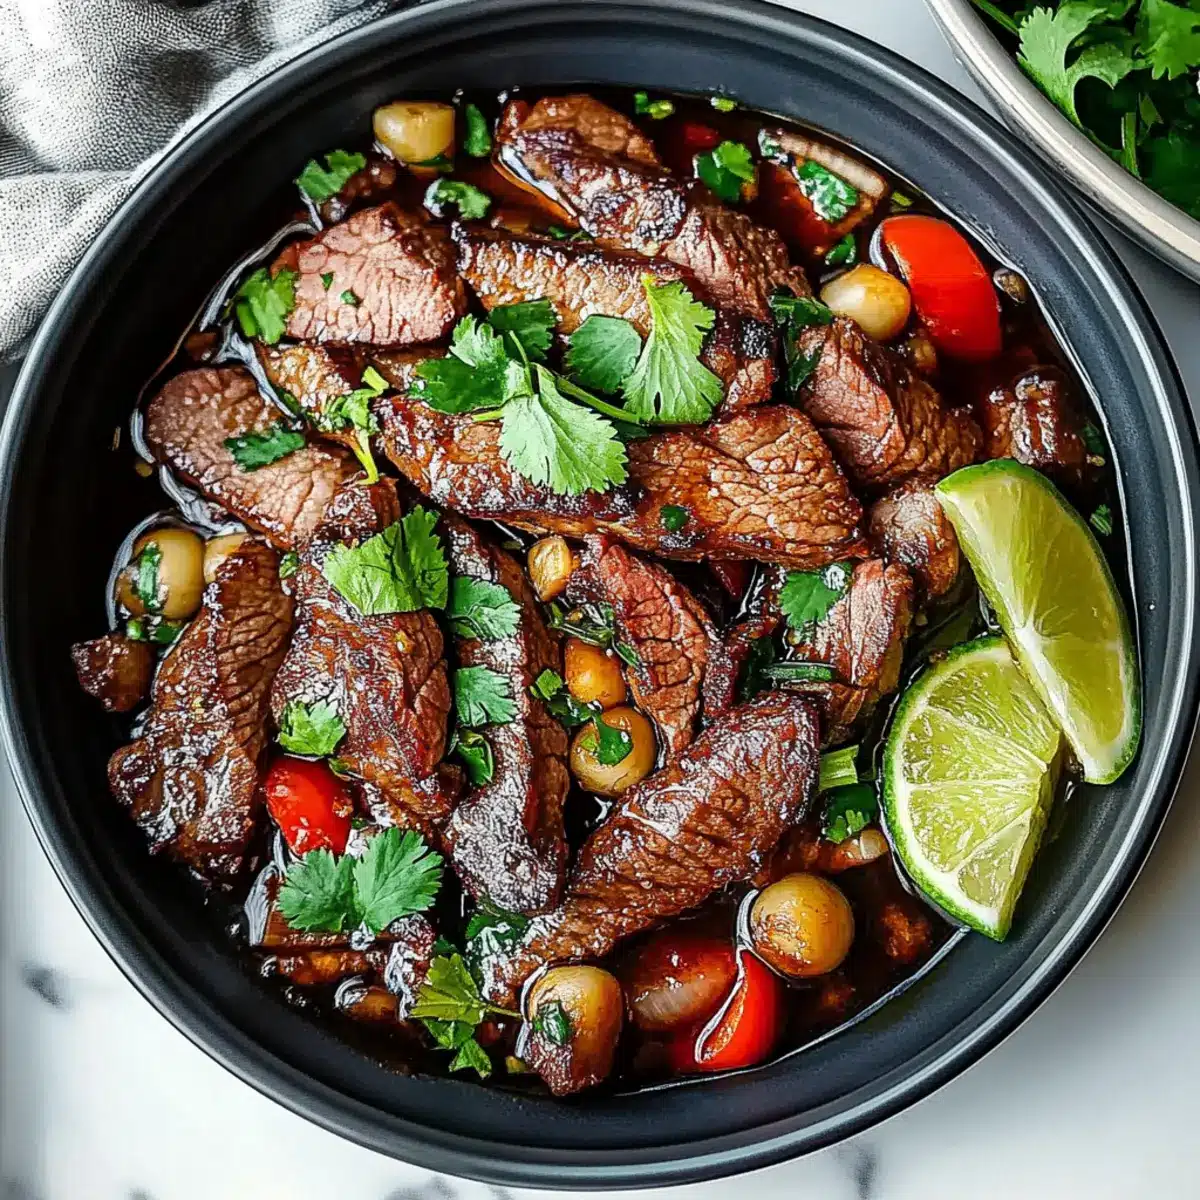
The aroma of sizzling flank steak can transport you right to the bustling streets of Thailand, where food stalls tantalize your senses with their smoky delights. Today, I’m excited to share my take on Thai Crying Tiger Beef, a dish that’s not only incredibly flavorful but also quick to whip up, making it perfect for any night of the week. Imagine tender strips of beef resting in a vibrant garlic-ginger marinade, paired with a spicy chili-lime sauce that adds just the right kick. It’s a wonderful crowd-pleaser and offers the option for gluten-free ingredients without sacrificing taste. Are you ready to transform your dinner routine with this exciting recipe? Let’s dive in!
Why is Thai Crying Tiger Beef a must-try?
Flavor Explosion: The combination of smoky, charred beef and zesty marinade creates a taste sensation that’s hard to resist.
Quick Prep Time: With only a brief marination, you can have this delightful dish ready in no time—perfect for busy weeknights!
Versatile Ingredient Options: Feel free to swap flank steak for sirloin or skirt steak, tailoring the recipe to your preference.
Healthy and Gluten-Free: This dish can easily be made gluten-free without compromising on flavor, making it a great choice for all diners.
Crowd-Pleasing Meal: Serve it at gatherings, and it’s sure to impress your guests with its vibrant flavors and visually appealing presentation. For a complete meal, consider pairing it with sticky rice or fresh veggies for added contrast!
Thai Crying Tiger Beef Ingredients
Unlock the secrets to making this delectable dish!
For the Marinade
- Flank Steak – The star of this recipe; its tenderness shines when marinated and seared.
- Garlic – Minced finely to infuse the marinade with deep, aromatic flavor.
- Ginger – Grated for max flavor; it adds a warmth that perfectly balances the dish.
- Fish Sauce – Essential for that umami kick, characteristic of Thai cuisine.
- Soy Sauce – Enhances the marinade color and adds the necessary saltiness.
- Lime Juice – Brightens the dish while tenderizing the meat, vital for acidity.
- Brown Sugar – Adds a touch of sweetness and promotes beautiful caramelization.
- Black Pepper – Freshly cracked for a grounding spice; it ties the flavors together.
- Chili Flakes – Adjust the heat to your liking; a crucial component for spice lovers!
For Cooking and Serving
- Vegetable Oil – High smoke point oil for perfect searing without burning.
- Cilantro – A fresh herb garnish to brighten the dish; it complements the rich flavors beautifully.
- Lime Wedges – Served on the side to add an extra zesty kick to each bite.
This Thai Crying Tiger Beef recipe is about to be your new favorite!
Step‑by‑Step Instructions for Thai Crying Tiger Beef
Step 1: Prepare the Flank Steak
Start by trimming any excess fat from the flank steak, then slice it against the grain into 1/4-inch strips. This technique ensures maximum tenderness. Lay the strips flat on a cutting board, and take a moment to admire their vibrant red color as you prepare to marinate them.
Step 2: Make the Marinade
In a medium bowl, whisk together minced garlic, grated ginger, fish sauce, soy sauce, lime juice, brown sugar, freshly cracked black pepper, and chili flakes. The marinade should create a fragrant blend, with the garlic and ginger aroma wafting up. Ensure the sugar is completely dissolved to promote even flavor throughout the Thai Crying Tiger Beef.
Step 3: Marinate the Steak
Add the flank steak strips into the marinade, making sure to coat each piece thoroughly. Cover the bowl with plastic wrap and refrigerate for at least 30 minutes, or up to overnight for deeper flavor. The waiting period allows the steak to absorb the vibrant tastes, while the lime juice helps tenderize the meat beautifully.
Step 4: Heat the Skillet
Once marinated, heat a large skillet over medium-high heat and add vegetable oil until shimmering. This is crucial for achieving that perfect char on the steak. The oil should create a subtle ripple effect, indicating it’s hot enough for cooking. Prepare your workspace, so everything’s ready for quick searing!
Step 5: Sear the Steak
Remove the steak strips from the marinade, letting the excess drip off while saving the remaining marinade for later. Carefully lay the steak strips in a single layer in the hot skillet without overcrowding. Sear for about 3-4 minutes per side or until a beautiful golden-brown crust forms. Pay attention to the sizzling sounds as it cooks; that’s the sign of flavor developing!
Step 6: Rest the Steak
Once the steak is seared to your liking (aim for medium-rare), transfer it to a plate and cover it loosely with aluminum foil. Allow it to rest for about 5 minutes. This step is vital, as resting helps redistribute the juices, ensuring each bite of your Thai Crying Tiger Beef is succulent and full of flavor.
Step 7: Reduce the Marinade
While the steak rests, take the reserved marinade and pour it into the still-hot skillet. Bring it to a gentle simmer for 2-3 minutes, stirring frequently until it thickens slightly. This not only enhances flavor but also ensures it’s safe to serve. Enjoy the aroma as it reduces!
Step 8: Slice and Serve
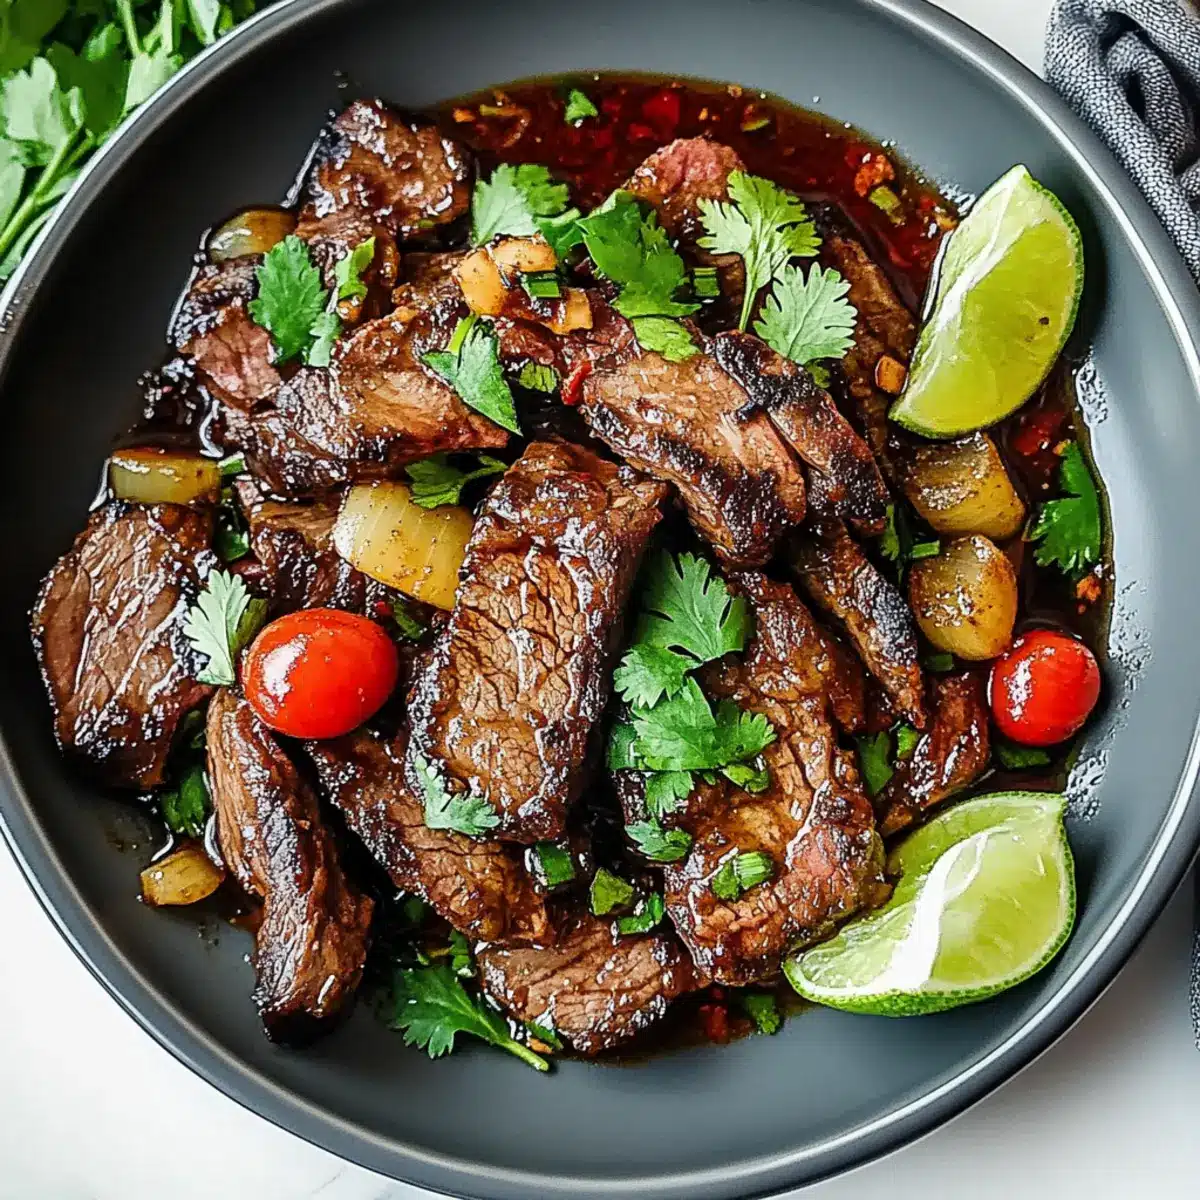
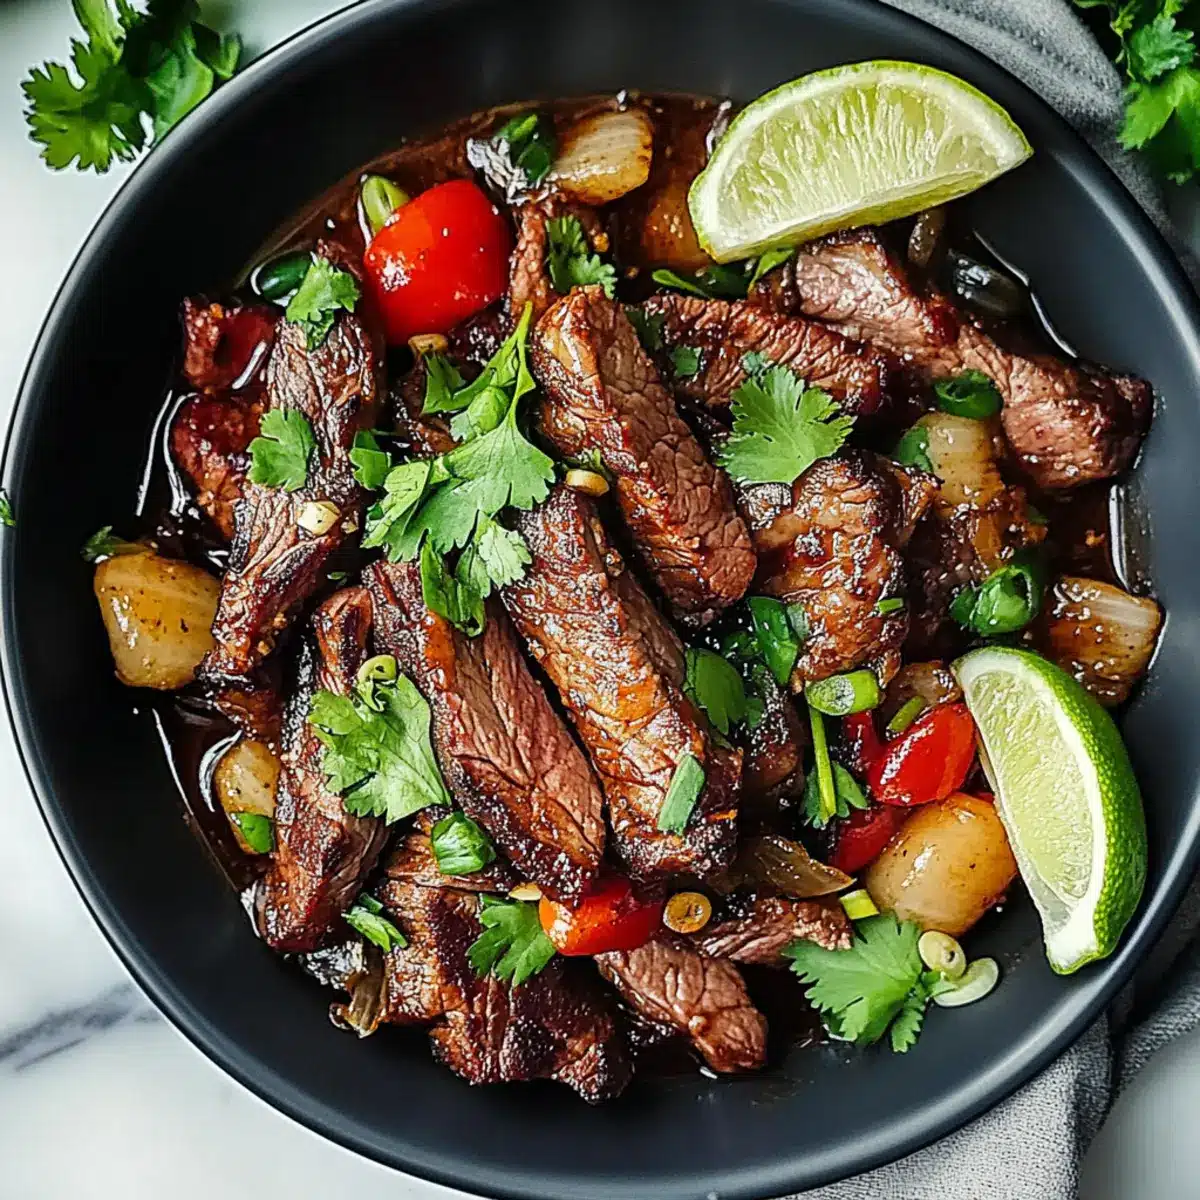
After resting, slice the flank steak against the grain into bite-sized pieces. Arrange the beautiful slices on a serving platter, then drizzle with the thickened marinade for an extra flavor boost. The color contrast and inviting aroma will make this Thai Crying Tiger Beef truly stunning on your table.
Step 9: Garnish and Present
Finally, garnish with fresh cilantro, adding a pop of color and brightness to the dish. Serve with lime wedges on the side for an added zesty kick. The presentation should be vibrant and enticing, inviting your guests to savor this incredible blend of flavors without delay!
How to Store and Freeze Thai Crying Tiger Beef
Fridge: Store cooked Thai Crying Tiger Beef in an airtight container for up to 3 days; be sure to let it cool completely before sealing to maintain moisture.
Freezer: For longer storage, freeze the beef in meal-sized portions for up to 2 months. Wrap tightly in plastic wrap and place in a freezer bag to prevent freezer burn.
Reheating: When ready to enjoy, thaw in the refrigerator overnight and reheat gently in a skillet over low heat to retain tenderness and flavor.
Marinade Storage: If you have leftover marinade, store it in the fridge for up to a week to use in future dishes or as a dressing for salads!
Expert Tips for Thai Crying Tiger Beef
- Slice Against the Grain: This technique maximizes tenderness—never skip this step to ensure each bite is just as juicy and delightful as the last.
- Marination Time Matters: Avoid exceeding 24 hours for marinating; too much acid from lime juice can result in overly mushy beef.
- Sear Without Crowding: Cook steak strips in a single layer to achieve that beautiful char—crowding will steam the meat instead.
- Use High-Quality Ingredients: Fresh garlic, ginger, and high-quality fish sauce are essential for elevating the flavors in your Thai Crying Tiger Beef.
- Simmer for Safety: Always simmer the reserved marinade before serving; this not only thickens it but also ensures it’s safely cooked.
- Customize Your Heat: Adjust the amount of chili flakes in the marinade according to your spice preferences for a personalized kick.
Thai Crying Tiger Beef Variations
Feel free to get creative with your Thai Crying Tiger Beef by exploring these delightful twists! Let your taste buds lead the way as you enhance this already flavorful dish.
-
Beef Options: Swap flank steak for sirloin or skirt steak to find your perfect texture. Each cut offers a unique flavor profile and tenderness, so experiment until you find your favorite!
-
Vegan Delight: Replace beef with marinated tofu or tempeh for a hearty vegetarian version. The marinade will infuse the plant-based proteins just like the beef and provide a similarly satisfying experience.
-
Extra Heat: Boost the spice by adding freshly chopped Thai bird chilies into the marinade; this will take your dish to another level of deliciousness! You’ll get that thrilling kick without compromising the original flavors.
-
Fresh Garnish: Try adding sliced scallions or chopped peanuts as a garnish alongside cilantro for an added crunch and flavor complexity. These extras make every bite a delightful surprise.
-
Zesty Additions: Include fresh mango or avocado slices on the plate to complement the spice with some creamy sweetness. This refreshing touch pairs beautifully with the heat of the dish.
-
Sauce Variants: Experiment with a peanut sauce drizzle over the finished dish for a creamy, nutty contrast. Peanut sauce offers an entirely new layer of flavor that fans of Thai cuisine will adore.
-
Side Suggestions: Serve it with a side of spicy papaya salad or Thai-style coleslaw for a refreshing crunch that brightens the overall meal. The contrast between the rich beef and fresh veggies keeps it exciting.
-
Asian Fusion: Pair with a side of kimchi or serve on a bed of sushi rice for an unexpected yet delightful twist inspired by Korean cuisine. The tangy and spicy profile will complement the flavors beautifully.
These creative variations will not only keep your Thai Crying Tiger Beef exciting but may also inspire you to create future family favorites! If you’re feeling adventurous, try it alongside a comforting dish like French Onion Beef for a cozy meal.
What to Serve with Thai Crying Tiger Beef
Imagine a vibrant table filled with dishes that compliment the smoky, tangy flavors of your grilled beef masterpiece, making every bite an experience to savor.
-
Sticky Rice: A classic Thai pairing, soft and slightly sweet sticky rice soaks up the flavorful marinade and balances the dish’s spices beautifully. It’s the perfect comfort food to accompany the meat.
-
Fresh Cucumber Salad: Lightly dressed with vinegar and lime, this refreshing salad adds a crisp, crunchy contrast to the rich beef, cleansing your palate between bites.
-
Grilled Vegetables: Seasonal veggies, lightly charred, provide delightful smoky undertones that echo the beef’s flavors while adding color and nutrition to your meal.
-
Spicy Thai Dipping Sauce: A zesty mix of lime, chili, and herbs, this sauce offers an extra kick that enhances the beef’s robust flavors, encouraging everyone to get dipping!
-
Thai-style Rice Noodles: Tossed in a light sauce, these noodles can soak up some of the savory flavors from the beef, creating a delightful harmony on your plate.
-
Chilled Coconut Drink: Balance the heat of your Thai Crying Tiger Beef with a refreshing coconut drink; it’s creamy and hydrating, providing a tropical escape with every sip.
-
Mango Sticky Rice Dessert: End the meal on a sweet note with this decadent dessert that couples the warm sticky rice with ripe mango, drizzled in coconut milk. It’s a blissful finish that everyone will adore!
Make Ahead Options
These delectable Thai Crying Tiger Beef strips are perfect for meal prep enthusiasts! You can marinate the flank steak up to 24 hours in advance, allowing the flavors to infuse deeply. Simply combine the marinade ingredients, coat the steak strips, seal in an airtight container, and refrigerate. Additionally, you can pre-slice the cooked beef and store it for up to 3 days in the fridge, ensuring it’s ready whenever you are! When you’re ready to serve, gently reheat the beef over medium heat and drizzle with the thickened reserved marinade for that fresh burst of flavor. This approach not only saves time but guarantees a delicious, restaurant-quality meal with minimal effort!

Thai Crying Tiger Beef Recipe FAQs
How do I choose the best flank steak?
Absolutely! Look for flank steak that is bright red with minimal dark spots or discoloration. The meat should feel firm to the touch and free of excessive marbling, as less fat content in this cut allows for those smoky flavors to shine through. Freshness is key, so if you can, buy it from a trusted butcher.
How should I store leftovers?
For sure! Refrigerate cooked Thai Crying Tiger Beef in an airtight container for up to 3 days. To maintain its juicy texture, allow it to cool completely before sealing the container. If you want to enjoy it later, you can freeze it too!
Can I freeze Thai Crying Tiger Beef?
Yes, definitely! To freeze, wrap the cooked beef tightly in plastic wrap and then place it in a freezer bag. Make sure to remove as much air as possible to prevent freezer burn. This way, it can last up to 2 months! Just remember to label it with the date, so you know when to enjoy it.
What if my steak turns out tough?
Oh no, that can happen sometimes! If your Thai Crying Tiger Beef is tough, it might be due to slicing against the grain. Always cut the steak in 1/4-inch strips against the grain to ensure tenderness. Additionally, check your marination time; don’t let the meat sit for more than 24 hours as the acid in the lime juice can break down the protein too much.
Is there a gluten-free option for this recipe?
Very much so! You can easily make this Thai Crying Tiger Beef gluten-free by substituting soy sauce with a gluten-free alternative, such as tamari. Just make sure to read the labels to ensure all other ingredients are gluten-free, and you’re good to go!
Can I use a different cut of beef?
Absolutely! If flank steak isn’t your go-to, you can swap it out for sirloin or skirt steak. Both cuts work wonderfully and bring their own unique flavors while still being tender and delicious when marinated and seared. Just stick with 1/4-inch strips for the best results!
Thai Crying Tiger Beef: Flavor-Packed and Perfectly Charred
Ingredients
Equipment
Method
- Trim excess fat from flank steak and slice into 1/4-inch strips.
- Whisk together garlic, ginger, fish sauce, soy sauce, lime juice, brown sugar, black pepper, and chili flakes.
- Coat the flank steak strips with marinade and refrigerate for at least 30 minutes.
- Heat a skillet over medium-high heat and add vegetable oil.
- Sear steak strips in a single layer for 3-4 minutes per side.
- Cover seared steak with foil and let it rest for 5 minutes.
- Pour reserved marinade into the hot skillet and simmer for 2-3 minutes.
- Slice rested flank steak against the grain and arrange on a platter.
- Garnish with cilantro and serve with lime wedges.
Leave a Reply