
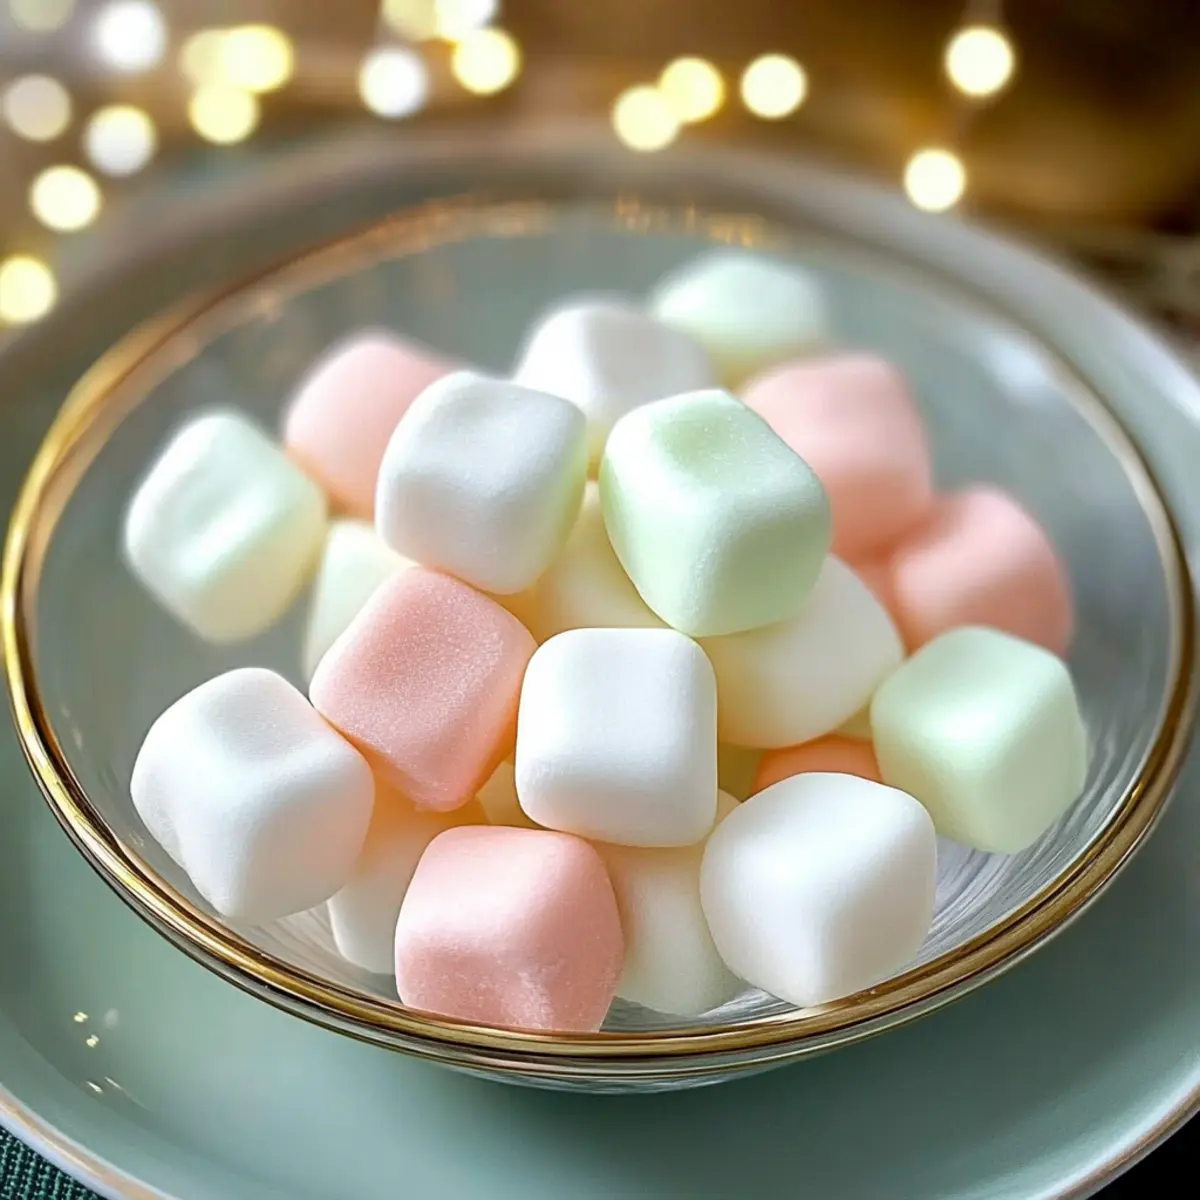
As I opened my grandma’s tin of sweets, a rush of nostalgia enveloped me—each delicate morsel promised a taste of simpler times. Those dreamy Old-Fashioned Butter Mints, with their melt-in-your-mouth texture, were always the highlight of family gatherings. Not only are these homemade candies a delightful treat for any occasion, but they also offer the versatility to customize flavors, from zesty lemon to soothing vanilla. Plus, with no baking required, they’re perfect for anyone looking to whip up a sweet surprise without the fuss. So, whether you’re prepping for a wedding candy buffet or a cozy night in, let’s dive into the world of butter mints and discover how to make these timeless gems that will surely become a staple in your kitchen. What flavors will you explore first?
Why Are Old-Fashioned Butter Mints Special?
Nostalgic Delight: These irresistible butter mints take you back to fond memories with each creamy, melt-in-your-mouth bite.
Easy to Make: With no baking required, you can whip up a batch in no time, making them perfect for any occasion.
Endless Variations: Customize flavors to suit your mood—try zesty lemon, refreshing spearmint, or warm vanilla for a personal touch!
Crowd-Pleasing Treat: Ideal for wedding candy buffets or as sweet party favors, these mints are sure to impress guests.
Perfect Storage: Make ahead and store with ease; they keep beautifully for up to two weeks, ready whenever you need a nostalgic treat.
Whether you’re inspired by a classic recipe like Butter Board Every or just looking for a fun, homemade candy, these butter mints are a must-try!
Old-Fashioned Butter Mints Ingredients
For the Mints
- Unsalted Butter – Provides richness and creamy texture; can substitute with salted butter (omit extra salt).
- Powdered Sugar – Essential for sweetness and achieving a smooth consistency; no substitutions recommended.
- Heavy Cream – Adds creaminess and binds the mints together; milk can be used for a lighter version.
- Peppermint Extract – Delivers the classic mint flavor; for a twist, try spearmint, vanilla, lemon, or almond extracts.
- Food Coloring (optional) – Enhances visual appeal; gel-based colors are recommended for vibrant tones without altering texture.
- Salt (pinch) – Balances sweetness and enhances flavors; can be omitted for a salt-free version.
These ingredients work together to create delightful Old-Fashioned Butter Mints that are sure to evoke sweet memories!
Step‑by‑Step Instructions for Old-Fashioned Butter Mints
Step 1: Cream Butter
Begin by softening ½ cup of unsalted butter at room temperature for about 30 minutes. Using a stand mixer or a hand mixer, beat the butter on medium speed until it becomes light and fluffy, which should take about 2-3 minutes. This crucial step ensures your Old-Fashioned Butter Mints will have that melt-in-your-mouth texture.
Step 2: Incorporate Sugar
Gradually add 4 cups of powdered sugar, one cup at a time, to the creamed butter. Mix on low speed to prevent a sugar cloud, then increase to medium speed until the mixture is smooth and well combined. This process will create a sweet, thick batter that forms the base of your delicious butter mints.
Step 3: Add Cream & Flavor
Pour in 2 tablespoons of heavy cream and 1 teaspoon of peppermint extract, mixing them into the batter. Continue to blend until the mixture is silky and well-combined, ensuring everything is incorporated perfectly. If you want to brighten the appearance, add a few drops of food coloring at this stage and mix until you achieve your desired shade.
Step 4: Check Dough Texture
Once fully mixed, assess the dough’s texture; it should be smooth and pliable but not sticky. If it feels too soft to handle, cover the bowl with plastic wrap and chill the dough in the refrigerator for 15-20 minutes. Chilling helps improve consistency for shaping your Old-Fashioned Butter Mints.
Step 5: Shape Dough
After chilling, divide the dough into smaller sections for easy handling. Roll each section into a rope shape on a sheet of parchment paper, aiming for about ½ inch in diameter. Cut the rope into small squares or pieces using a sharp knife, ensuring even sizes for a uniform appearance in your Old-Fashioned Butter Mints.
Step 6: Dry Mints
Carefully lay the cut mints in a single layer on a tray, leaving space between each piece. Allow them to air dry at room temperature for at least 12 hours or overnight. This drying period is essential for developing a soft, slightly crusty exterior that enhances the delightful texture of your homemade butter mints.
Step 7: Store Mints
Once dried, transfer your Old-Fashioned Butter Mints to an airtight container. You can layer them with parchment paper to prevent sticking. Store the container at room temperature for up to two weeks, ensuring your sweet treats are always ready to share or enjoy whenever the nostalgia strikes.
Storage Tips for Old-Fashioned Butter Mints
Room Temperature: Transfer dried Old-Fashioned Butter Mints to an airtight container; they can be kept at room temperature for up to 2 weeks.
Refrigeration: If you want to extend freshness, store the mints in the fridge. Let them return to room temperature before serving for that delightful melt-in-your-mouth experience.
Layering: Use parchment paper between layers of mints in the container to prevent sticking and maintain that perfect texture.
Make-Ahead Storage: These mints can be prepared in advance; just ensure they are thoroughly dried before storing to preserve their delightful softness.
Tips for the Best Old-Fashioned Butter Mints
-
Perfect Butter Texture: Ensure your unsalted butter is at room temperature before creaming. This step is crucial for achieving the coveted melt-in-your-mouth texture in your Old-Fashioned Butter Mints.
-
Gradual Sugar Addition: Add powdered sugar one cup at a time to prevent a messy sugar cloud. Mixing on low speed first allows for smooth incorporation without lumps.
-
Dough Consistency Check: Before shaping, the dough should be pliable but not sticky. If it’s too soft, chilling in the refrigerator for 15-20 minutes can help firm it up.
-
Even Cutting: For uniformity in your mints, use a bench scraper or ruler when cutting. This ensures all pieces will dry evenly and look appealing on a serving platter.
-
Drying Time Matters: Allowing the mints to dry completely at room temperature helps form a soft crust while keeping the inside tender. Skipping this step can lead to overly soft mints.
-
Flavor Experimentation: Don’t hesitate to mix and match extracts! Use vanillas, citrus, or even flavored oils to create unique twists on your classic Old-Fashioned Butter Mints.
What to Serve with Old-Fashioned Butter Mints?
Indulging in these delightful mints opens the door to a world of sweet pairings that enhance your experience.
- Coffee or Tea: The warm, comforting flavors of coffee or tea beautifully balance the sweetness of the butter mints, creating a cozy treat.
- Cheese Platter: Soft cheeses, like brie or cream cheese, can provide a creamy contrast, while sharper cheeses will cut through the mintiness for a delightful contrast.
- Fresh Fruit: Light, fresh fruits, such as strawberries or citrus slices, add a burst of flavor that complements the mints, keeping the palate refreshed.
- Chocolate-Covered Pretzels: The salty crunch of pretzels coated in rich chocolate adds a satisfying texture that pairs wonderfully with the smooth mints.
- Mini Cupcakes: Lightly frosted mini cupcakes can add a touch of celebration alongside the mints while making for an appealing dessert display.
- Sparkling Water with Lemon: Refreshing sparkling water infused with fresh lemon relieves the sweetness and enhances the overall flavor experience.
- Ice Cream: A scoop of vanilla or mint chocolate chip ice cream makes for a delightful dessert combination that keeps the minty theme alive.
- Honey or Maple Glaze: Drizzling a bit of honey or maple syrup over your choice of dessert can add a lovely sweetness that harmonizes beautifully with mints.
- Lemon Sorbet: This light and fruity dessert offers a refreshing contrast to the mints’ creaminess, brightening your dessert table.
- Shortbread Cookies: Subtle and buttery, shortbread cookies create a delightful pairing with the Old-Fashioned Butter Mints, enhancing that nostalgic feeling.
Old-Fashioned Butter Mints Variations & Substitutions
Feel free to get creative and customize your Old-Fashioned Butter Mints with these delightful variations!
- Spearmint: Substitute peppermint extract for spearmint for a sweeter, more mellow mint flavor that’s refreshing and unique.
- Vanilla: Swap the peppermint for vanilla extract to create a soothing, creamy mint with a beautiful, nostalgic vanilla touch.
- Citrus Twist: Add lemon or orange extract for a zesty zing that brightens the mints, making them a fantastic option for summer gatherings.
- Almond: Use almond extract instead of peppermint for a rich, nutty flavor that adds an exciting twist to the classic recipe.
- Chocolate-Dipped: For a decadent treat, dip your dried mints in melted chocolate and let them set; this variation adds a rich contrast to the sweet minty flavor.
- Colorful Creations: Experiment with different gel food coloring to create vibrant mints for special occasions; pastels for spring or bold shades for celebrations!
- Fun Shapes: Instead of cutting squares, use mini cookie cutters to create fun shapes that will thrill both kids and adults alike—great for themed parties!
- Spicy Mint: For the adventurous, add a pinch of cayenne pepper to the mix for a surprising kick that balances the sweetness with heat, perfect for daring taste buds.
These variations can easily help you spin off from the delicious base recipe, perhaps for a wedding candy buffet or special event. And if you’re in the mood for more delightful inspirations, consider pairing your mints with a gorgeous Butter Board Every for an impressive appetizer or serving them alongside Butter Chicken Calzones for a fun twist on dinners. Explore your creativity and make these Old-Fashioned Butter Mints uniquely yours!
Make Ahead Options
These Old-Fashioned Butter Mints are perfect for busy home cooks seeking time-saving strategies! You can prepare the dough up to 3 days in advance by mixing all the ingredients together and storing the unshaped dough tightly wrapped in plastic wrap in the refrigerator. When you’re ready to finish them, simply let the dough soften for a few minutes, shape it into ropes, and cut it into squares. The drying process should still be allowed for 12 hours or overnight at room temperature once shaped. This way, your mints will maintain their delightful melt-in-your-mouth texture, ensuring they’re just as delicious when you’re ready to serve them!
Old-Fashioned Butter Mints Recipe FAQs
How do I select the best unsalted butter for my mints?
Absolutely! When choosing unsalted butter, look for one that is fresh and creamy, with no dark spots. The butter should be pliable but not overly soft; this ensures it creams well with the sugar for that melt-in-your-mouth texture. Always check the packaging date to ensure its freshness.
What is the best way to store Old-Fashioned Butter Mints, and how long do they last?
I recommend storing your dried Old-Fashioned Butter Mints in an airtight container at room temperature. They’ll stay fresh for up to 2 weeks. To maintain their delightful texture, layer them with parchment paper between each layer to prevent sticking. If you need them to last longer, feel free to refrigerate them, just be sure to let them return to room temperature before serving!
Can I freeze Old-Fashioned Butter Mints, and if so, how?
The more the merrier! You can absolutely freeze your Old-Fashioned Butter Mints. For best results, make sure they are completely dried. Then, arrange them in a single layer on a baking sheet and flash freeze for about 1-2 hours. Once frozen, transfer them to an airtight freezer bag, separating layers with parchment paper. They can be stored in the freezer for up to 3 months. Just thaw them at room temperature before enjoying!
What if my mints turn out too soft?
Very good question! If your Old-Fashioned Butter Mints end up too soft, don’t worry. You can chill the dough in the refrigerator for about 15-20 minutes to firm it up before shaping. Alternatively, make sure that your mints are dried sufficiently at room temperature for at least 12 hours. A soft exterior crust is important, and not letting them dry properly can lead to overly soft mints.
Are there any dietary considerations I should be aware of when making these mints?
Absolutely! If you or your loved ones have allergies, be cautious with the extracts you choose, especially if someone has nut allergies, as almond extract could pose a risk. For dairy-free versions, you can substitute the heavy cream with coconut cream for a delicious alternative. Just be aware that the flavor will differ slightly!
Can I customize the flavors for my Old-Fashioned Butter Mints?
Very much so! You can mix and match different extracts to create unique flavors. For example, try lemon or vanilla for a delightful twist. Just remember to keep the quantity of liquid ingredients consistent to ensure the dough holds together beautifully!
Old-Fashioned Butter Mints: Sweet Nostalgia in Every Bite
Ingredients
Equipment
Method
- Begin by softening ½ cup of unsalted butter at room temperature for about 30 minutes. Using a stand mixer or a hand mixer, beat the butter on medium speed until it becomes light and fluffy, which should take about 2-3 minutes.
- Gradually add 4 cups of powdered sugar, one cup at a time, to the creamed butter. Mix on low speed to prevent a sugar cloud, then increase to medium speed until the mixture is smooth and well combined.
- Pour in 2 tablespoons of heavy cream and 1 teaspoon of peppermint extract, mixing them into the batter. Continue to blend until the mixture is silky and well-combined.
- Once fully mixed, assess the dough's texture; it should be smooth and pliable but not sticky. If it feels too soft to handle, cover the bowl with plastic wrap and chill the dough in the refrigerator for 15-20 minutes.
- After chilling, divide the dough into smaller sections. Roll each section into a rope shape on parchment paper, aiming for about ½ inch in diameter. Cut the rope into small squares or pieces.
- Carefully lay the cut mints in a single layer on a tray, leaving space between each piece. Allow them to air dry at room temperature for at least 12 hours or overnight.
- Once dried, transfer the mints to an airtight container. You can layer them with parchment paper to prevent sticking.
Leave a Reply